You’ve probably noticed that most micro camper builds fail the moment seasons change. What works perfectly in July becomes unbearable by January, and those winter modifications turn your rig into an oven come summer. The difference between a year-round camper and a fair-weather setup isn’t just insulation.
It’s understanding how ventilation, power demands, and space requirements shift dramatically with temperature.
I’ve spent enough winters shivering in supposedly “insulated” vans and enough summers sweating through “ventilated” setups to know that seasonal adaptation requires actual planning, not wishful thinking. The 11 setups below are built around that reality.
Why Summer and Winter Micro Camper Setups Differ
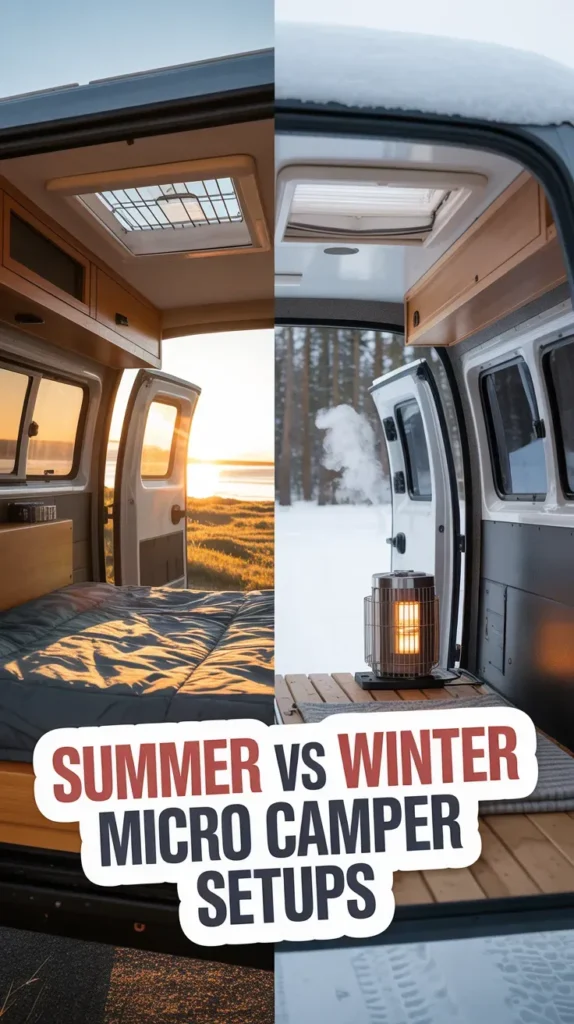
Temperature extremes govern every design choice in a micro camper, which means summer and winter configurations diverge fundamentally rather than offering simple seasonal tweaks. You’ll need rigid insulation and heated underbellies for serious winter camping, while summer demands ventilation and reflective surfaces to combat triple-digit heat.
Energy systems shift from propane heaters with substantial battery banks to solar-powered fans. Plumbing transforms from freeze-protected lines to drainage-focused designs that prevent bacterial growth in warm weather.
Reflective Insulation vs. Closed-Cell Foam for Year-Round Use
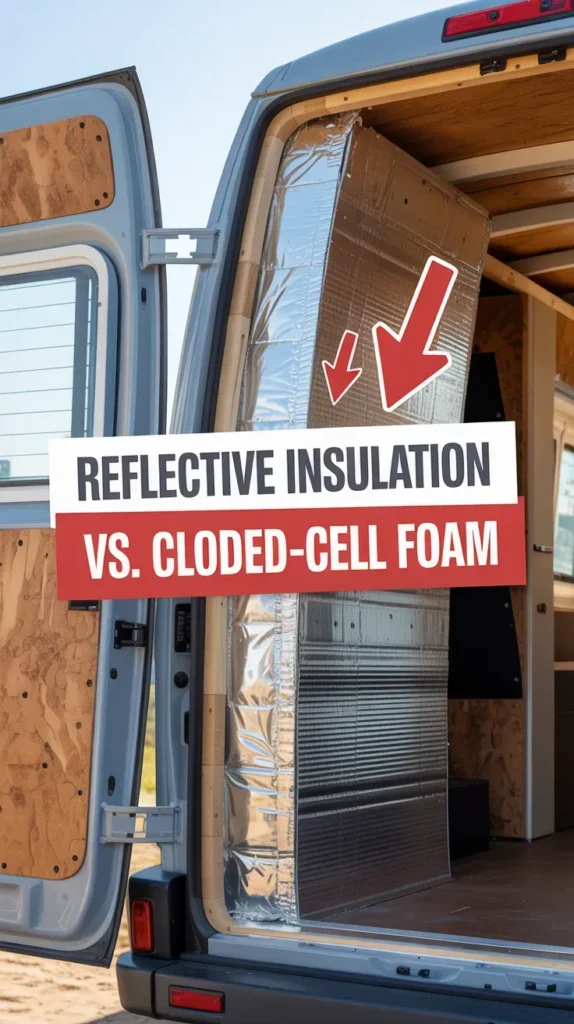
Closed-cell foam delivers the baseline thermal performance you need across all four seasons, providing R-values of 5.5 to 7 per inch while blocking air infiltration. Radiant barriers reflect up to 95% of radiant heat but require an air gap to function properly.
They offer no resistance to conductive heat transfer, making them climate-specific rather than universal solutions. Radiant barrier foil achieves less than 0.05 emissivity, which directly corresponds to its ability to reject heat before it enters your living space.
Summer Ventilation: Cross-Flow Systems Without Battery Drain
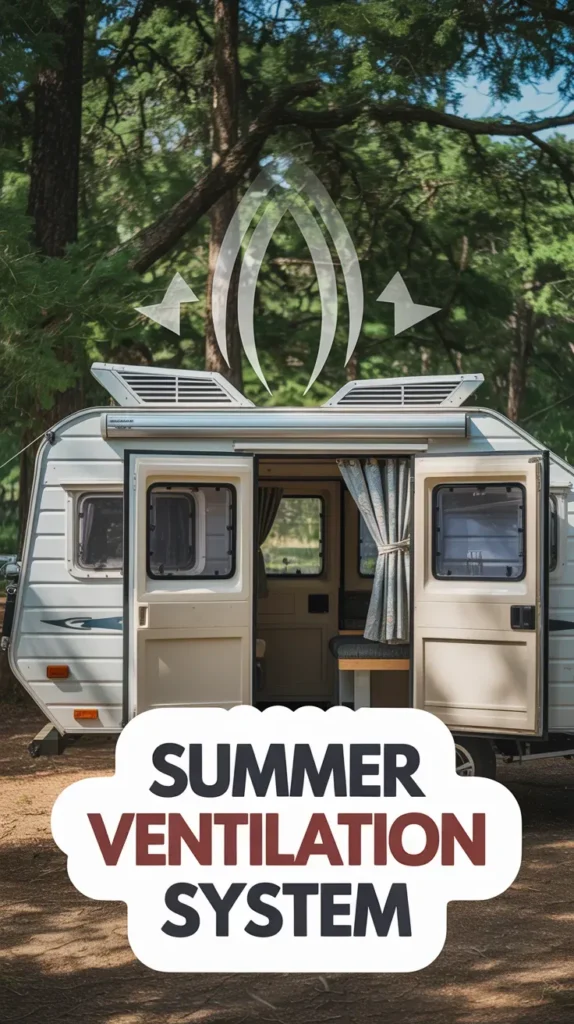
Insulation stops heat loss through walls and ceilings, but it won’t move hot air out of your camper once summer temperatures climb. Opening windows and vents on opposite sides creates natural cross-flow that expels warm air without draining your battery.
Position one roof vent as intake and another as exhaust, then crack sidewall windows during cooler morning hours to maximize passive airflow. Park in shaded areas whenever possible to reduce initial heat buildup and decrease the workload on your ventilation system.
Winter Climate Control: Thermal Mass and Gap Sealing
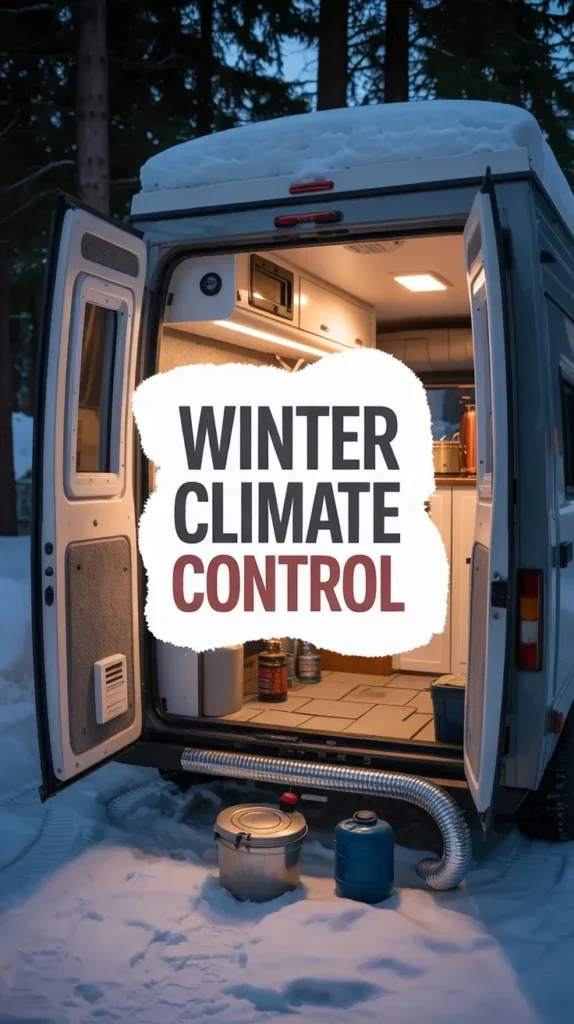
Your micro camper’s ability to retain warmth depends on two critical strategies working together: storing heat through thermal mass and eliminating cold air infiltration through thorough gap sealing. Use stone or water bottles to absorb daytime furnace heat, releasing it overnight for stable temperatures.
Seal windows and doors with weatherstripping, apply silicone caulk around vents, and add anti-vibration pads under equipment to prevent drafts. A good ventilation system helps manage condensation that builds up from heating, preventing moisture damage to your camper’s interior surfaces.
Popup Roofs and Removable Kitchens for Seasonal Space Needs
Adapting your interior space for different seasons requires flexible design elements that expand or contract based on your needs. Pop-top roofs provide essential headroom and ventilation during summer camping, then collapse for fuel efficiency and garage storage in winter.
Removable kitchens transform your layout seasonally, converting cooking areas into sleeping spaces when temperatures drop. You’ll spend less time preparing meals inside during cold weather anyway, so why dedicate permanent square footage to a full galley?
Winter-Proof Your Water Tanks Before Freezing Temps
When temperatures plummet below freezing, your micro camper’s water system becomes vulnerable to ice damage that can crack tanks and burst pipes. Wrap tanks with closed-cell foam or fiberglass, then add heating pads with thermostats that activate below 40°F.
Install pipe heating cables, maintain partial tank levels to allow for ice expansion, and position tanks in sunny spots for maximum solar gain. I’ve seen too many people skip this step and end up with a useless water system until spring thaw.
Solar Panel Sizing for Short Winter Days
Winter sunlight delivers a harsh reality for micro camper solar systems: your panels will generate roughly half the power they produced during summer months. Colorado averages less than five peak sun hours in winter versus six in summer, while a 200W panel drops from 1,000Wh daily to just 450Wh.
Combat this by oversizing your array, installing 400W minimum if you’re planning serious winter camping. Tilt panels to your latitude angle for approximately 30% output gains during low-angle winter sun.
Summer Cooling: 12V AC Units vs. Passive Shade Strategies
Summer heat presents the opposite challenge as your micro camper becomes an oven on wheels when temperatures climb above 85°F. Units like the Zero Breeze Mark 3 deliver 5,280 BTU but require venting and substantial power draw.
Exterior window covers block roughly 30% of heat gain before it enters your space. Roof vent fans create cross-flow while evaporative coolers drop temperatures 5 to 15°F in low-humidity environments.
Battery Capacity Planning for Seasonal Power Demands
Your seasonal power needs change dramatically throughout the year, and selecting the right battery capacity prevents both costly over-building and frustrating power shortages. Summer cooling demands 300 to 400Ah for 12V AC units, while winter heating requires 150 to 200Ah for diesel heaters and heated blankets.
Lithium batteries deliver 100% usable capacity versus lead-acid’s 50%, making a 200Ah lithium equivalent to 400Ah AGM. This matters when you’re counting amp-hours at 2 a.m. in freezing temperatures.
Keep Ventilation Running Even While You’re Driving
Maintaining active airflow during transit prevents the dangerous heat buildup that transforms your micro camper into a mobile oven. Powered roof vents operating on 12V systems expel hot air continuously, while window-mounted USB fans draw cool air through cracked openings.
Pair high-level exhaust with low-level intake vents to create convection-driven circulation. This setup functions independently of vehicle motion and works whether you’re idling in traffic or cruising at highway speeds.
Removable vs. Fixed Features for Summer and Winter Travel
Your micro camper’s structural choices directly impact year-round usability in ways that aren’t immediately obvious. Removable features like tables and benches maximize flexibility in compact spaces where every square inch counts.
Summer setups benefit from power awnings and pop-up roofs that expand living areas beyond your vehicle’s footprint. Winter demands moisture-resistant composite construction and insulated walls for reliable four-season performance without constant maintenance headaches.