Most RVers move in and immediately start decorating the way they would a small apartment. That instinct is understandable, but it will shrink your space before you’ve even finished unpacking.
An RV interior lives and dies by how it feels, not just how many square feet it measures. A few targeted changes can make a 200-square-foot camper feel genuinely open and livable.
None of them requires gutting the place. You just have to know where to look, and that’s what this guide covers.
Why Small RV Decorating Requires a Different Approach
The Difference Between Physical Space and Visual Space
Your tape measure only tells half the story in an RV. Physical space is what the floor plan shows; visual space is what your brain actually perceives when you walk through the door.
The same 200 square feet can feel like a sauna or a sanctuary depending entirely on your decorating choices. Color, light, furniture scale, and clutter all vote on which one you get.
The Mindset Shift That Makes Tiny Spaces Feel Intentional
Decorating a traditional home rewards accumulation; decorating an RV punishes it. The shift that changes everything is moving from a homeowner’s mindset to a curator’s one.
Every item needs a reason to be there, whether it serves a function, brings genuine joy, or does both at once. That constraint, once you stop fighting it, becomes the thing that makes your interior feel considered rather than cramped.
Start With a Light, Cohesive Color Palette

The Best Neutral Bases for Small RV Interiors
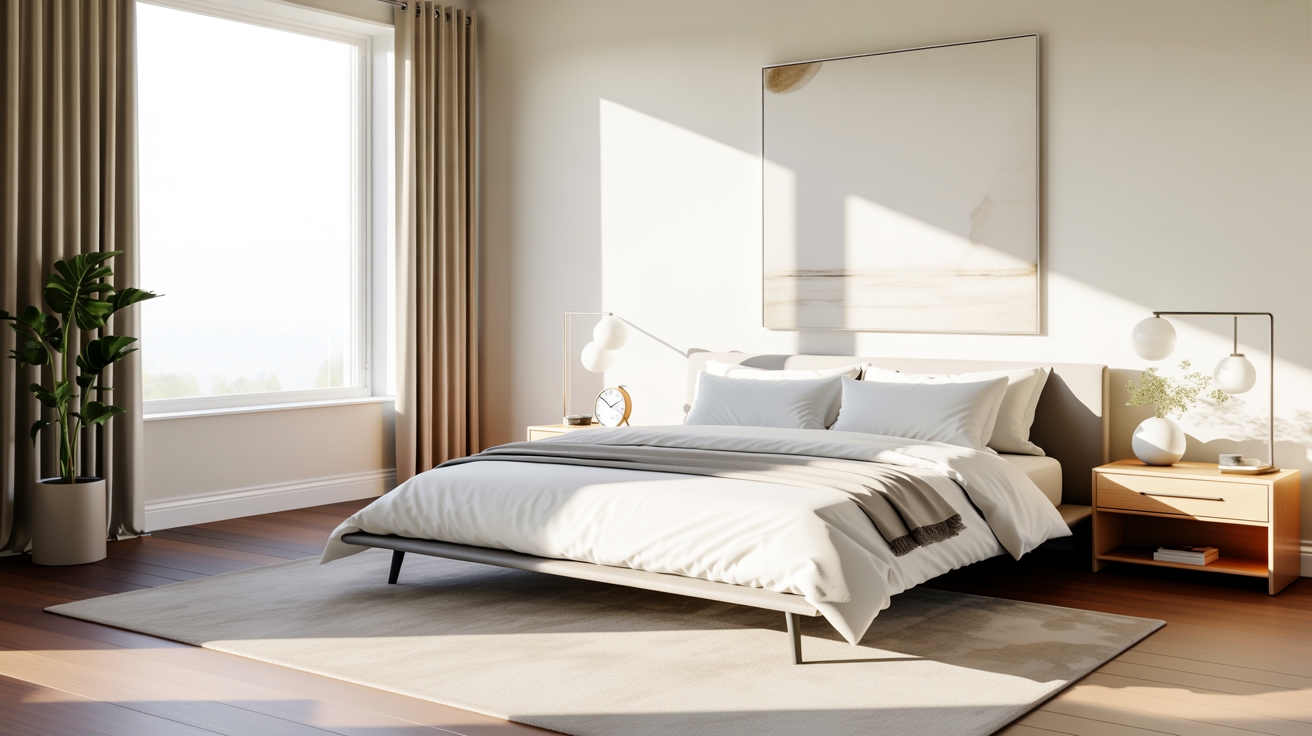
Light colors are the cheapest square footage you’ll ever buy. Whites, creams, and soft grays reflect natural light back into the room rather than pulling it in and swallowing it.
That reflection is what creates the sense of airiness that darker palettes simply cannot produce in a small space. Pick a washable, durable finish for high-traffic areas so your light palette stays looking sharp after a few hundred miles of road grime.
Coordinating Cabinets, Textiles, and Decor for Flow
Visual harmony in an RV comes from treating every surface as part of the same conversation. Your cabinet hardware finish should mirror your light fixture metal, your throw pillows should echo your cabinet color, and your window treatments should tie back to your upholstery.
When the eye moves across the room and keeps finding the same tones repeated, the space reads as intentional rather than accidental. That sense of flow is what makes a small interior feel larger than it actually is.
| READ THIS GUIDE: The Ultimate Guide to RV Decorating Ideas (Inside, Outside & Every Style in Between) |
Use Vertical Space to Your Advantage
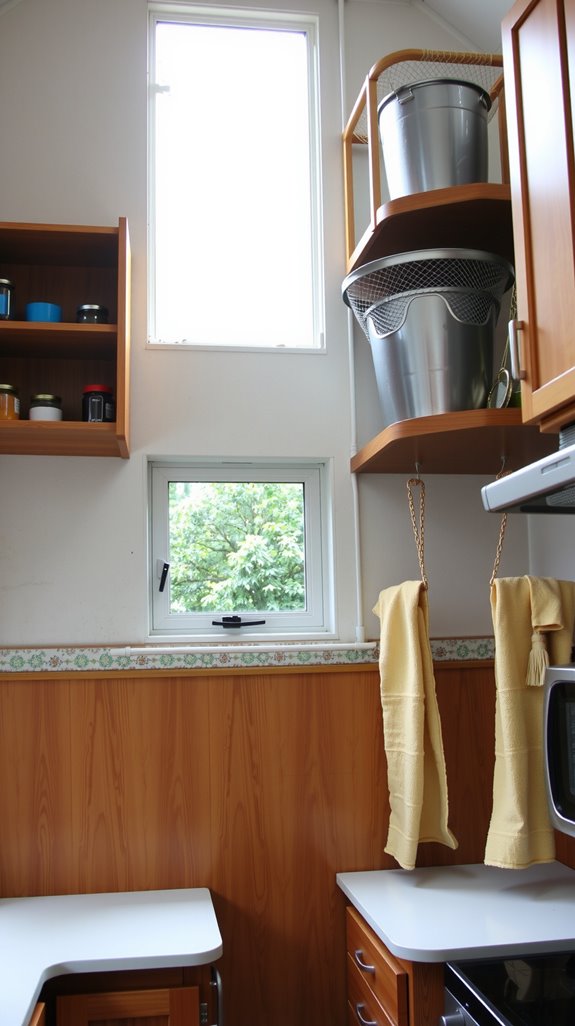
Floating Shelves and Slim Wall Storage Ideas
Floor space in an RV is non-negotiable real estate, and your walls are sitting there doing almost nothing.
Floating shelves installed above countertops, doorways, and seating areas reclaim storage without adding a single inch to your footprint.
Go with slim-profile designs that won’t jut into walkways, and mount everything with hardware rated for road vibration. A shelf that rattles loose on the highway isn’t storage, it’s a hazard.
Wall-Mounted Lighting to Free Up Surfaces
Table lamps and floor lamps are surface thieves, and in an RV you simply can’t afford them. Swap them out for wall-mounted sconces, swing-arm reading lights, or LED strip lighting instead.
You get the same illumination without surrendering a single inch of counter or floor space. It’s a small change that has an outsized impact on how open the room feels.
Hanging Organizers That Double as Decor
Beyond lighting, your walls can handle a surprising amount of organizational weight. Macramé wall pockets, woven baskets on hooks, and fabric pouches store daily essentials while adding texture and visual warmth to the room.
Choose pieces that align with your color palette so they read as part of the design rather than an afterthought. When storage looks intentional, the whole space looks more put-together.
Remove Bulky Factory Decor That Shrinks the Room
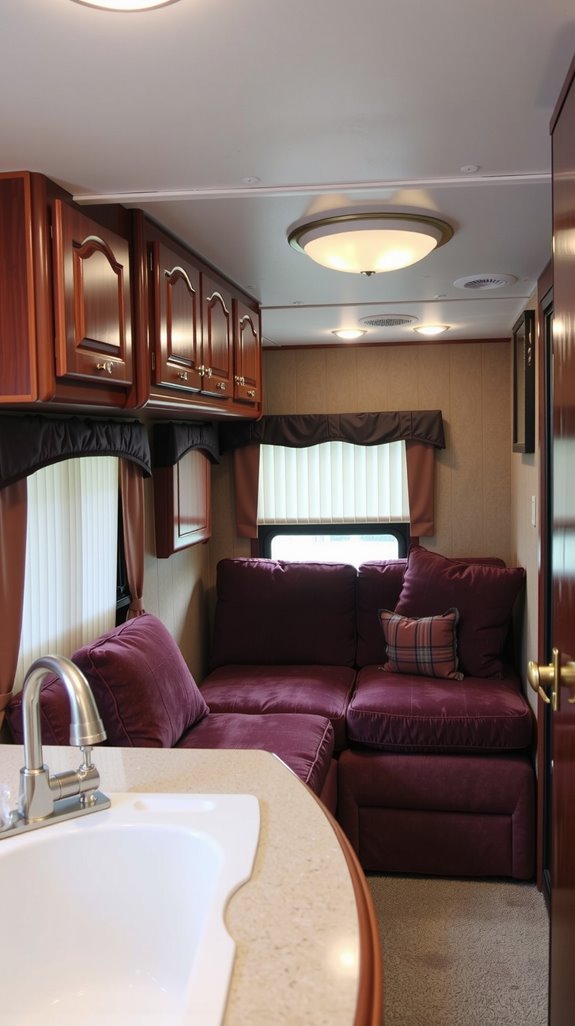
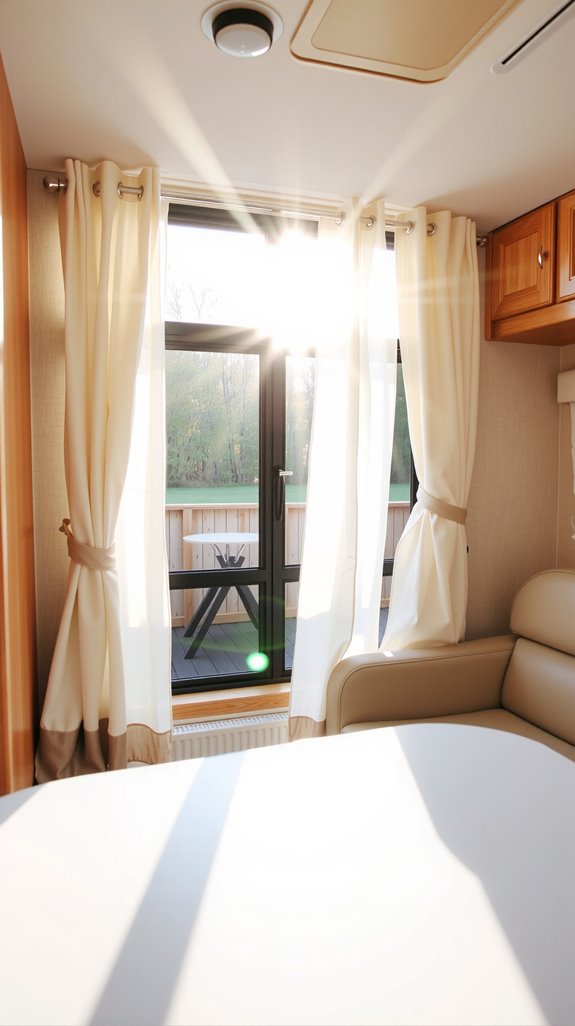
Swapping Heavy Valances and Outdated Curtains
Pull down those puffy valances and heavy drapes the manufacturer installed and you’ll immediately feel the room exhale. Replace them with a simple tension rod and sheer linen panels that filter light without blocking it.
You’ll gain several inches of perceived ceiling height around every window, which matters enormously in a tight space. Privacy stays intact, and the whole interior gets noticeably brighter.
Replacing Oversized Hardware and Fixtures
Factory cabinet pulls, drawer handles, and light fixtures are rarely chosen with aesthetics in mind. They tend to be chunky, dated, and visually loud in a space that needs every advantage it can get.
Swap them out for slim, low-profile hardware in brushed nickel or matte black and replace bulky ceiling fixtures with LED panels or simple pendant lights. The whole interior tightens up and looks like someone actually thought about it.
Choose Slim, Multi-Functional Decor Pieces
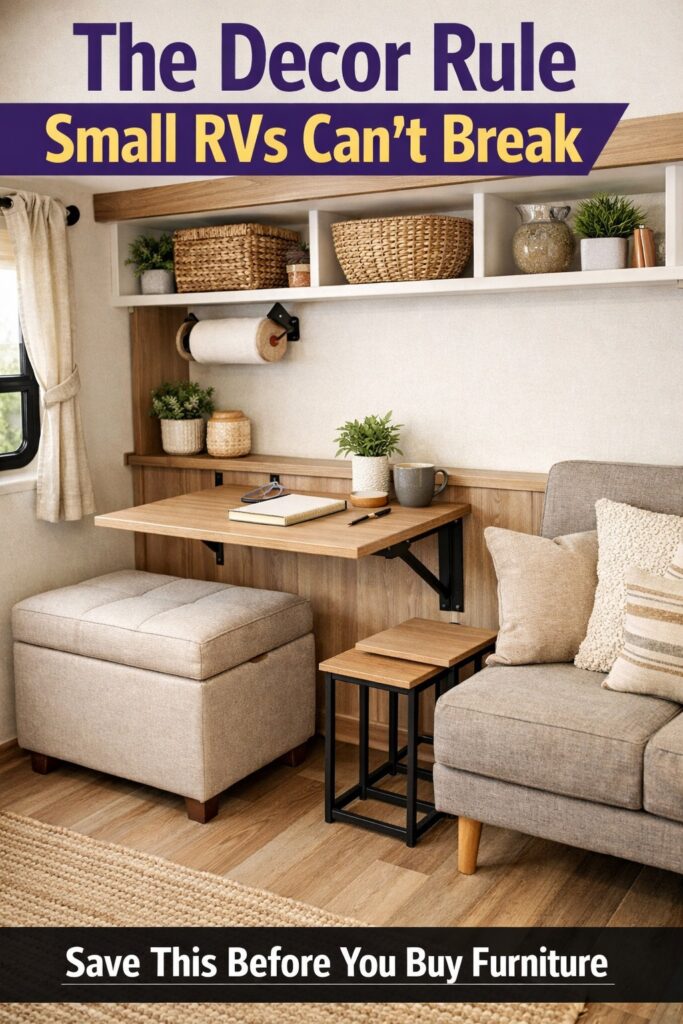
Storage Ottomans, Fold-Down Tables, and Nesting Furniture
Single-purpose furniture is a luxury that small RV living simply doesn’t support. A storage ottoman earns its place twice over by providing seating and concealing blankets, games, or gear you don’t reach for daily.
Fold-down wall tables give you a dining or work surface on demand, then get out of the way completely when you’re done. Nesting tables work the same logic, expanding when you need them and stacking out of sight when you don’t.
Decorative Baskets That Hide Everyday Items
Woven baskets are one of the most practical things you can bring into an RV, and they happen to look good doing it. They corral toiletries, charging cables, snacks, and remotes without turning your surfaces into a yard sale.
Natural materials like seagrass and rattan add warmth and texture, which is something a plastic bin will never do. Stack them vertically or mount them on the wall and you’ve turned your clutter problem into a design feature.
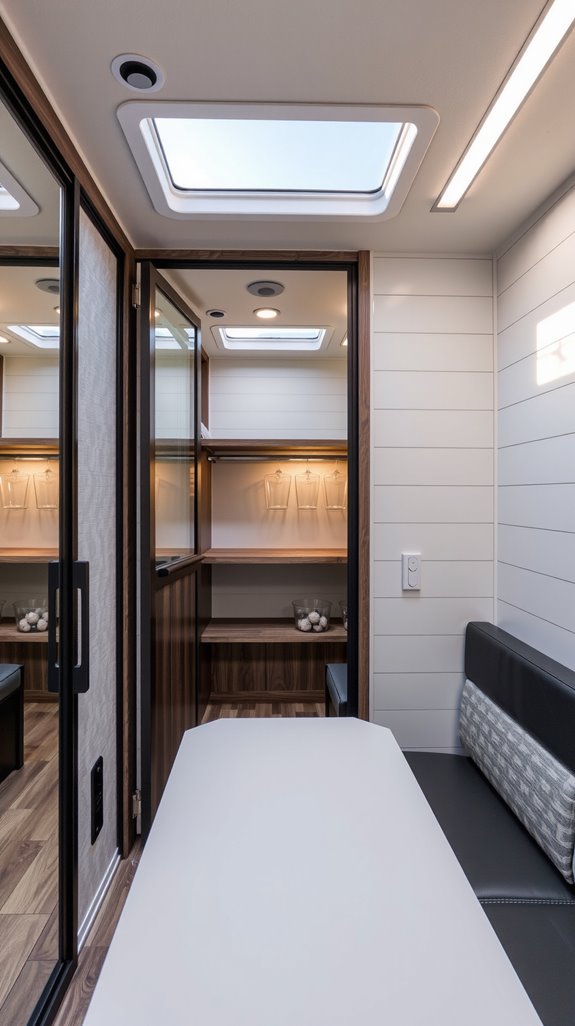
Maximize Natural Light in a Small Camper Interior
Sheer Curtains vs. Blackout Curtains
Window treatment choices in an RV are genuinely consequential, not just decorative. Sheer curtains keep the space feeling open and airy during daylight hours, letting natural light do the heavy lifting.
Blackout curtains give you privacy and temperature control but can make the interior feel like a cave if that’s all you’ve got. Layer both on the same rod so you can dial in exactly what the situation calls for.
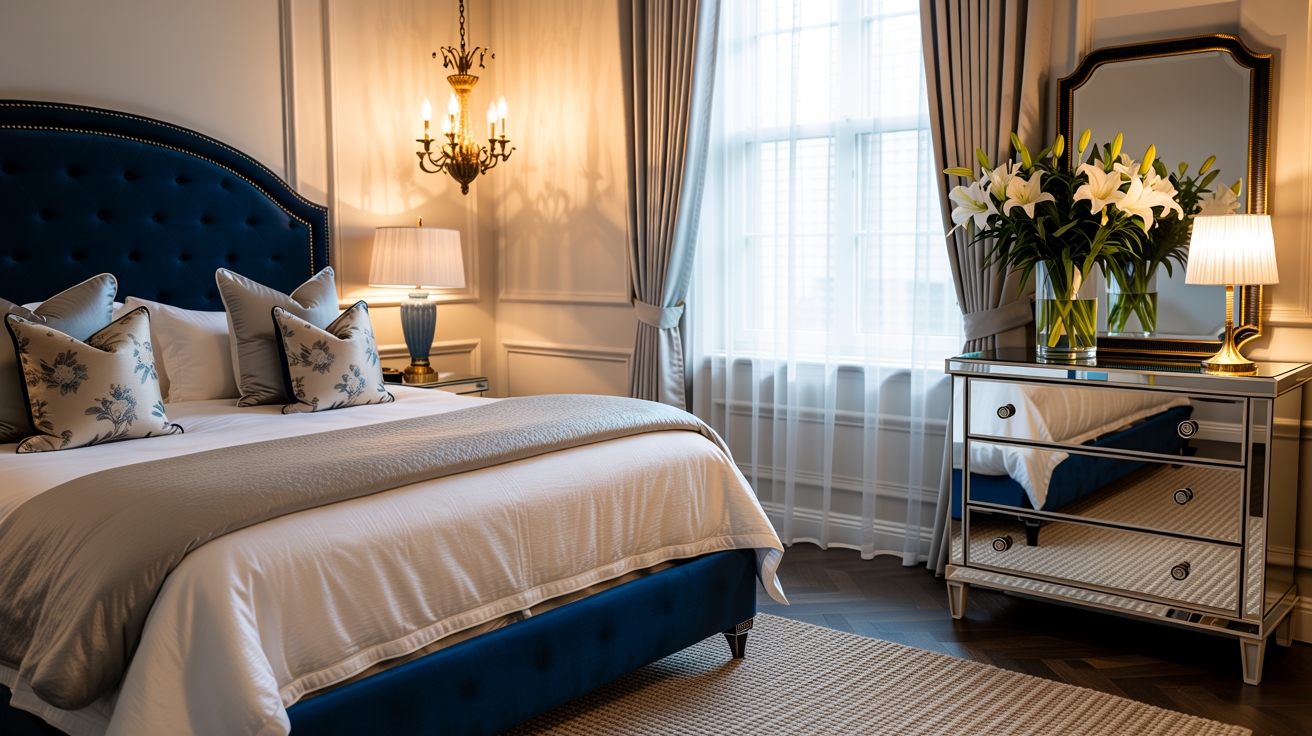
Strategic Mirror Placement for Light Reflection
A well-placed mirror is essentially a free window. Position one directly opposite a window and it bounces sunlight deeper into the interior, reaching corners that would otherwise stay dim and heavy.
Hang mirrors near entry doors or in narrow hallway sections where natural light typically fades first. Mirrored cabinet doors accomplish the same trick without consuming any wall space at all.
Under-Cabinet and Accent Lighting That Expands the Space
Natural light sets the foundation, but artificial lighting fills the gaps that sunlight can’t reach. LED strip lights under cabinets illuminate countertops and create visual layering that makes the room feel deeper.
Battery-operated puck lights handle closets and overhead compartments where shadows tend to pool. Use warm-toned bulbs for reading lamps to establish cozy zones without making the space feel smaller.
Create Defined Zones in an Open RV Layout
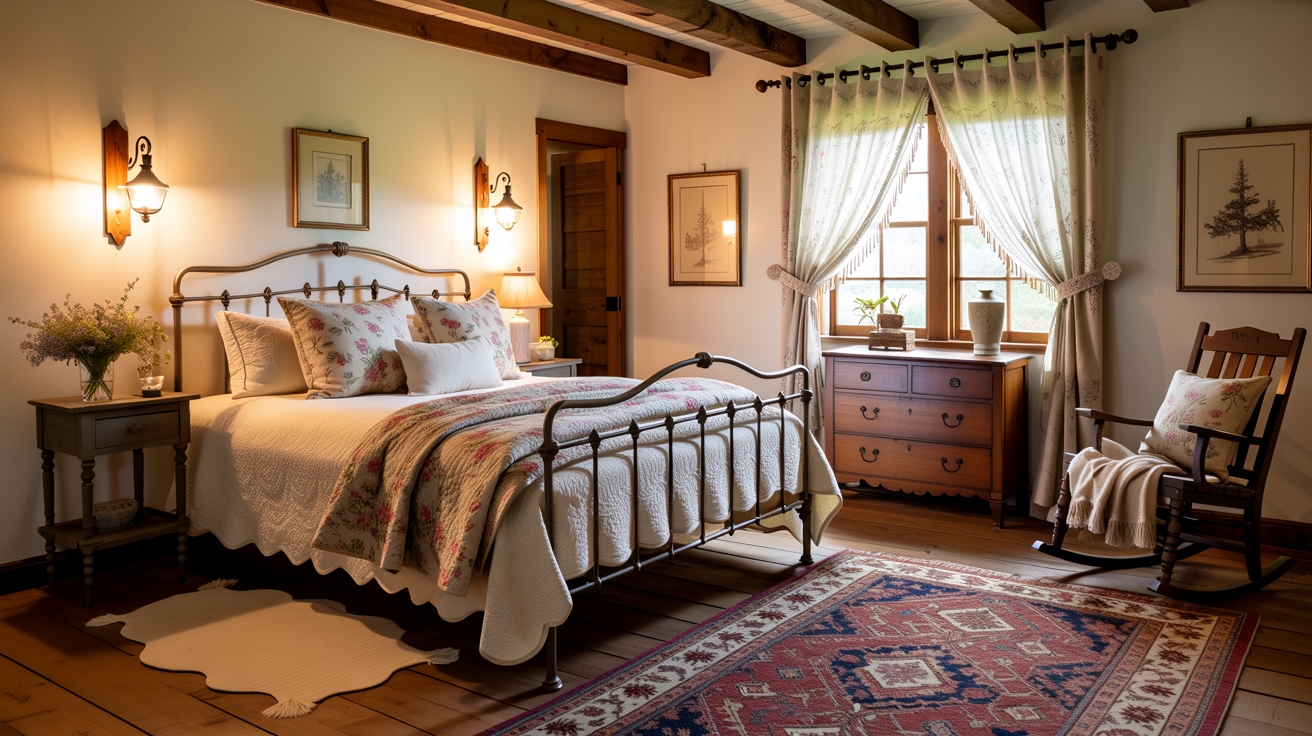
Using Rugs to Anchor Separate Areas
An open RV floor plan can blur into one undifferentiated room without some visual structure to break it up. Rugs are the most effective and least invasive way to create that structure.
A rug under the dining table claims that space as the eating area; one beside the bed signals that the sleeping zone starts here. Those visual boundaries give each part of the room a sense of purpose, and the whole layout reads as more organized.
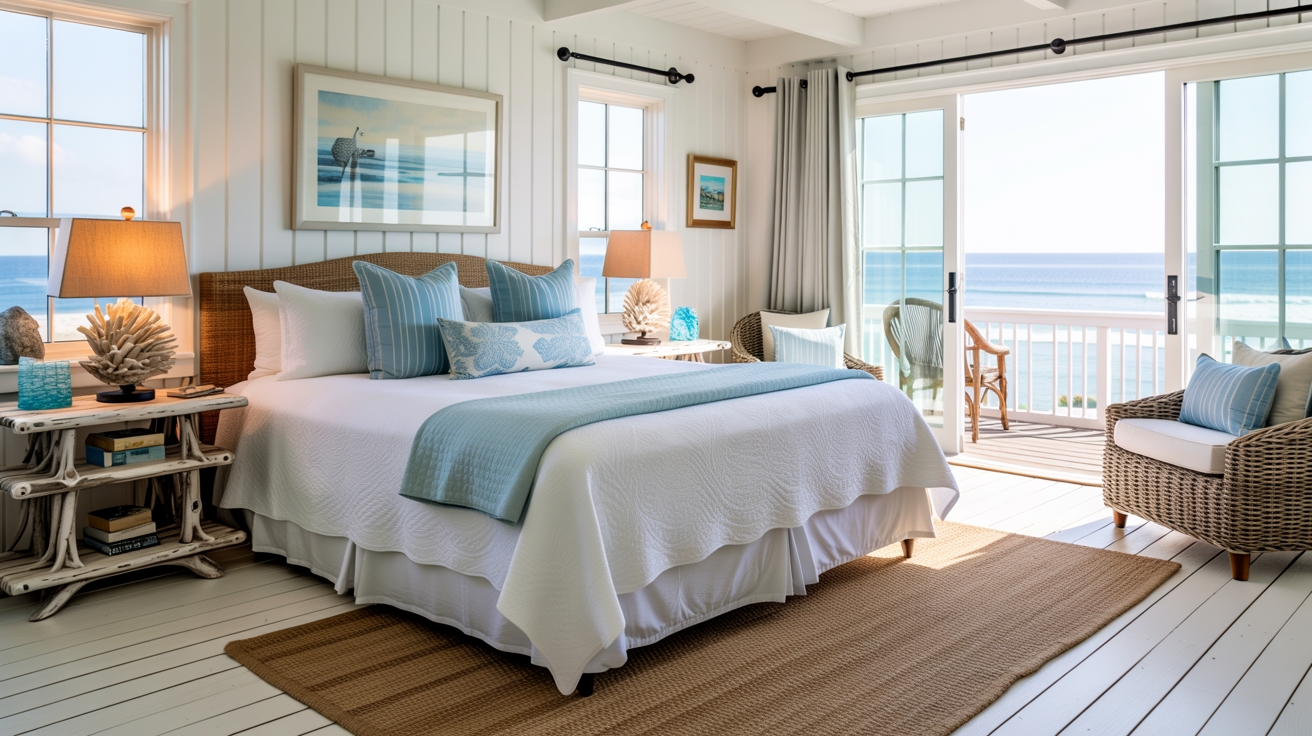
Styling Kitchen, Lounge, and Sleeping Zones Differently
Once your rugs establish the zones, subtle color shifts reinforce them. Coastal blues in the kitchen, warm earth tones in the lounge area, and cooler neutrals in the sleeping space give each section its own personality.
The differences don’t need to be dramatic; even slight shifts in tone are enough for the eye to register a change. What you end up with is an interior that feels larger because it contains multiple distinct experiences.
Keeping Transitions Between Zones Cohesive
Defined zones work until they don’t talk to each other, at which point the whole interior starts feeling chaotic. Hold everything together with a consistent through-line: the same hardware finish, the same wood tone, the same fabric texture appearing in each zone.
Think of it as setting a family resemblance across areas that have their own personalities. The space feels organized rather than scattered, and that perception alone makes it feel bigger.
Keep Surfaces Clear to Prevent Visual Clutter
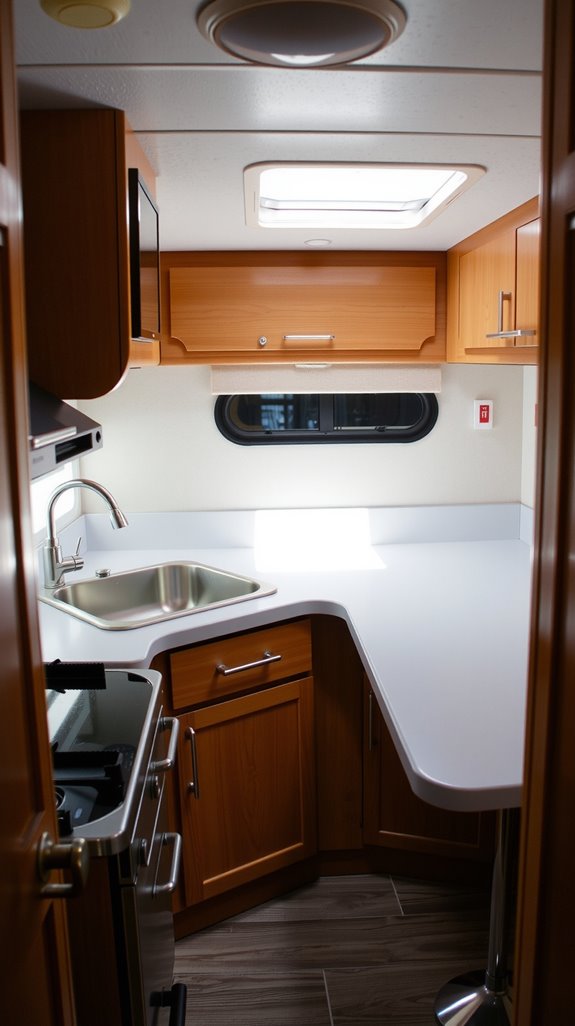
Smart Countertop Storage Solutions
Countertops in an RV are prime real estate and they attract clutter the way a campsite attracts mosquitoes. Tiered organizers, corner caddies, and magnetic strips for knives pull daily-use items up off the surface and onto the wall.
Appliances that don’t get used every single day go into a cabinet, without exception. When your counters are mostly clear, the whole kitchen reads as larger and easier to work in.
Vertical Utensil and Tool Organization
Magnetic wall strips and pegboards mounted inside cabinet doors are the workhorses of vertical kitchen storage. They keep your most-used tools visible and accessible without sacrificing a single inch of counter space.
Hanging racks work the same way for pots, utensils, and even paper towels. The payoff is a kitchen that functions smoothly and looks intentional rather than chaotic.
The “Three Item Rule” for Open Shelving
Open shelves are decorating opportunities that most people turn into clutter displays. Limit yourself to three items per shelf and suddenly the same space reads as curated instead of congested.
Group those items by height and color so the eye reads them as a deliberate arrangement. Rotate pieces seasonally if you like variety, but resist the urge to add more; the empty space around objects is doing real visual work.
Small Travel Trailer Decorating Ideas That Feel Elevated
Coordinated Bedding for Compact Bedrooms
In a compact sleeping area, your bedding is the room. It covers the largest single surface in the space and sets the entire atmosphere before anything else registers.
Coordinated sets with complementary colors and layered lightweight textiles add dimension without making the bed feel like it’s swallowing the room. Skip the heavy comforters and opt for linen or cotton layers you can add or strip depending on the temperature.
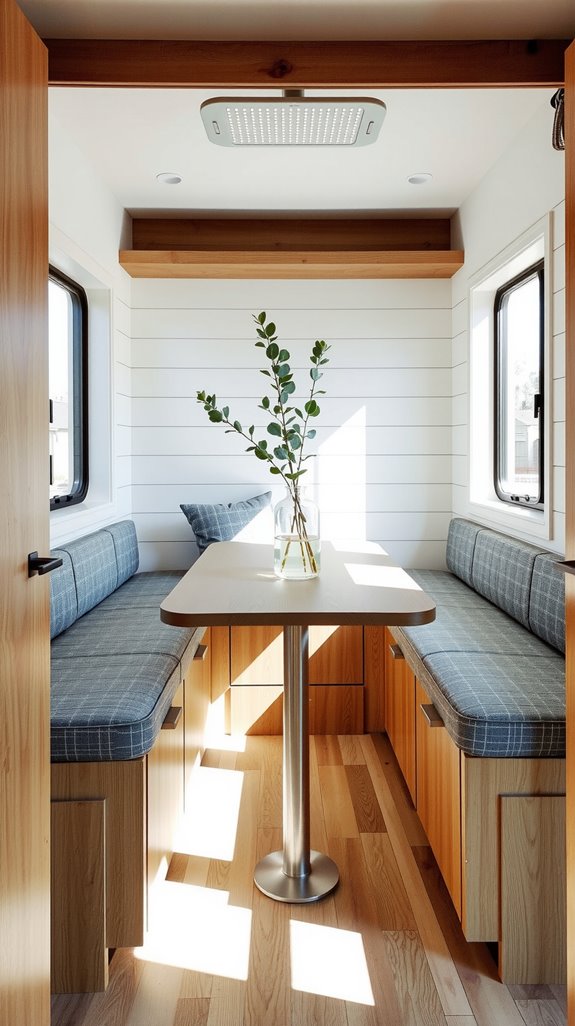
Compact Dining Nook Styling Tricks
Factory dining nooks tend to look like they were styled by the same person who designed hospital waiting rooms. Replacing the cushions with a textured fabric in a warm neutral tone costs very little and changes everything about how the space feels.
Add a slim pendant light above the table and the nook suddenly has ambiance instead of just overhead fluorescence. A small folding tray or a single bud vase on the table keeps it looking finished without cluttering the surface.
Matching Indoor and Outdoor Decor for Visual Continuity
Your outdoor living space is square footage you’re already paying for, and most RVers treat it as a completely separate environment. Match your outdoor rug pattern to your interior textiles, or echo your cabinet colors in your camp chairs and storage bins.
Repeat your interior hardware finish on exterior lanterns and accessories and the boundary between inside and outside softens considerably. Suddenly your RV’s usable living space feels like it extends well beyond its four walls.
Small RV Decorating Mistakes That Make the Space Feel Smaller
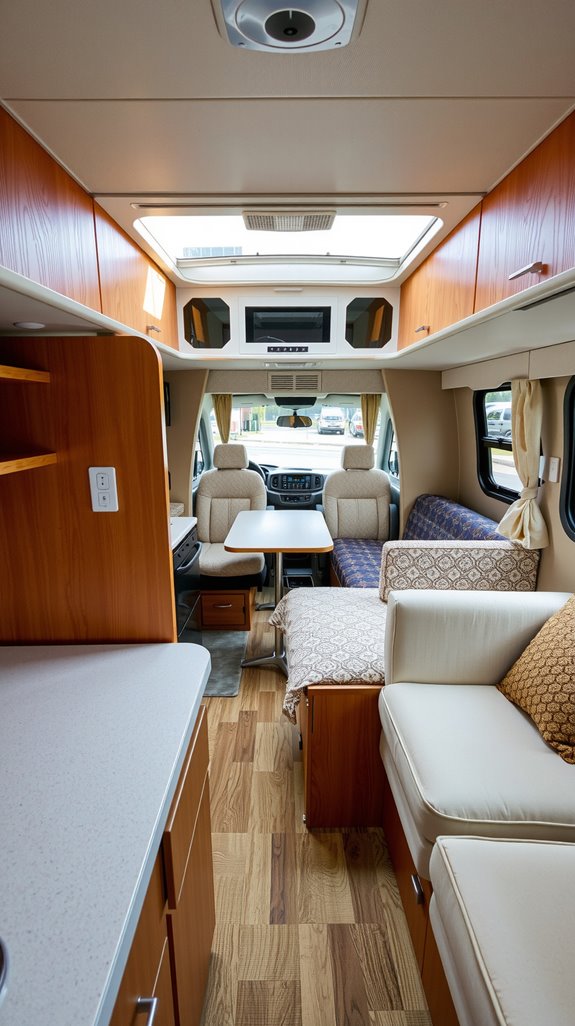
Mixing Too Many Wood Tones
Wood adds warmth and character, but only when it’s working in harmony with itself. Cherry cabinets against oak flooring with walnut accents creates visual noise that makes the eye restless and the room feel chaotic.
Stick to two complementary wood tones at most, or paint some elements white to reset the palette and create breathing room. When the wood tones agree with each other, the space feels pulled together and noticeably more open.
Oversized Decor in Tight Layouts
Furniture and decor scaled for a house will bully every other element in an RV interior. Oversized throw pillows, hulking lamps, and wall art better suited for a living room compress the space and leave walkways feeling tight.
Measure before you buy anything, and verify that adequate walking clearance remains after every new piece goes in. Smaller, thoughtfully chosen items let the room breathe instead of fight for space.
Over-Styling Every Surface
Covering every countertop, shelf, and tabletop with decorative objects is one of the most common mistakes in small-space design. Your eyes can’t find a place to rest, and that constant visual activity registers as stress rather than style.
Choose a handful of meaningful pieces and let the surfaces around them stay clear. The empty space isn’t wasted; it’s what makes everything else look intentional.
A Simple Formula for Decorating Any Small RV Interior
Step 1: Choose a Palette
Everything else follows from the palette, so get this right first. Two neutral base tones like a warm white and a soft greige, plus one accent color, give you enough range to work with without tipping into chaos.
Light tones do the heavy lifting by reflecting natural light throughout the interior. Once you’ve committed to your palette, let it govern every purchase from here on out.
Step 2: Remove What’s Bulky
Before a single new thing goes in, spend a day pulling out what’s already dragging the space down. Oversized furniture, redundant storage bins, decorative pieces that only add clutter, anything that takes up room without earning it has to go.
This step is harder than it sounds because attachment gets in the way. But the space you uncover is the foundation everything else gets built on.
Step 3: Add Vertical Storage and Light Layers
Once you’ve cleared the floor and surfaces, build upward rather than outward to reclaim the room’s openness. Floating shelves, over-door organizers, and wall-mounted hooks expand your storage without touching your floor space.
Layer in lightweight textiles, sheer curtains, linen throws, and thin area rugs to add warmth and depth without bulk. The result is a space that feels taller, airier, and far more livable than the floor plan ever suggested it could be.