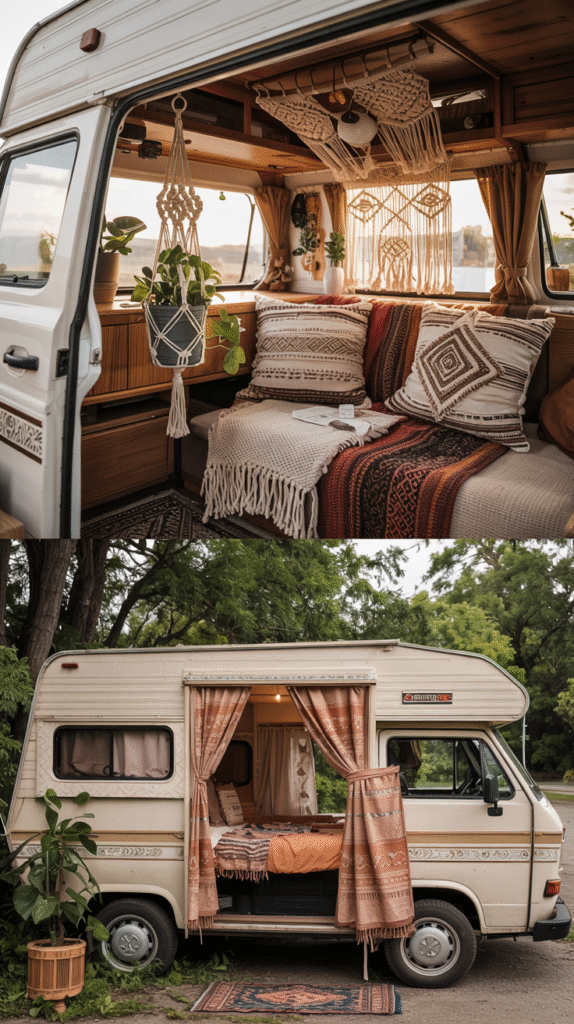
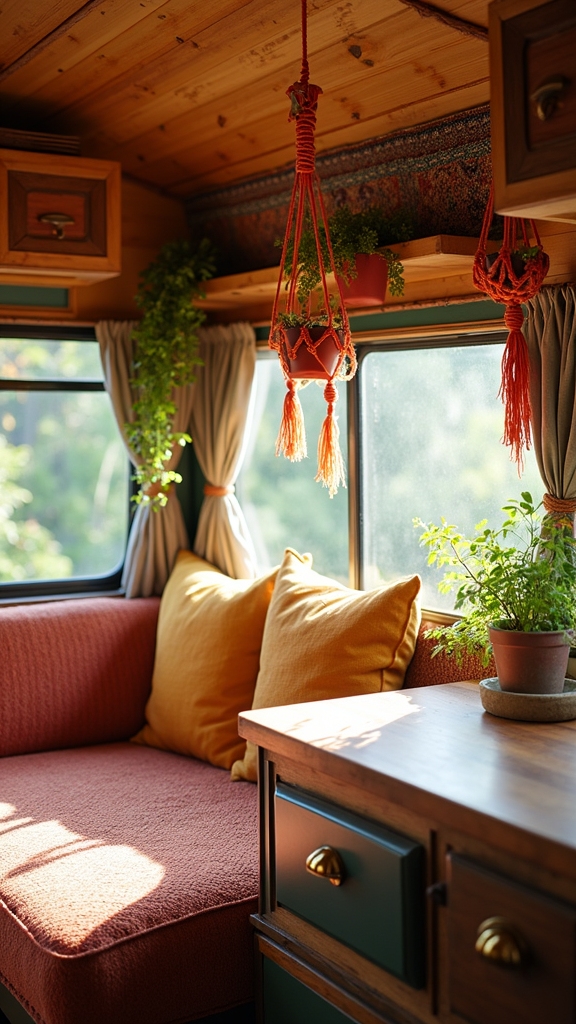
There’s a moment when you step into a well-loved camper van and just know someone actually lives there. It’s not the expensive gear or the custom cabinetry that does it. It’s usually something knotted, something soft, something that swings gently when the rig rolls down a dirt road.
Macramé has a way of doing what no shelf bracket or storage bin ever could: it makes a metal box feel human.
Once you’ve spent a rainy afternoon knotting cotton cord while parked under a stand of pines, you’ll understand why van-lifers keep coming back to it, and the projects ahead give you plenty of reasons to start.
Getting Started With Macramé Basics
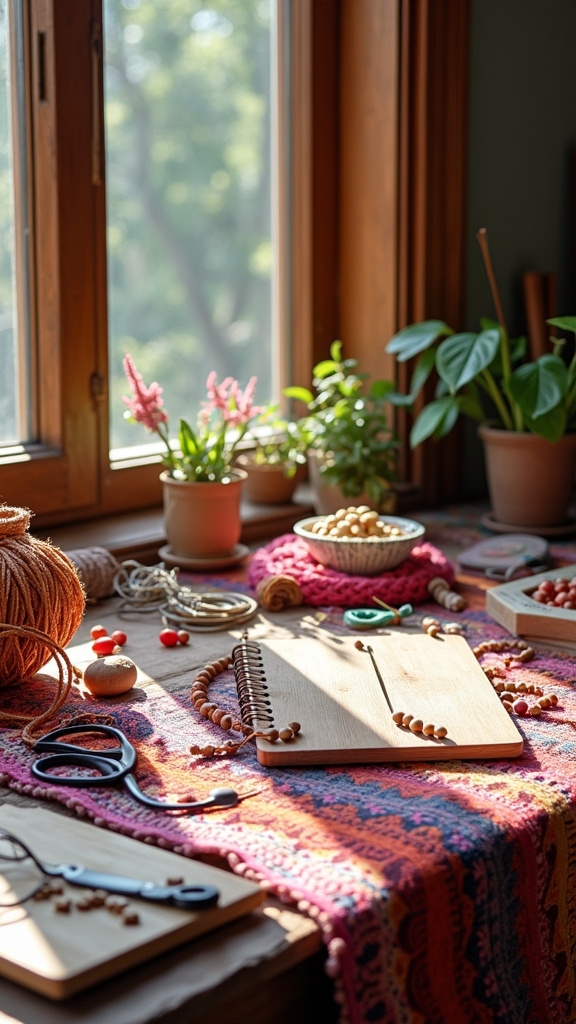
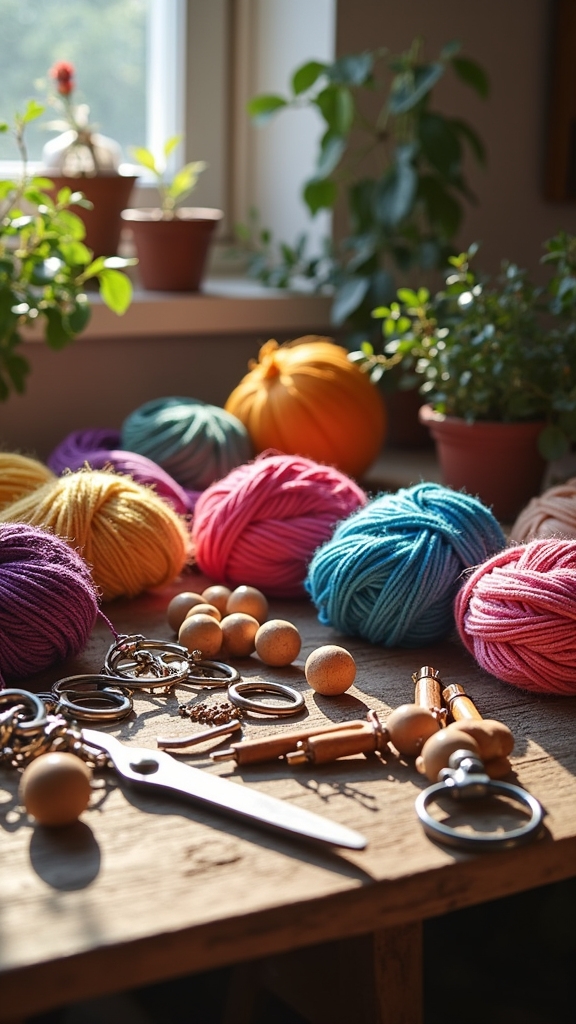
Cotton rope in the 3 to 5mm range is your workhorse for almost every project in here. Go thicker, around 6 to 8mm, if you’re building something weight-bearing like a shelf or a hammock corner. Wooden dowels and metal rings are easy to find at any craft store, but driftwood picked up on a beach walk brings a texture no store shelf can replicate.
Keep sharp scissors, a tape measure, and a handful of wooden beads or shells nearby because the little details are what make a finished piece feel personal rather than generic.
You genuinely don’t need more than four knots to pull off every project in this guide. The square knot is the foundation: strong, forgiving, and it holds up whether your rig is parked or bouncing down a washboard forest road.
The spiral knot gives plant hangers that satisfying corkscrew twist that looks far more complicated than it is, and the half hitch chains together fast to create airy, open texture that reads as fancy from ten feet away. The lark’s head knot is how you attach everything to a dowel or ring in the first place, and it takes about two seconds to learn. Practice all four on a short scrap piece before cutting into your good cord.
Project 1: Camper Macramé Plant Hanger
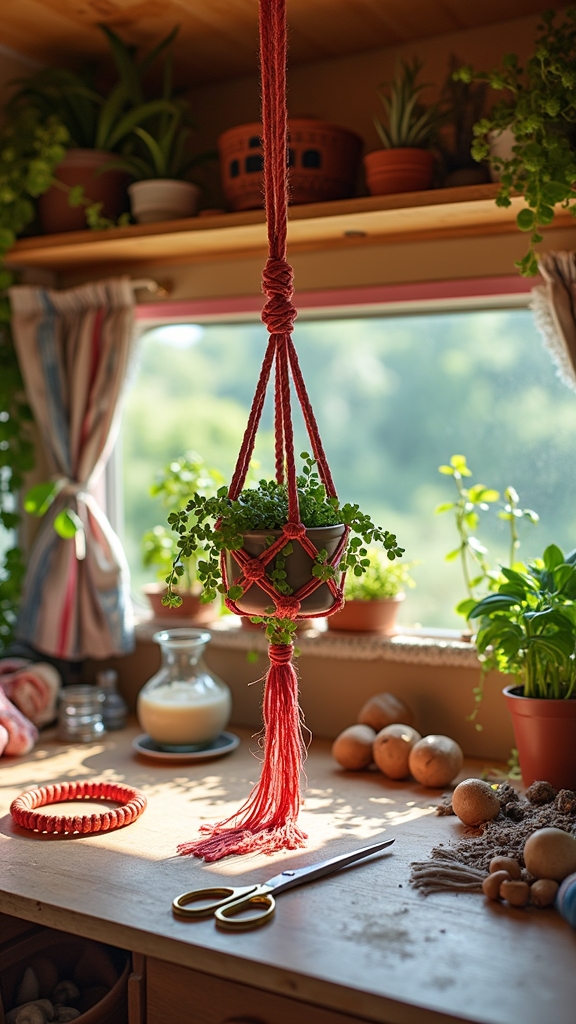
Cut four pieces of cotton cord to about 3 meters each, fold them in half, and loop all four through a metal ring so you have eight strands hanging down. Tie one big overhand knot just below the ring to lock the bundle, then split into four pairs and work a row of square knots about 30cm down.
Drop another 20cm, swap strands between pairs, and tie a second row, then gather everything at the bottom into one final chunky knot. Trim the ends, tuck in your favorite pothos or trailing plant, and you’ve just reclaimed a surprising amount of counter space.
Project 2: Macramé Curtain for Camper Windows
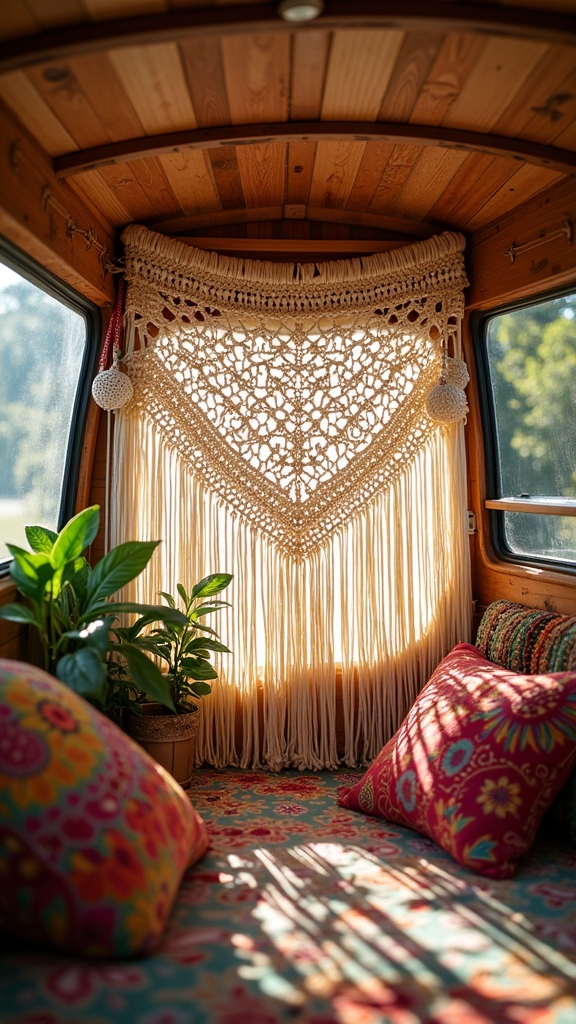
A macramé curtain does something a fabric panel struggles with in a small space: it filters light instead of killing it. Fold 20 to 30 pieces of 2-meter cord in half, attach them to a tension rod with lark’s head knots, then work rows of square knots down the panel with 10 to 15cm of breathing room between each row.
Stick to cream or natural cord tones so the interior doesn’t feel like a cave at noon. The loose fringe at the bottom moves with the breeze through a cracked window in a way that makes the whole rig feel alive.
Project 3: Boho Wall Hanging Statement Piece
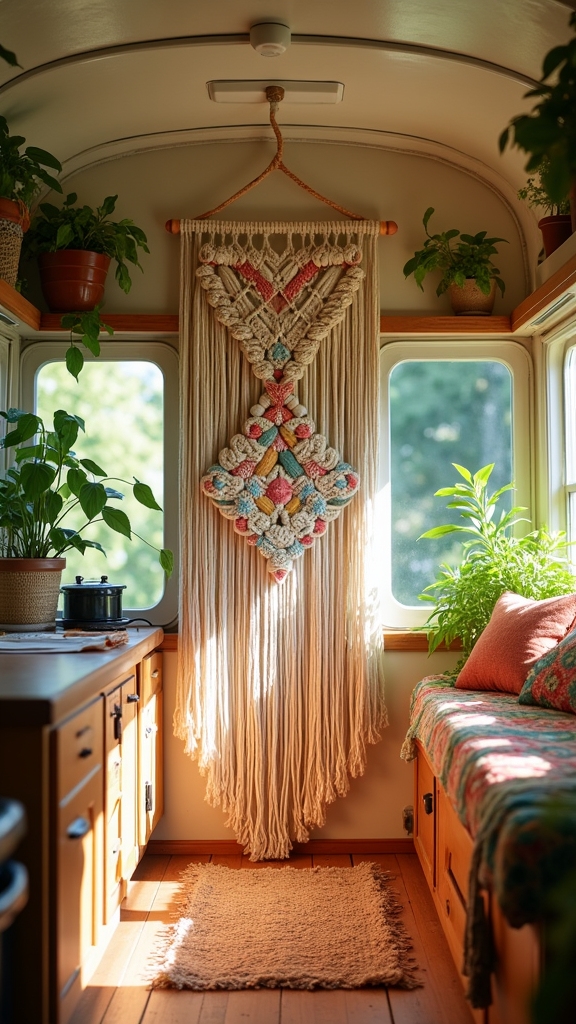
Find a piece of driftwood between 50 and 60cm wide, something with a little character to it, and attach 20 to 40 cords cut to 3 or 4 meters each using lark’s head knots. From there, mix square knots, spiral knots, and half hitches without overthinking the pattern because the slightly imperfect, organic look is exactly what you’re going for.
Trim the bottom into a deep V or leave it shaggy, then hang it above the bed or over the dinette. If you want to push it further, dip the bottom third into fabric dye in sage or dusty rose and let it dry in the sun before it goes on the wall.
Project 4: Floating Macramé Shelf
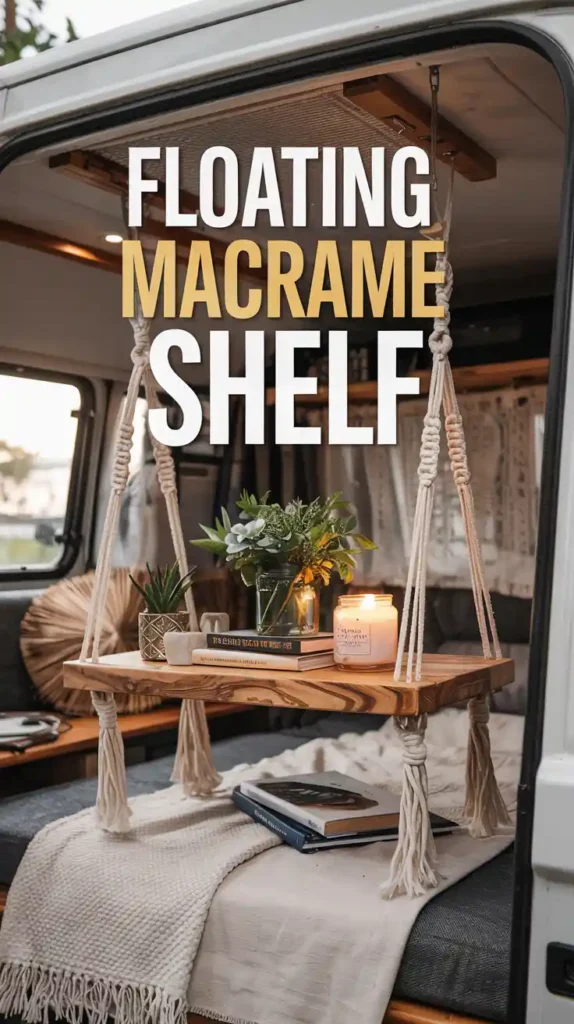
Drill a hole near each corner of a wooden plank, roughly 40 to 60cm long, then thread a 2-meter piece of sturdy cord down through each hole and tie a solid knot underneath so the plank can’t pull through. Bring all four cords up and tie them together at the top, then hang the whole thing from a ceiling hook rated for the weight.
Level it out and load it with a small plant, a few books, or whatever you’d normally stack on the counter. Vertical storage in a camper isn’t a nice-to-have; it’s the difference between a space that feels workable and one that feels suffocating.
Project 5: Small Macramé Touches for Everyday Life
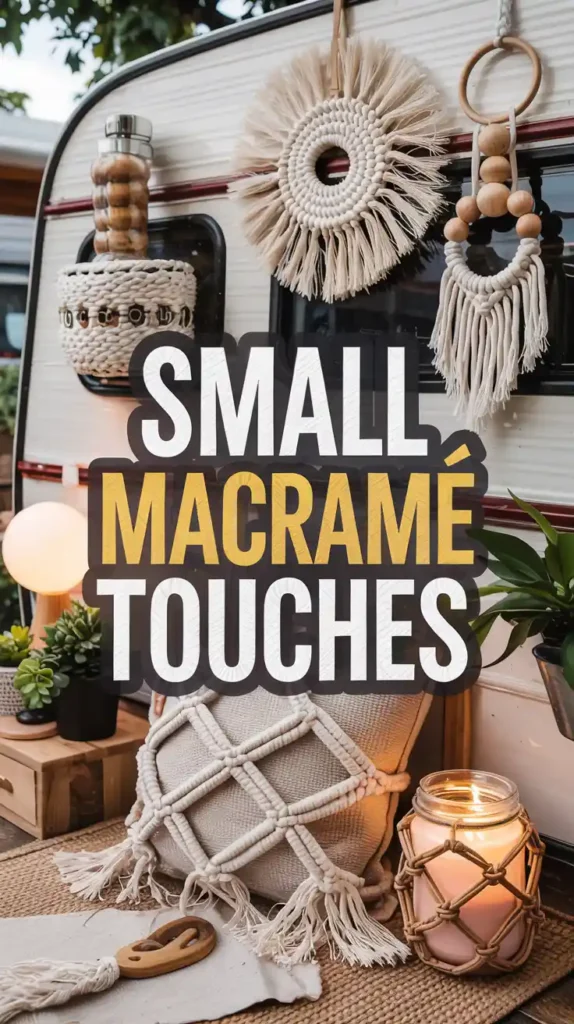
The small stuff adds up faster than you’d expect, and it’s where leftover scrap cord earns its keep. Coasters take ten minutes: loop short pieces onto a small metal ring and work tight square knots in a circle until you’ve got something flat and firm enough to protect the table.
Fringe knotted along the edge of a throw pillow or shelf trim costs almost nothing but changes how a surface reads entirely. LED tealights wrapped in a half-hitch net around a mason jar give off a warm evening glow and, critically, carry zero fire risk in a camper.
Project 6: Making Macramé Coasters for Your Camper
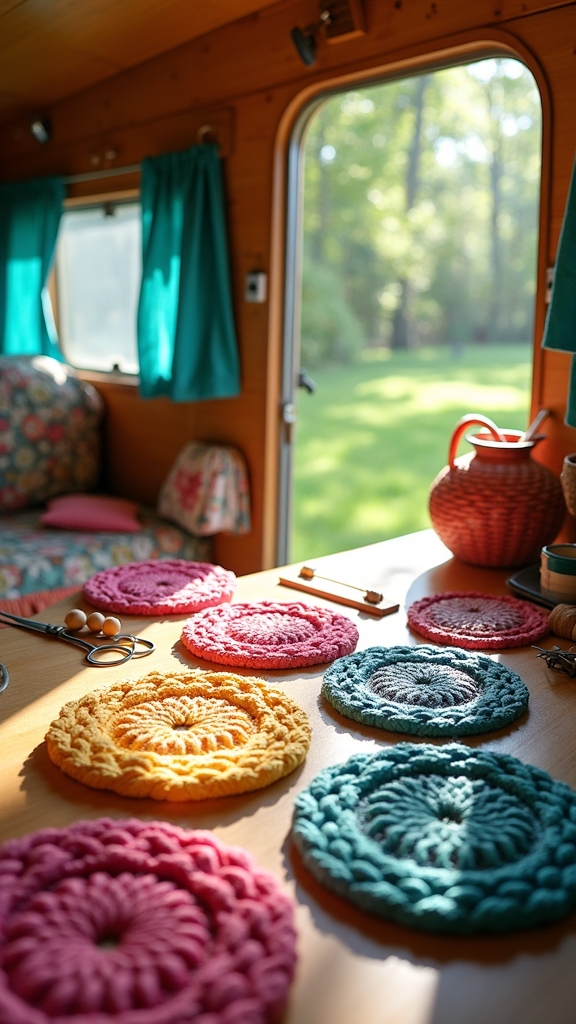
Cut six to eight pieces of rope to about 40cm each, fold them in half, and loop them onto a small metal ring to get started. Work a few tight rows of square knots outward from the center until you’ve got a solid little disc, then let the ends hang loose and trim them even.
Pull the strands apart gently for a soft, fluffy fringe around the edge that keeps the whole thing from looking too stiff. One coaster takes maybe twenty minutes, so you can knock out a full set while the coffee brews and burn through every scrap of leftover cord in the process.
Project 7: DIY Macramé Keychain for Your Keys
Grab two 50cm ropes, fold them in half, and loop them through a keyring so you’ve got four strands to work with. Pick your vibe: a long chain of spiral knots for that chunky corkscrew look, or alternating square knots if you want something flatter and neater.
Slide on a wooden bead or small shell near the bottom, then finish with one solid overhand knot so nothing works its way loose on the road. The whole thing takes under fifteen minutes, and making a spare to hand to a fellow van-lifer at a campsite is one of the easiest ways to start a conversation.
Project 8: Creating a Macramé Bag or Tote
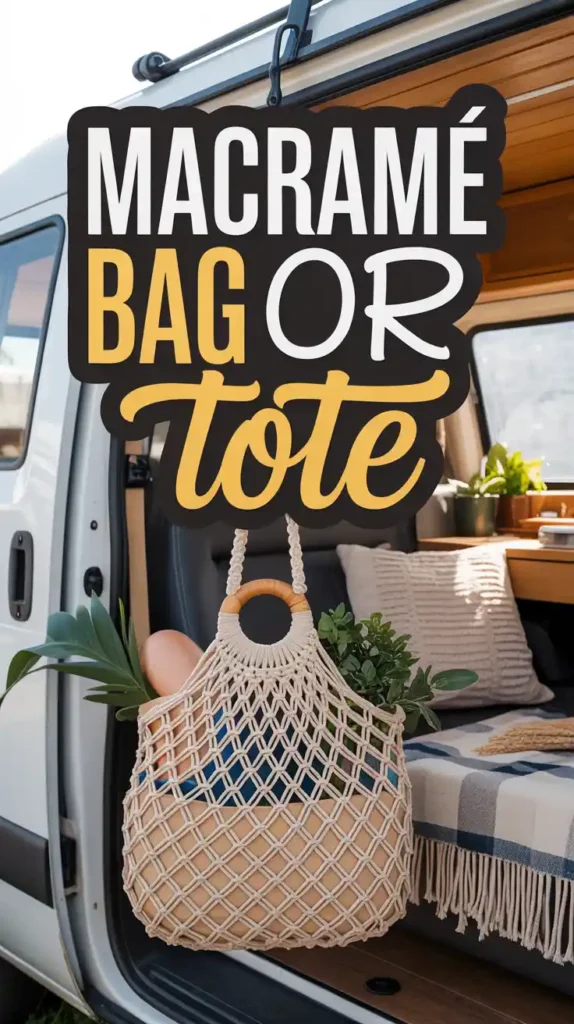
Cut 10 to 12 ropes to about 2 meters each, fold them in half, and attach half to one wooden ring and half to a second ring using lark’s head knots because those two rings become your handles. Work square knots in a net pattern down the body of the bag, leaving 5 to 7cm between knots so the bag stretches but still holds a watermelon without drama.
When it’s deep enough, close the bottom with a tight row of square knots and wrap the base with spare cord for reinforcement if you tend to be hard on your gear. When empty, the whole thing folds flat and slides under a seat like it was never there.
Project 9: Designing a Macramé Table Runner
Cut eight to ten cords to 3 meters each and secure one end to a dowel or tape the bundle flat to your work surface so things stay put while you knot. Work across the width alternating square knots, diagonal half hitches, and the occasional spiral section to build a flat woven panel with some visual variety.
Keep tension consistent so it lies flat rather than curling, which takes a little patience the first time but becomes instinct quickly. Trim the ends into a soft V and fluff the fringe, and even the smallest dinette table suddenly looks like somewhere worth lingering over a meal.
Project 10: Crafting Macramé Dream Catchers
Wrap a 15 to 20cm metal hoop snugly with cotton cord until the rim is fully covered and gives you a clean base to tie onto. Weave loose spiral knots or open rows of half hitches across the center, keeping it airy enough that morning light passes through rather than getting swallowed up.
Thread on wooden beads, a small shell, or a charm from somewhere meaningful, then let them hang at different lengths below the hoop for that effortless, layered sway. Hung above a van bed, it catches the eye just before sleep in a way that’s genuinely calming, and it packs flat for travel without losing its shape.
Project 11: Designing Macramé Candle Holders
Wrap a small mason jar with rope using alternating square knots to create a net that grips the glass snugly without slipping. Tie everything off tightly at the bottom, add a short fringe, and drop in a flameless LED tealight because real flames and camper vans are a firm no.
Make three or four, cluster them on the windowsill or out on the picnic table, and the light they throw at dusk is surprisingly warm and flattering for such a simple project. They take maybe half an hour each and look like something you’d find in a boutique for far more than the cost of a few feet of rope.
Camper Styling Tips for Boho Vibes
Macramé works best when it’s part of a layered scheme rather than floating alone on a blank wall. A flat-weave rug underfoot, a linen panel beside a knotted curtain, a chunky knit throw on the bench seat: these things speak the same visual language and make the macramé feel intentional rather than added-on.
Natural wood surfaces, a bamboo tray, a thrifted cutting board, all of it reads as warm and cohesive alongside cotton rope.
When the sun goes down, fairy lights tucked behind a wall hanging or threaded through a plant hanger do more for the mood than any overhead light ever will, and in a small space, the golden rule is always to go vertical and keep the counters clear.
Caring for Macramé in a Camper
Spot-clean with a drop of gentle soap in warm water and a soft cloth, then air dry completely before hanging back up because machine-washing cotton macramé pulls the knots loose and mats the fibers. In humid climates or rainy stretches on the road, run a vent fan for a bit each day since damp rope and mildew become fast friends faster than you’d think.
After long drives on rough roads, check your knots: everything shifts a little from the vibration, and a quick tug to snug things back up takes all of ten seconds. Store seasonal pieces rolled loosely in a cotton pillowcase so they come out crease-free whenever you want them back on the wall.
Personalizing Projects to Your Style
The best macramé in a camper isn’t the technically perfect stuff; it’s the pieces with something embedded in them. That chunk of driftwood from the Oregon coast, the smooth river stone knotted into a wall hanging from a week in the desert, the feather you found on a trail and couldn’t leave behind: these things cost nothing and turn craft projects into something closer to a travel diary.
Keep the palette soft and neutral if calm is what you’re after, or dip the ends into fabric dye for a rotating seasonal color story in sage one month and dusty rose the next. Either way, the van ends up looking like a place someone actually loves, which was the point all along.
CONCLUSION – Handmade Comfort on Wheels
A few knots, some cotton rope, and a piece of driftwood from a beach you barely remember: that’s genuinely all it takes to shift a camper from functional to felt. Start with the plant hanger or the keychain, something small enough to finish in an afternoon, and let the confidence build from there.
Every piece you hang adds a layer that no store-bought decor can replicate because it came from your hands and carries the memory of wherever you were when you made it. That’s the thing about macramé in a camper: the van moves, the scenery changes, but the warmth you’ve knotted into the walls travels with you everywhere.