Transforming your camper bathroom may seem like a Herculean task, but with a budget of just $200, it’s more achievable than you think.
Picture swapping dreary walls for fresh, vibrant hues, and replacing worn-out fixtures with sleek modern ones. Imagine the impact of peel-and-stick tiles or clever storage solutions.
Each element plays a vital role in maximizing space and functionality. Curious about these budget-friendly transformations? Discover how to redefine your small space effortlessly.
Contents
- 1 Transforming Dark Spaces Into Bright Retreats
- 2 Budget-Friendly Paint Techniques for Walls and Cabinets
- 3 Swapping Outdated Fixtures for Modern Elegance
- 4 Creative Use of Peel-and-Stick Backsplash Tiles
- 5 Light Fixtures That Illuminate and Elevate
- 6 Affordable Accessories for a Polished Look
- 7 Revamping Hardware With a DIY Approach
- 8 Simple Solutions for Improved Functionality
- 9 Incorporating Low-Cost Decorative Art
- 10 The Impact of Neutral Color Palettes
- 11 Crafting a Spa-Like Ambiance on a Budget
- 12 Durable Flooring Options for Camper Bathrooms
- 13 Smart Storage Solutions for Tiny Spaces
- 14 Bringing Nature Indoors With Greenery
- 15 Achieving Long-Lasting Results With Quality Materials
- 16 Mixing Vintage and Modern Styles Seamlessly
- 17 Practical Upgrades for Everyday Use
- 18 Maximizing Space Without Structural Changes
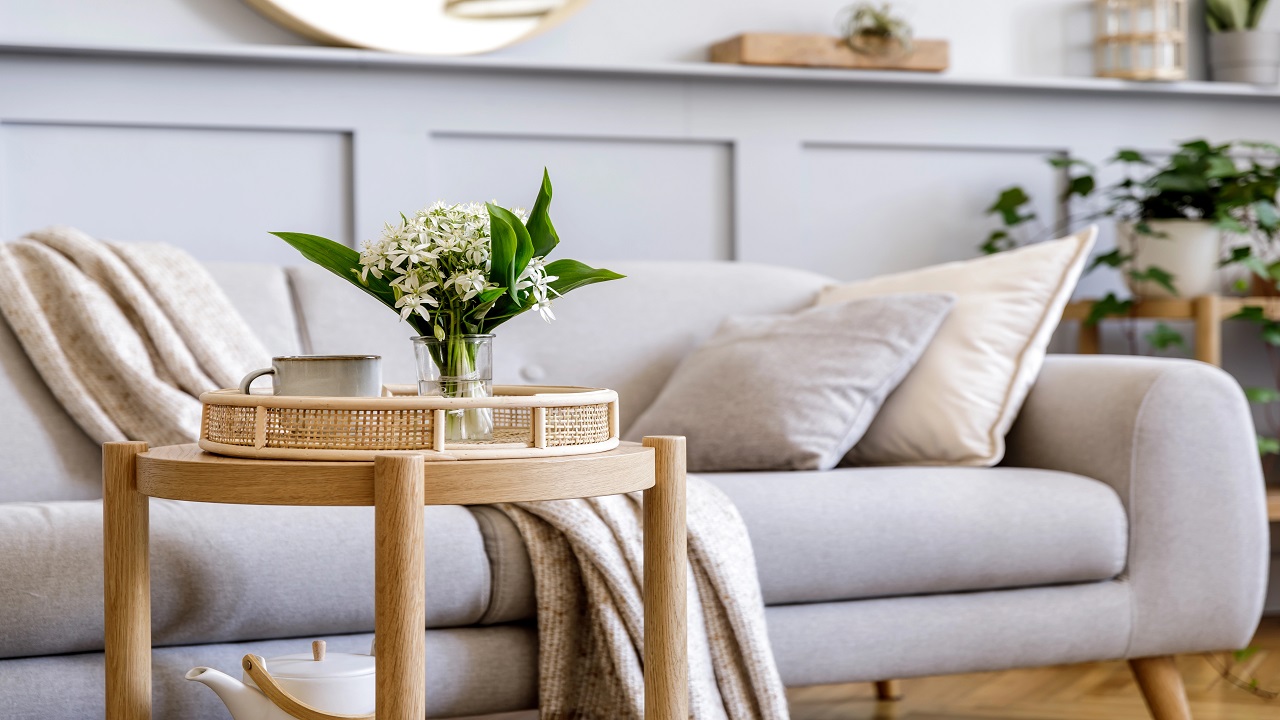
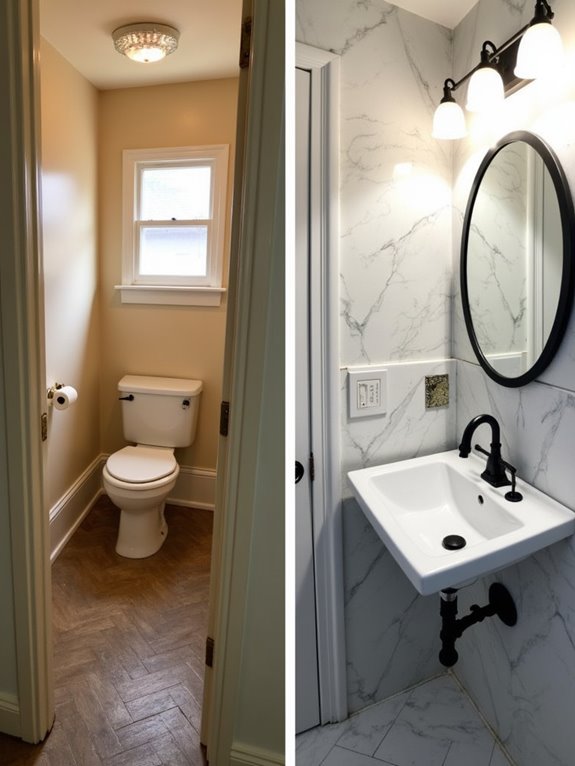
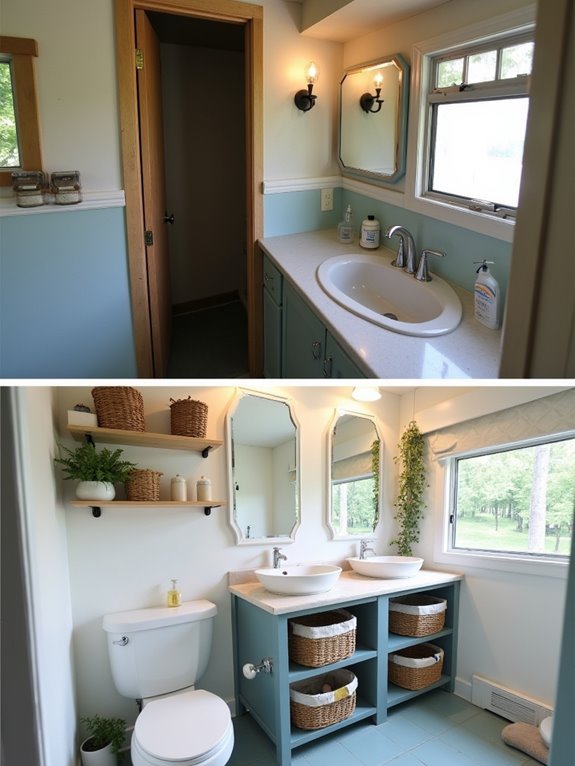
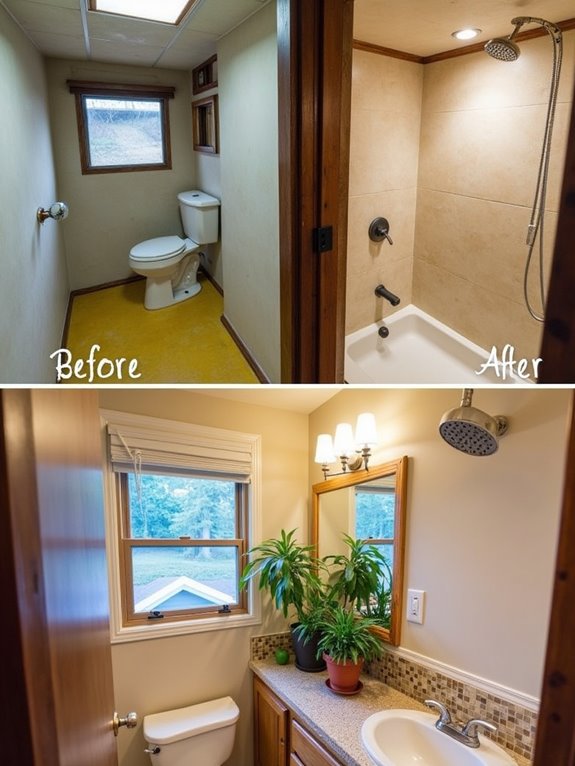
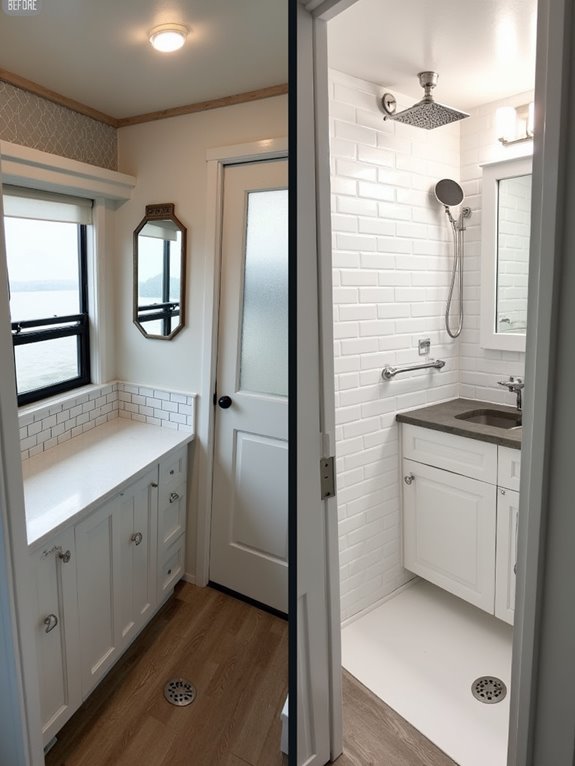
Transforming Dark Spaces Into Bright Retreats
Transforming dark spaces into bright retreats is essential when you’re dealing with a small bathroom in a camper. Use dual mirrors to multiply light and light-colored tiles for reflection.
Choose bright, warm LED bulbs to enhance ambient light without adding heat. Swap heavy shower doors for curtains to expand visual space.
Opt for wall-mounted lights to eliminate shadows, ensuring a more inviting atmosphere. Incorporating peel-and-stick wallpaper can also refresh the space, offering a budget-friendly way to update the look of your camper bathroom.
SEE THIS: Before & After: You Won’t Recognize This Camper Kitchen Remodel Glow-Up.
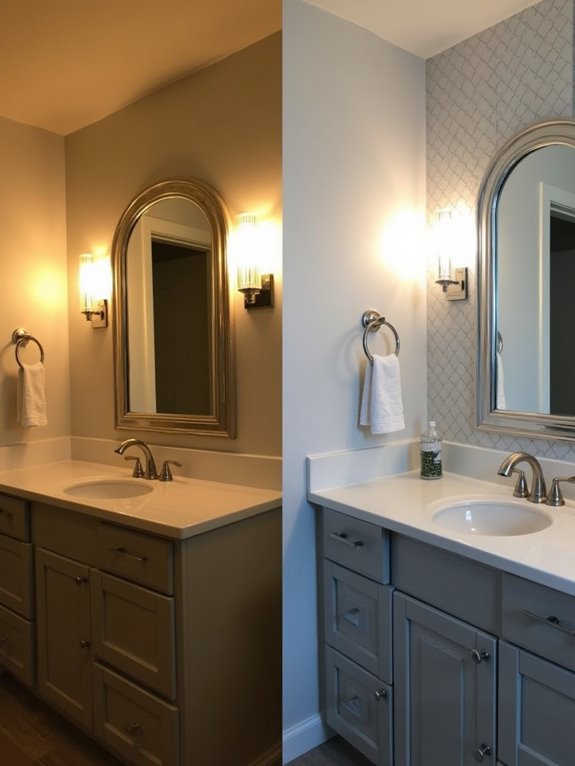
Budget-Friendly Paint Techniques for Walls and Cabinets
Clean surfaces thoroughly using non-toxic cleaners. Choose water-based paints for ease and safety. Apply multiple thin coats for a professional finish.
Use painter’s tape to protect fixtures. Before starting, ensure you’re using lightweight materials to avoid exceeding the Gross Vehicle Weight Rating (GVWR) of your RV.
Reuse and spray paint existing hardware to cut costs. Low humidity enhances drying, ensuring a durable result.
SEE THIS: 17 Cozy Boho RV Bedroom Ideas That Feel Like a Boutique Hotel.
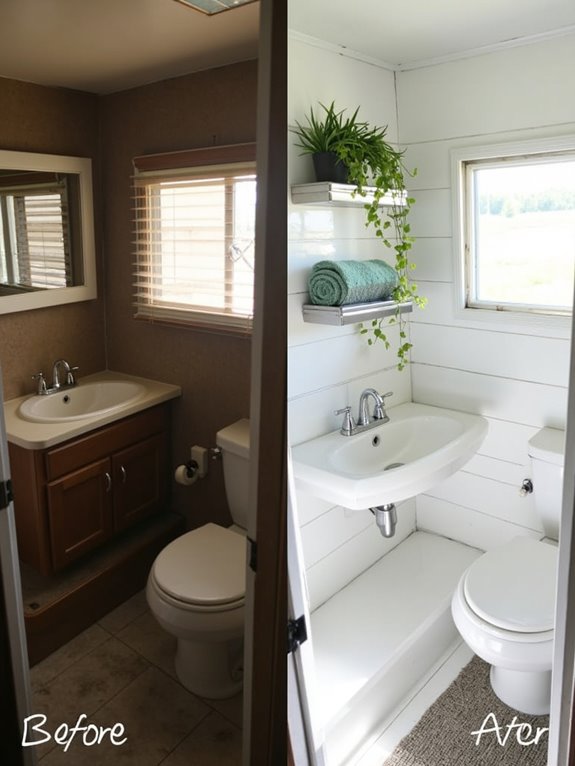
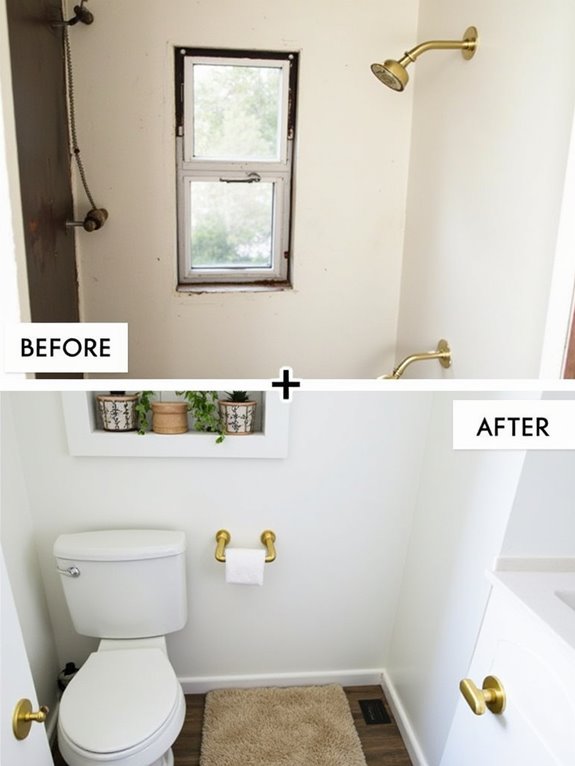
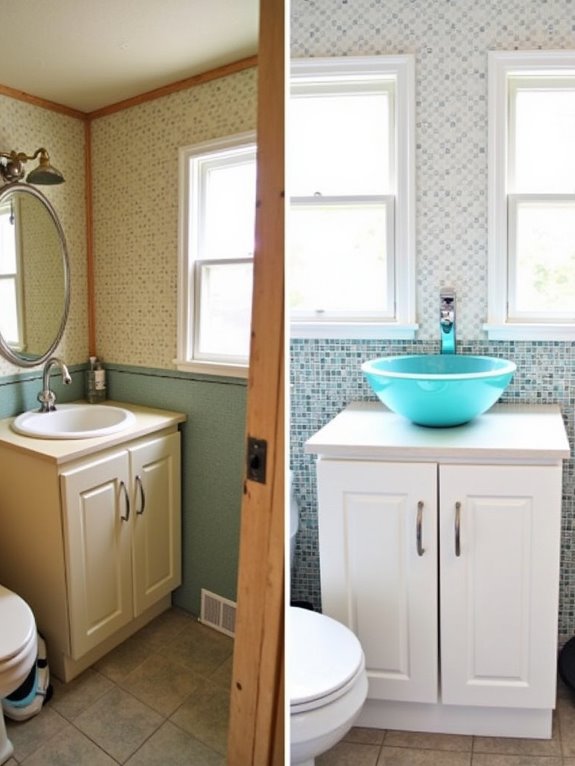
Swapping Outdated Fixtures for Modern Elegance
Upgrading your camper bathroom fixtures not only boosts aesthetics but also enhances functionality.
Start by replacing basic sinks and faucets with modern, high-arc options in finishes like brushed nickel or matte black.
This simple swap transforms the look in just 1-2 hours. Upgrade to porcelain toilets for durability and comfort. Consider glass shower doors and LED lighting for a spa-like feel, while ensuring efficient water use.
Improved lighting and ventilation can significantly enhance the overall bathroom experience in your camper.
SEE THIS: You’ll Want to Copy These 16 Camper Under-Bed Storage Ideas.
Creative Use of Peel-and-Stick Backsplash Tiles
Although often overlooked, peel-and-stick backsplash tiles can dramatically enhance your camper bathroom’s aesthetic without breaking the bank.
Their easy installation makes them perfect for DIY projects. Choose quality tiles like Smart Tiles for better heat and moisture resistance.
Make certain the surface is clean and dry for ideal adhesion. For longevity, consider using additional adhesives.
SEE THIS: White Cabinets + Wood Accents = The Perfect Rustic RV Makeover Every Camper Girl Dreams Of.
Light Fixtures That Illuminate and Elevate
Elevating your camper bathroom’s style doesn’t stop at the walls. Consider ceiling-mounted LED pendant lights for bright, stylish illumination.
Semi-flush mounts and wall LEDs add modern flair. Puck and strip lights enhance task areas, offering flexible, energy-efficient options.
LED lights conserve power and emit minimal heat, essential for comfort. Choose fixtures with moisture resistance for durability in high-humidity environments, ensuring functionality and style.
Affordable Accessories for a Polished Look
Transforming your camper bathroom into a stylish and functional space doesn’t require a hefty investment.
Opt for thematic shower curtains with secure clips designed for RVs, ensuring they stay put even on bumpy roads.
Use space-saving solutions like corner storage bars and mesh organizers for toiletries.
Add color-coordinated textiles and mildew-resistant accessories for a polished look. These affordable upgrades greatly enhance both functionality and aesthetics.
Revamping Hardware With a DIY Approach
Upgrading your camper bathroom with stylish accessories is just the beginning of your renovation journey.
Immerse yourself in revamping hardware with a DIY approach. Start by selecting RV-compatible faucets and handles, keeping dimensions and connection types in mind.
Essential tools like wrenches and plumber’s tape are your allies. Follow safety steps: shut off water, drain, and disconnect components before installing leak-free, durable fixtures for peak performance.
Simple Solutions for Improved Functionality
When aiming to improve the functionality of your camper bathroom, start by focusing on straightforward upgrades that offer significant impact.
Swap outdated sinks and faucets for upgraded models to enhance usability and appearance.
Consider adding peel-and-stick tile backsplashes behind sinks to protect walls and simplify cleaning. Upgrade your showerhead for better water pressure without increasing usage.
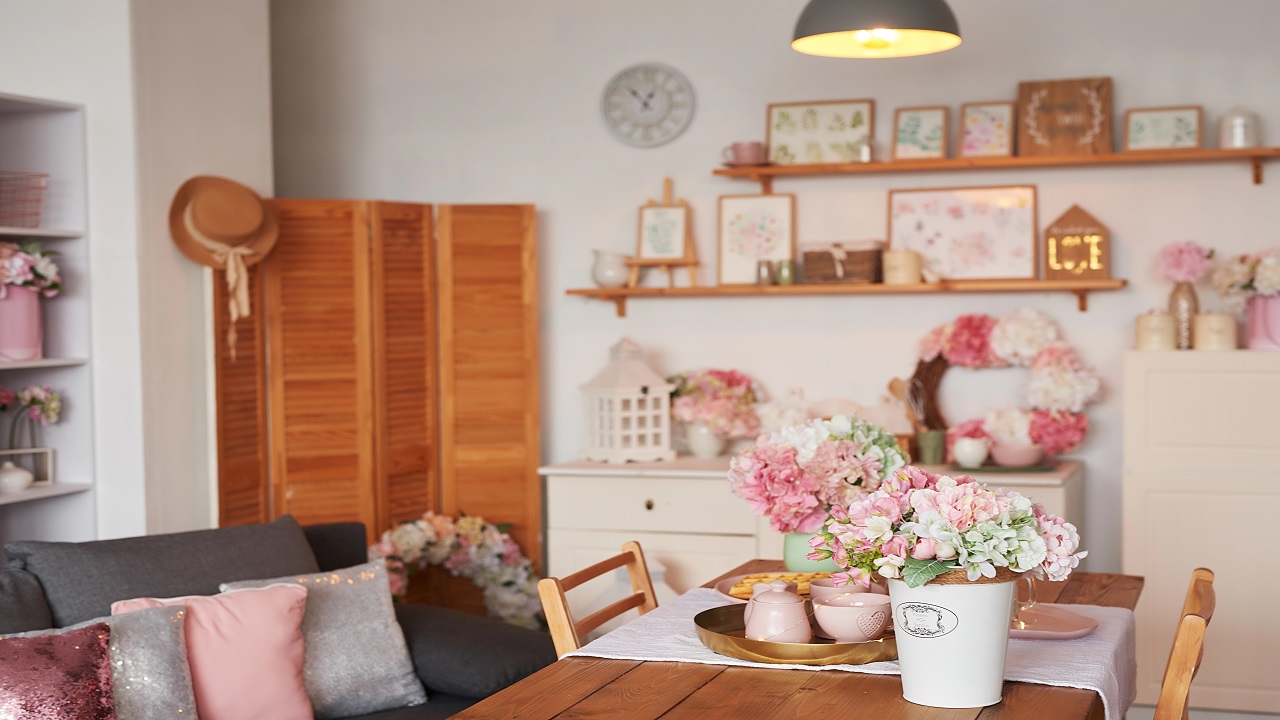
Incorporating Low-Cost Decorative Art
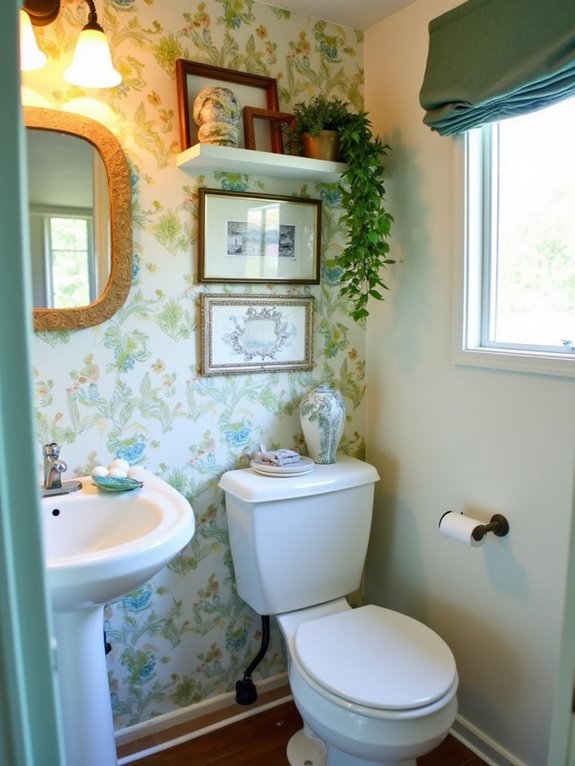
While revamping your camper bathroom on a budget, incorporating low-cost decorative art can greatly elevate the space’s aesthetic appeal without breaking the bank.
Explore Etsy for unique handmade pieces, or download digital prints for instant customization. Upcycle vintage tins or use budget-friendly frames from dollar stores.
For a cohesive look, consider nature motifs or humorous signs to add personality. Layering art creates interest and maximizes wall space.
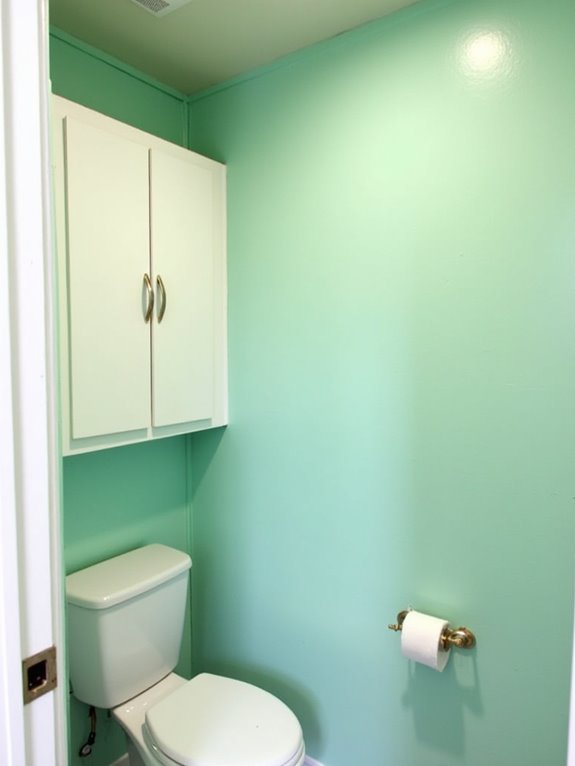
The Impact of Neutral Color Palettes
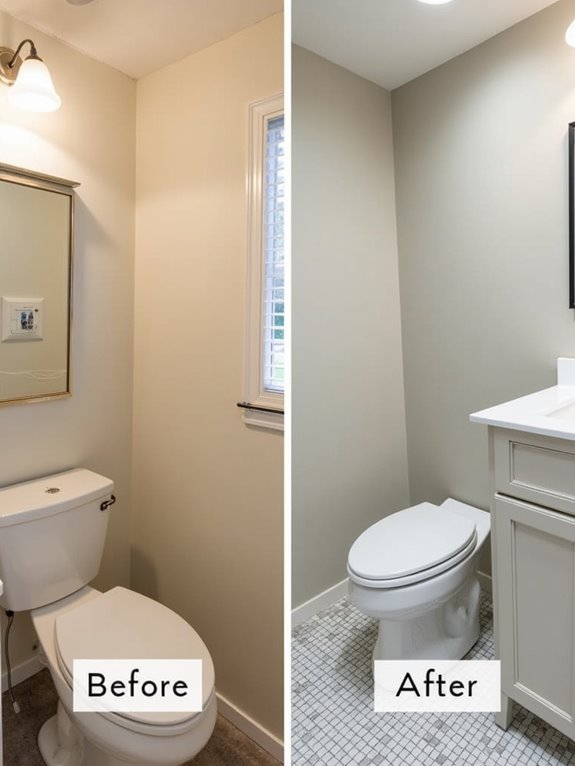
Neutral color palettes have a profound impact on camper bathroom makeovers, offering both aesthetic and psychological benefits. They evoke calmness, with grays and beiges creating warmth and tranquility.
Monochromatic schemes guarantee cohesion, making small spaces feel larger. Texture and subtle patterns enhance interest without overwhelming the senses.
These palettes convey serenity, encouraging relaxation, and transform your camper bathroom into a soothing sanctuary.
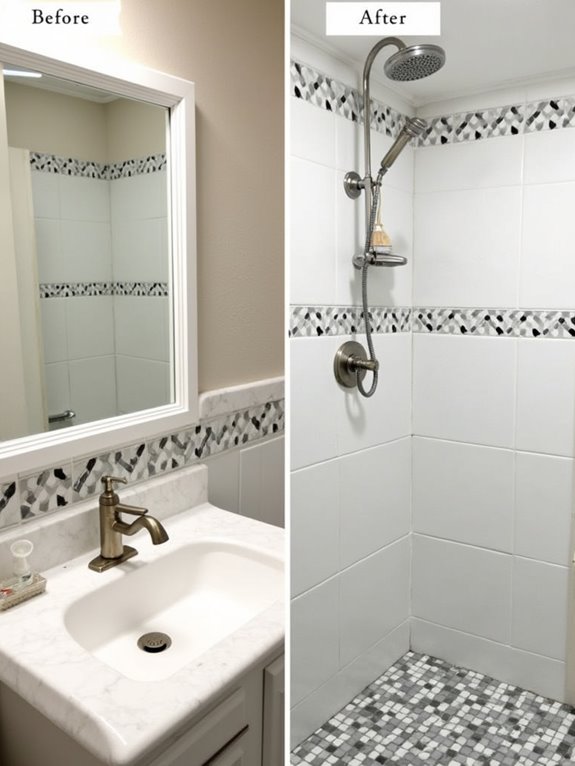
Crafting a Spa-Like Ambiance on a Budget
Transforming your camper bathroom into a spa-like retreat doesn’t have to break the bank.
Start by installing peel-and-stick backsplash tiles for a chic, durable finish. Upgrade countertops with budget-friendly polished wood or laminate.
Swap old faucets for sleek, modern designs. Refresh vanities with moisture-resistant paint.
Add decorative hardware and matching soap dispensers. Maximize storage with wall-mounted solutions, enhancing both functionality and style affordably.
Durable Flooring Options for Camper Bathrooms

When redesigning your camper bathroom, choosing the right flooring is essential for durability and comfort.
Opt for luxury vinyl flooring (LVF) or waterproof laminate, both offering high water resistance and longevity. LVF is lightweight and easy to clean, while laminate features a scratch-resistant surface.
Rubber flooring provides slip resistance and cushioning. Avoid linoleum due to its low water resistance, making it less ideal.
Smart Storage Solutions for Tiny Spaces
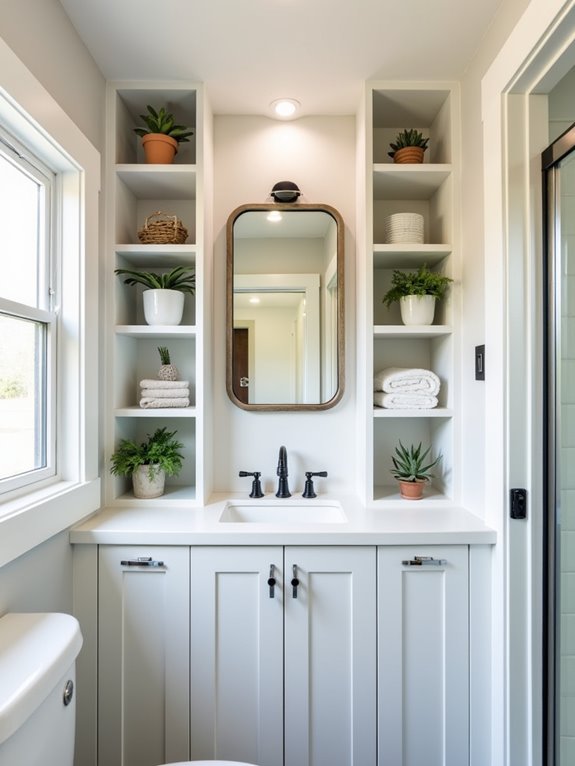
Maximizing storage in a tiny camper bathroom requires strategic planning and innovative solutions.
Use vertical and wall-mounted storage to keep essentials accessible. Opt for shower curtains with pockets and install rust-proof caddies.
Over-the-door hooks are perfect for towels, while under-sink cabinets hide cleaning supplies.
Consider slide-out bins and multi-functional furniture to maximize space.
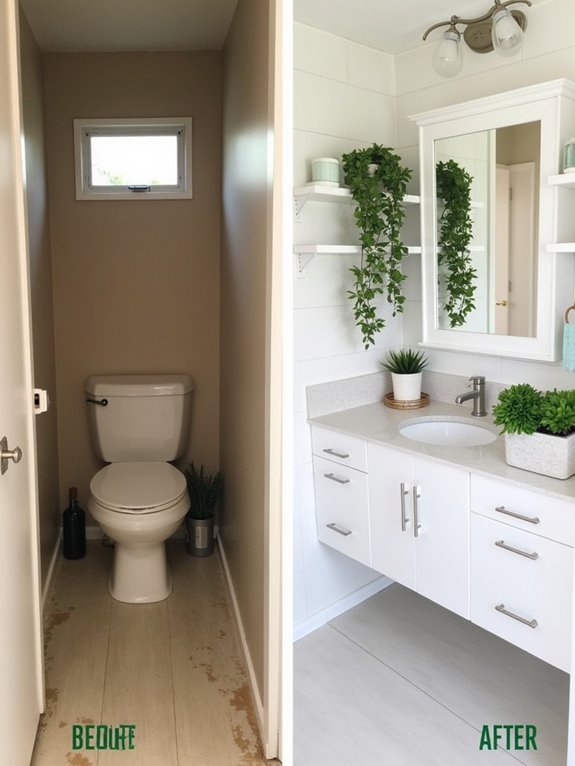
Bringing Nature Indoors With Greenery
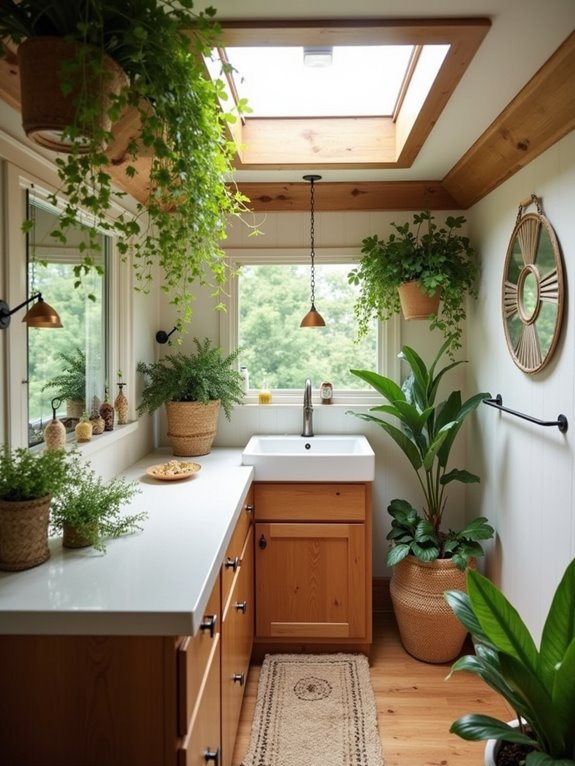
As you consider enhancing your camper bathroom, don’t overlook the transformative power of greenery.
Indoor plants, like Pothos and Bird’s Nest Ferns, thrive in humid, warm environments typical of bathrooms. They purify air, reduce stress, and elevate mood, turning your space into a serene retreat.
Choose low-light tolerant, non-toxic varieties for safety and ease. Integrating greenery enhances your bathroom’s aesthetics and boosts your well-being.
Achieving Long-Lasting Results With Quality Materials

To achieve long-lasting results in your camper bathroom renovation, it’s crucial to select high-quality materials designed specifically for durability and resilience.
Opt for waterproof vinyl plank flooring to withstand moisture and wear, and use flexible adhesives to combat movement.
Choose lightweight, durable fixtures for RV-specific use. Prioritize moisture-resistant materials and proper sealing techniques to prevent damage.
Mixing Vintage and Modern Styles Seamlessly
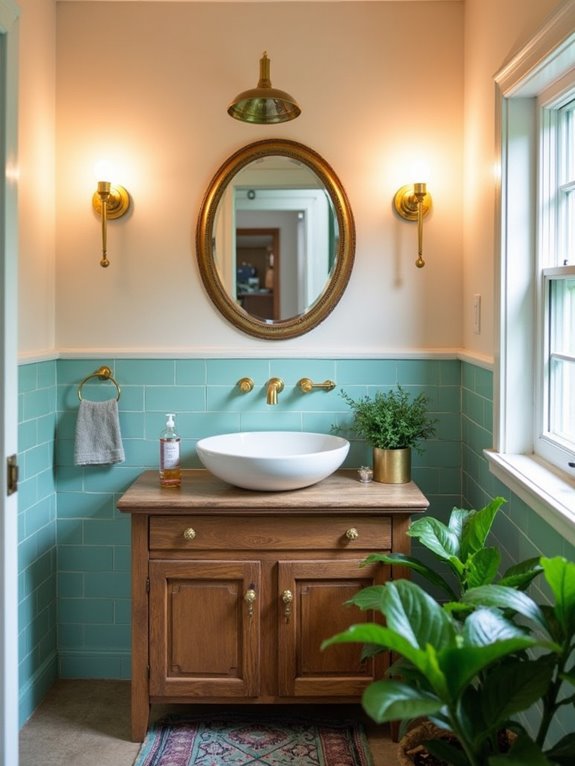
Creating a harmonious blend of vintage and modern styles in your camper bathroom not only elevates the aesthetic but also adds a personalized touch that stands out.
Refresh vintage fixtures with modern finishes for a charming update. Pair vintage wallpaper with contemporary lighting. Use natural wood with modern paint for warmth.
Integrate copper or rose gold hardware with sleek surfaces to unify the look seamlessly.
Practical Upgrades for Everyday Use
When upgrading your camper bathroom for everyday use, it’s essential to focus on changes that enhance functionality without sacrificing style.
Replace stock sinks and faucets with higher-quality options for a quick boost in appearance and usability.
Install taller faucets to reduce splashing and upgrade showerheads for improved water pressure.
Enhance convenience with practical fixtures like towel racks and motion sensor lighting, ensuring everyday tasks are effortless.
Maximizing Space Without Structural Changes
Although space in a camper bathroom is limited, you can make the most of it without knocking down walls or making permanent alterations.
Wall-mounted shower caddies and suction cup baskets keep toiletries organized off surfaces. Use stackable containers under sinks, and hang organizers on door backs.
Maximize vertical space with hooks and tension rods. Declutter by storing only essentials, shifting extras elsewhere.