Most roadside campers don’t realize their best shots happen in the 20 minutes before they’ve even finished setting up camp. You’re rushing to stake your tent before dark, and that’s precisely when natural light, spontaneous compositions, and raw moments align without any staging required.
These unscripted scenes, captured between unpacking gear and starting your fire, often outperform anything you’ll plan the next morning. The chaos of arrival creates authenticity that no amount of careful planning can replicate. Here’s how to recognize and capture them before they vanish.

Contents
- 1
- 2 Shoot During Golden Hour for Warm, Soft Light
- 3 Frame Your Roadside Camp Using the Rule of Thirds
- 4 Position Your Tent to Glow Against the Sunset Sky
- 5 Use Wide-Angle Lenses to Capture Expansive Landscapes
- 6 Add Depth With Natural Frames Like Trees and Boulders
- 7 Set Your Tripod Low to Capture Foreground Details
- 8 Disable Flash to Preserve Campfire Ambiance
- 9 Use F/2.8 or Lower for Low-Light Evening Shots
- 10 Shoot Long Exposures to Trail Campfire Embers
- 11 Capture the Milky Way From Your Dark-Sky Campsite
- 12 Include Leading Lines From Roads to Guide the Eye
- 13 Photograph Morning Mist Backlit by Rising Sun
- 14 Use Wireless Remotes for Self-Portraits at Camp
- 15 Protect Your Camera Gear From Dust and Weather
- 16 Shoot Before Sunrise During Blue Hour Stillness
Shoot During Golden Hour for Warm, Soft Light
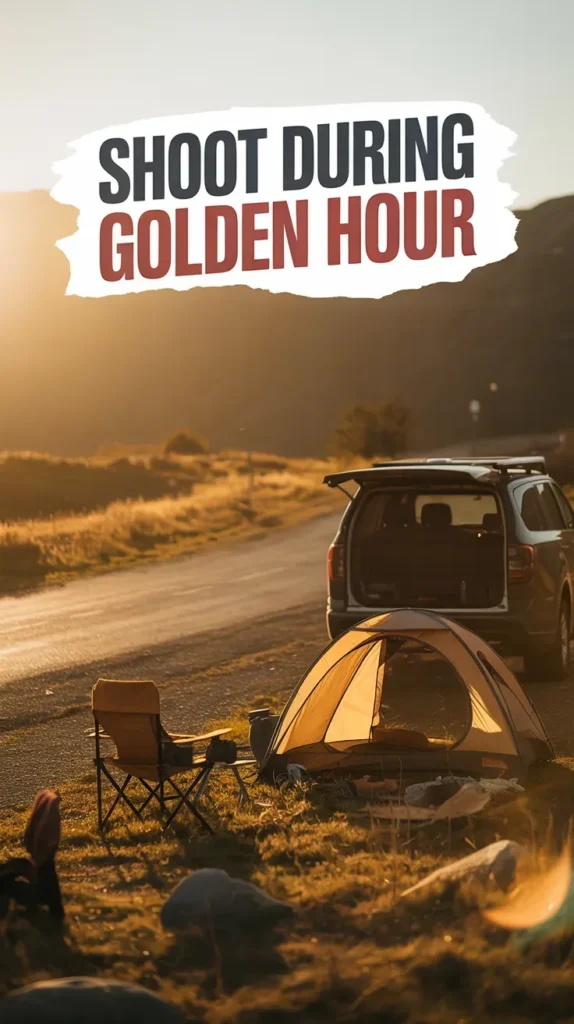
Golden hour transforms roadside camping scenes into something that actually looks professional. Shoot during the first hour after sunrise or last before sunset when low-angle sunlight creates warm, diffused tones.
This natural light minimizes harsh shadows and produces dramatic rim lighting that adds depth to your compositions. The sun’s lower angle causes light to travel further through the atmosphere, resulting in that soft quality that makes even simple camping scenes appear extraordinary.
Frame Your Roadside Camp Using the Rule of Thirds
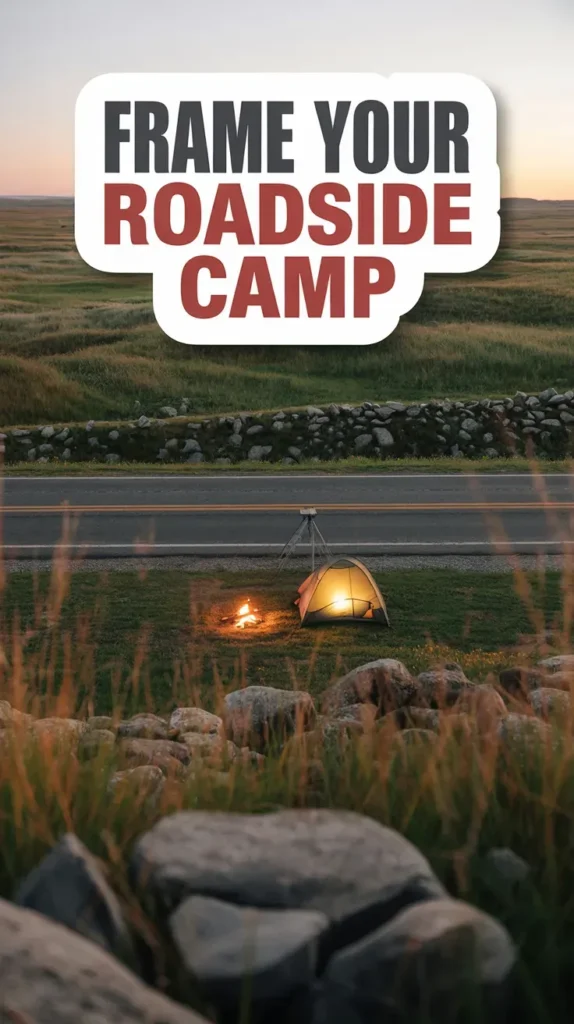
When you position your tent, campfire, or vehicle using the rule of thirds, you’ll instantly elevate your photos from amateur snapshots to compelling compositions. Align your horizon along the upper or lower horizontal line and place key subjects at power points where gridlines intersect.
Position foreground elements like rocks or trees at bottom intersections to create natural depth. Most cameras and smartphones let you activate gridlines in your settings, making it easier to align elements while you’re shooting.
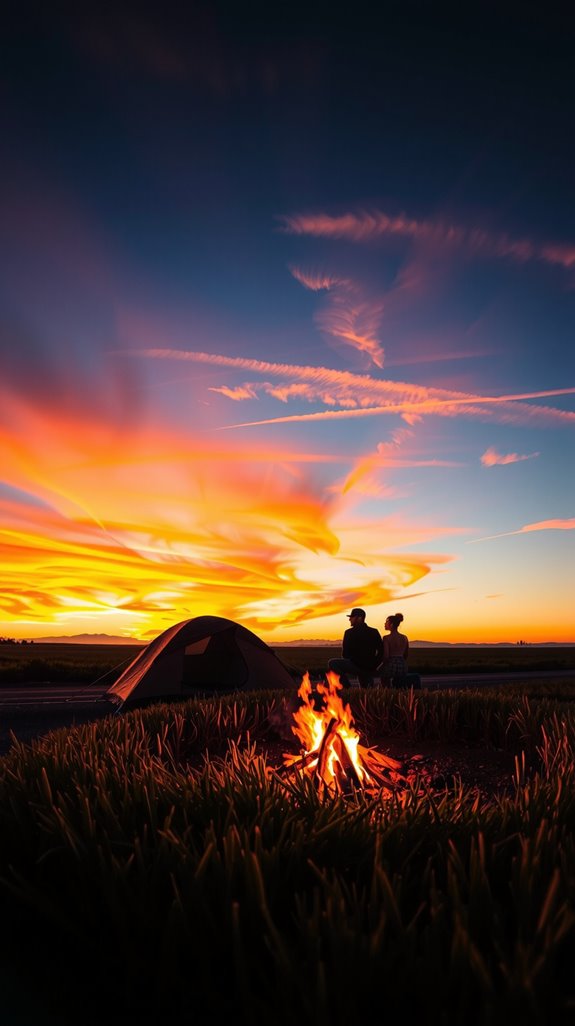
Position Your Tent to Glow Against the Sunset Sky
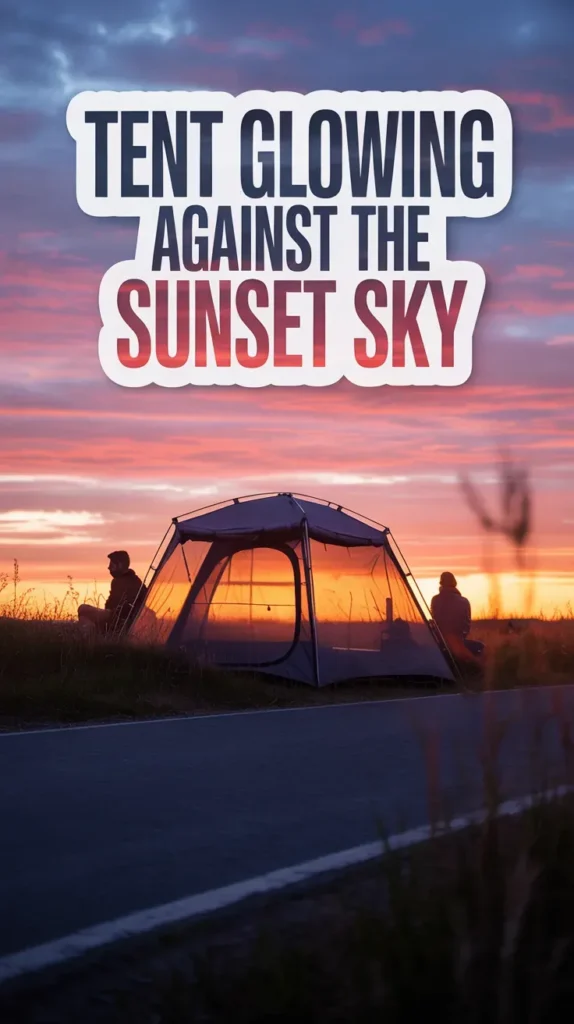
As the sun descends toward the horizon, your tent transforms from a simple shelter into a luminous focal point. Position it directly between your lens and the setting sun to create a dramatic silhouette effect.
The fabric’s translucency produces a subtle edge glow while blocking the light source completely. Arrive thirty to sixty minutes before sunset and secure your camera on a tripod for sharp exposures.
Use Wide-Angle Lenses to Capture Expansive Landscapes
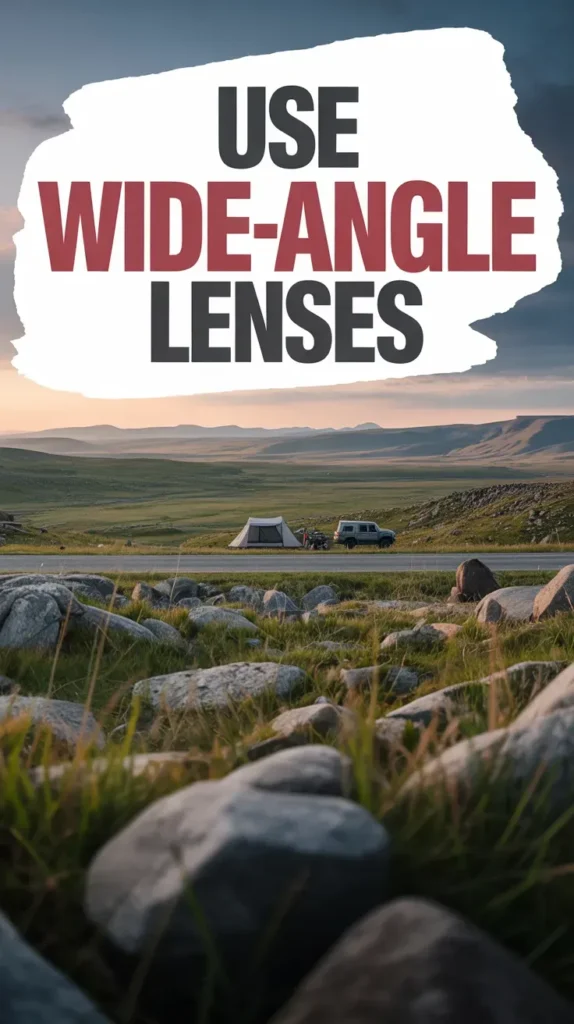
Wide-angle lenses, typically ranging from 14mm to 35mm, allow you to compress vast stretches of terrain into a single frame. Get low to emphasize foreground elements like rocks or grass, using them as natural frames for distant mountains.
Fill the frame deliberately, incorporating foreground, midground, and sky to avoid empty corners. The large depth of field inherent to wide-angle lenses enables sharpness from your immediate foreground all the way to the horizon.
Add Depth With Natural Frames Like Trees and Boulders

Natural elements like overhanging tree branches or foreground boulders create organic borders that direct attention toward your subject. These frames add layered depth, obscure distracting skies, and contain your campsite within the landscape.
They transform ordinary scenes into compositions that feel deliberately crafted yet spontaneous. Look for these framing opportunities as you scout your location during setup.
Set Your Tripod Low to Capture Foreground Details
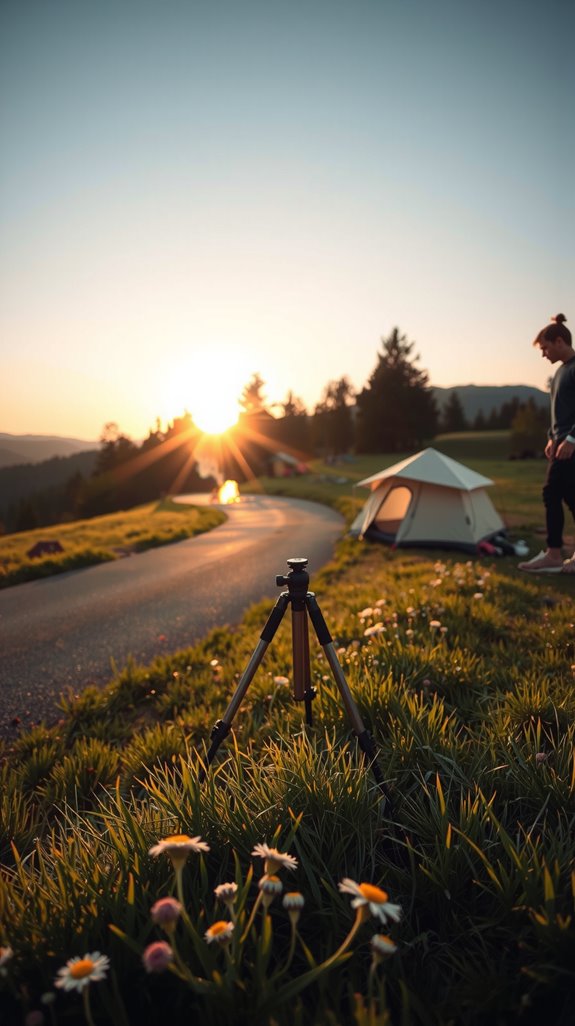
When you lower your tripod to within inches of the ground, you’ll transform ordinary campsite photographs into compositions rich with foreground interest. Position your camera 10 to 15cm high to emphasize reflections in puddles, leading lines from tent guy-lines, or shadows cast by campfire light.
This low perspective isolates subjects, clears cluttered backgrounds, and enables tack-sharp focus during golden hour exposures. The perspective shift alone will make familiar camping scenes look fresh.
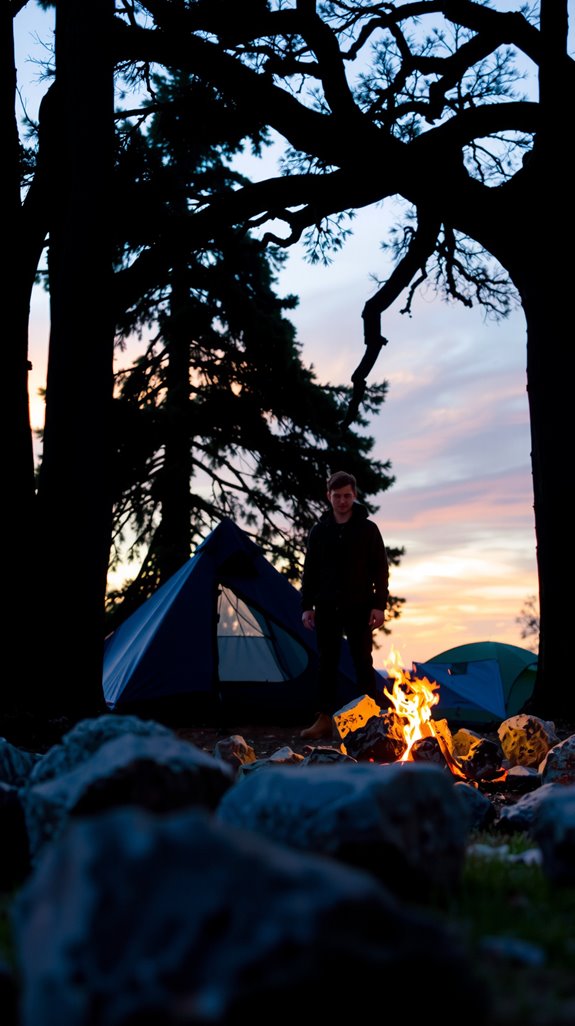
Disable Flash to Preserve Campfire Ambiance
Flash delivers a burst of cool, direct light that conflicts with the warm glow of burning wood. Disabling it becomes essential for preserving authentic campfire ambiance in your photographs.
Instead, widen your aperture to f/2.8 and raise ISO to 400 to 800, allowing natural firelight to dominate exposure. This approach maintains golden tones, captures flame flicker through slower shutter speeds, and eliminates harsh shadows.
Use F/2.8 or Lower for Low-Light Evening Shots
Roadside evenings demand fast glass, and f/2.8 or wider apertures transform challenging light into workable exposures. You’ll gather enough light to freeze motion, blur distracting backgrounds, and isolate subjects with shallow depth of field.
This aperture enables faster shutter speeds than f/4 alternatives, reducing camera shake while creating bokeh that separates your subject from cluttered campsites. The natural ambiance of dusk stays intact without artificial intervention.
Shoot Long Exposures to Trail Campfire Embers
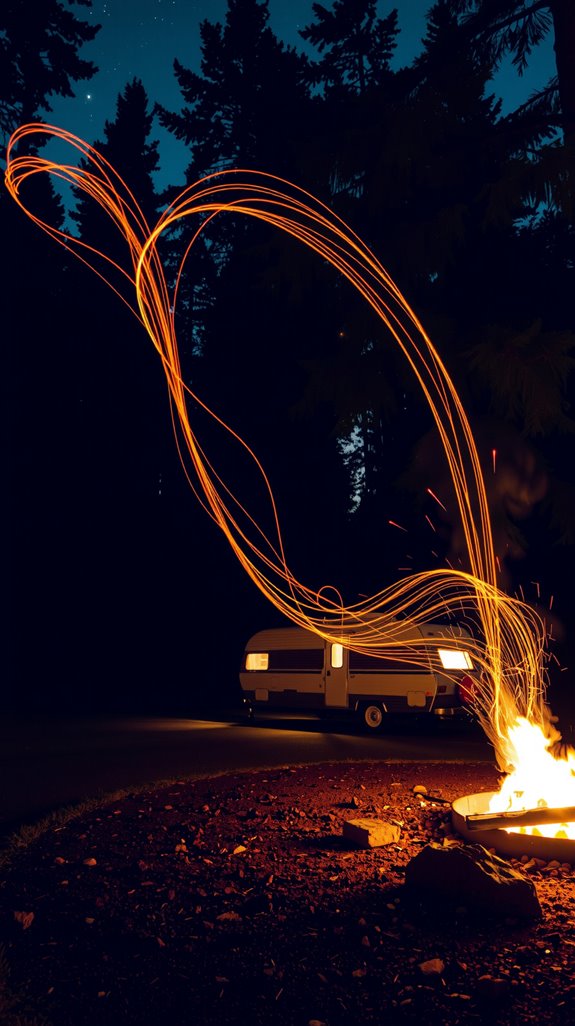
Long exposure photography transforms ordinary campfire sparks into dramatic light trails that capture motion invisible to the naked eye. Set your shutter speed between 20 to 30 seconds at ISO 100 to 200 with an aperture of f/5.6 to f/11.
Use manual mode and daylight white balance to preserve the orange glow. Position your tripod at a safe distance, ensuring no flammable materials surround your shooting location.
Capture the Milky Way From Your Dark-Sky Campsite
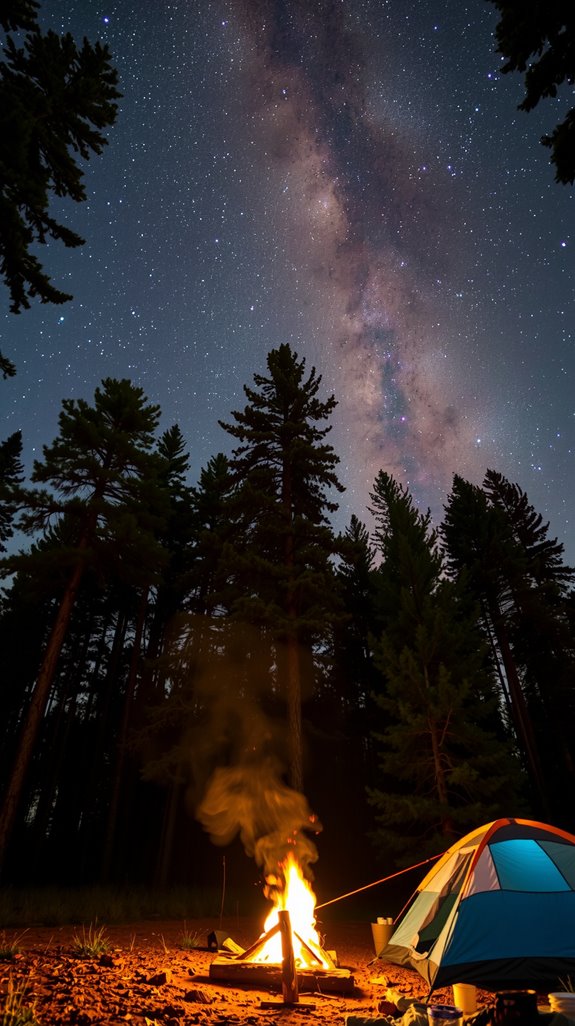
The night sky reveals its most spectacular display when you escape urban glow and position yourself beneath a true dark-sky canopy. Mount your camera on a sturdy tripod with a wide-angle lens set to f/2.8, ISO 3200, and a 20-second exposure.
Manually focus on the brightest star and shoot during new moon phases. Use the 500 Rule to prevent star trails while capturing the Milky Way’s luminous arc.
Include Leading Lines From Roads to Guide the Eye
Roads naturally function as leading lines, creating depth and guiding eyes toward your subject. Position winding paths at your frame’s bottom using a wide-angle lens, letting S-curves add elegance while diagonal stretches inject energy.
The road that brought you to camp becomes a compositional tool that pulls viewers into the scene. This works particularly well when the road disappears into mountains or forest.
Photograph Morning Mist Backlit by Rising Sun
When morning mist meets the golden rays of a rising sun, you’ll witness one of nature’s most ethereal photographic opportunities. Position yourself so sunlight streams through the mist from behind, creating dramatic sunbeams.
Use f/16 for sharp depth and apply +0.7 exposure compensation to prevent underexposure. Select daylight white balance to preserve natural blue tones and vibrant morning colors.
Use Wireless Remotes for Self-Portraits at Camp
Solo roadside camping creates unique self-portrait opportunities, but capturing yourself in frame requires more than just a camera timer. A wireless remote eliminates rushing back and forth, doubling your efficiency while allowing deliberate posing.
Bluetooth models work best outdoors, avoiding infrared’s line-of-sight limitations. You’ll hold the remote discreetly, trigger exposures precisely, and review compositions immediately.
Protect Your Camera Gear From Dust and Weather
Roadside camping exposes your camera gear to blowing dust, sudden rainstorms, temperature swings, and abrasive sand particles that can damage delicate optics in seconds. Keep rain covers accessible in your bag for sudden weather changes.
Install UV filters to protect lens elements from sandblasting. Never place your camera bag directly on sand, as it’ll trap particles that contaminate equipment.
Shoot Before Sunrise During Blue Hour Stillness
Most roadside photographers miss their best light by sleeping through the pre-dawn blue hour, that fleeting 20 to 30 minute window when the sky transforms into deep indigo. You’ll capture soft, diffused light without harsh shadows while the atmosphere exhibits cooler blue and purple tones.
These create ethereal, moody scenes impossible to replicate during any other time of day. Set your alarm early because this window closes fast.