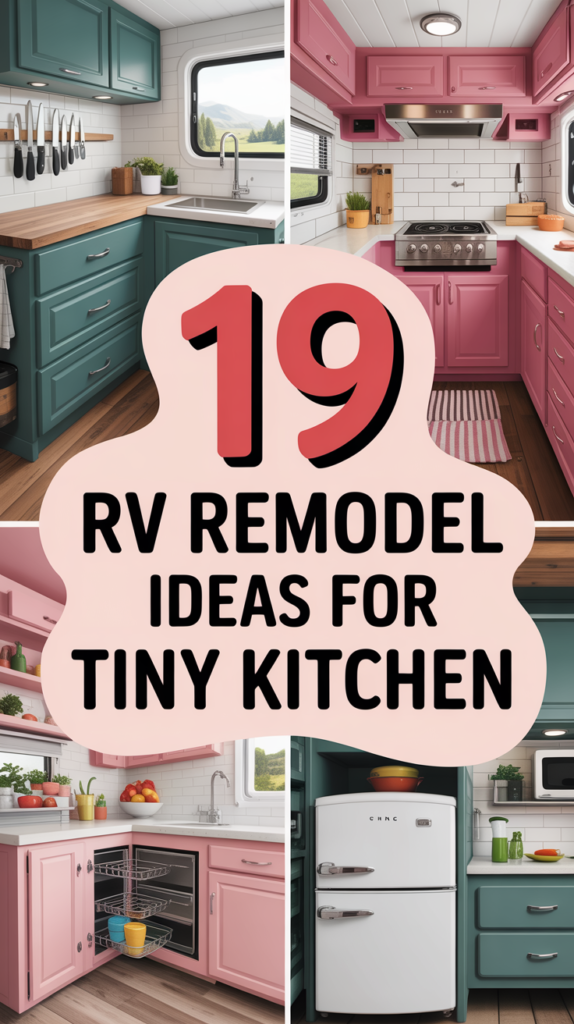
Your RV kitchen doesn’t have to feel like you’re cooking in a shoebox. I’ve spent enough time in cramped galleys to know that every single inch matters, and the difference between a kitchen that works and one that drives you crazy usually comes down to a few smart choices.
The good news? You don’t need a complete gut job to make your cooking space actually functional. What you need is a solid plan for maximizing the space you’ve got, and that’s exactly what these nineteen upgrades will help you pull off.
Contents
- 1 Install Fold-Down Counter Extensions for Flexible Prep Space
- 2 Add an Over-The-Sink Cutting Board With Built-In Strainer
- 3 Use Stove-Top Covers to Create Extra Counter Surface
- 4 Mount Magnetic Spice Racks on Walls or Fridge Fronts
- 5 Maximize Gaps With Narrow Pull-Out Pantries
- 6 Upgrade to Slide-Out Drawers and Baskets Inside Cabinets
- 7 Choose Multi-Function Cooking Appliances Like the Ninja Foodi
- 8 Incorporate Open Shelving for an Airy Feel
- 9 Create Visual Depth With Two-Tone Cabinet Colors
- 10 Install Butcher Block Countertops for Warmth and Function
- 11 Add Wall-Mounted Knife Strips for Safety and Space
- 12 Organize With Labeled Containers and Stackable Storage
- 13 Install Rotating Storage Racks in Corner Cabinets
- 14 Upgrade to Compact French-Door Style Ovens
- 15 Set Up a Portable Grill for Outdoor Cooking
- 16 Add a Portable Sink With Water Hookups Outside
- 17 Use Accent Walls or Decorative Paneling for Dimension
- 18 Create an Outdoor Kitchen Zone With Weather Protection
- 19 Optimize Vertical Space With Refrigerator-Top Storage
Install Fold-Down Counter Extensions for Flexible Prep Space
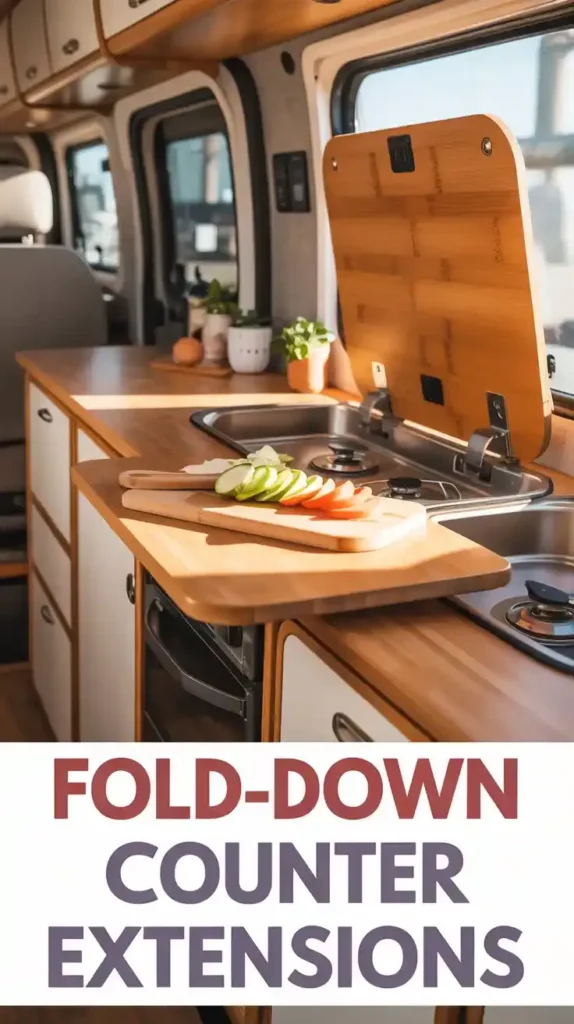
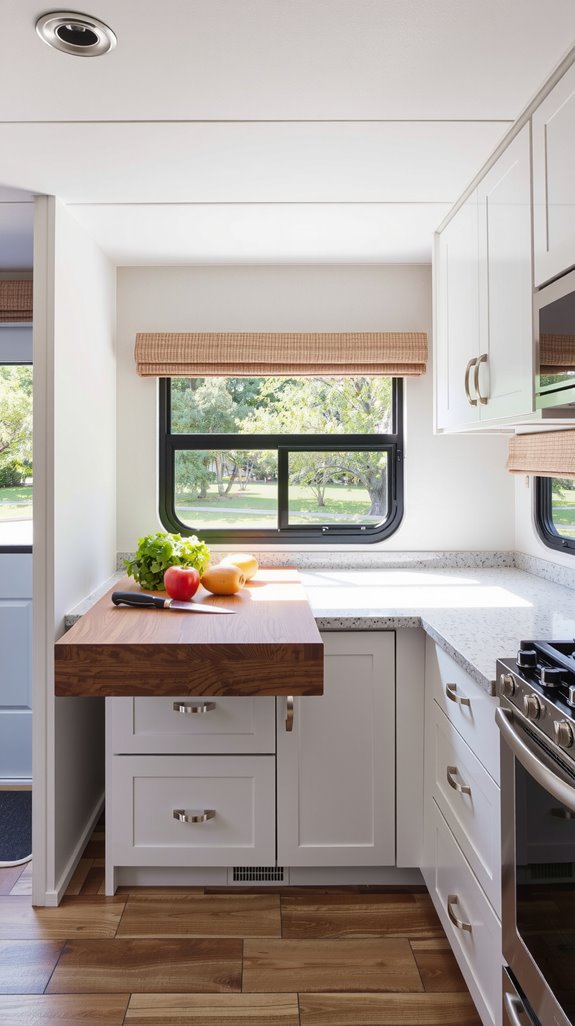
Limited counter space is probably the biggest complaint I hear from RV owners, and fold-down extensions are one of the simplest fixes that actually work. Mount them to your existing cabinets with decent hinges and you’ve got extra prep area whenever you need it, then they tuck away when you’re done so you’re not constantly bumping into things.
I’ve built these from bamboo cutting boards joined with a piano hinge, finished with a few coats of polyurethane, and they’ve held up through years of use. The beauty is they don’t eat up your walking space when you’re not actively cooking.
Add an Over-The-Sink Cutting Board With Built-In Strainer
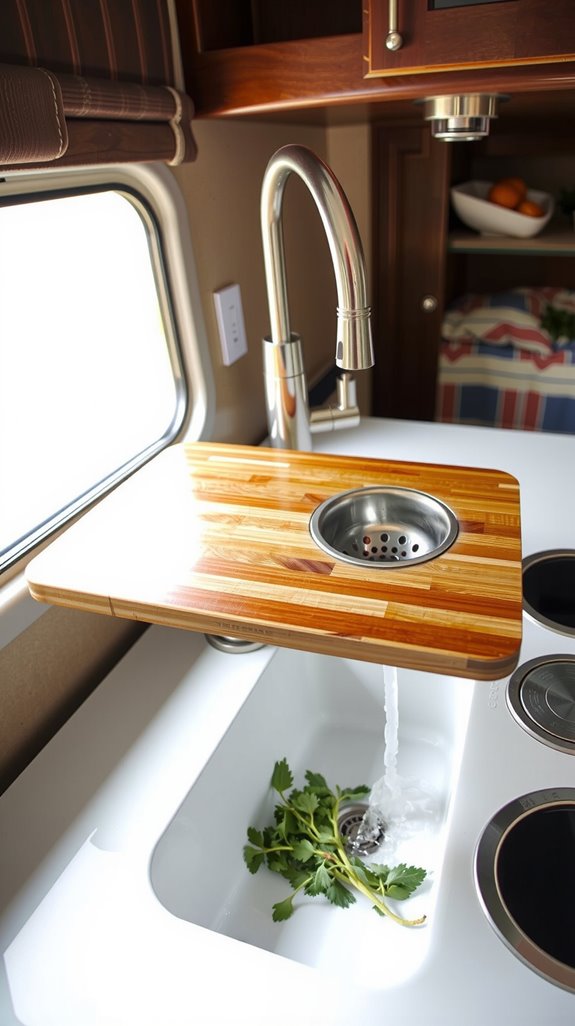
Here’s a setup that earns its keep every single day: a cutting board that sits over your sink with a built-in strainer. You can prep vegetables and rinse them right there without moving between stations, which matters more than you’d think in a tight space.
Most of these boards run between $31 and $65, fit standard RV sinks (usually 15¾ to 17½ inches), and weigh about three and a half pounds. Go for one with a stainless steel strainer rather than plastic if you can, because it’ll last longer and clean up easier.
Use Stove-Top Covers to Create Extra Counter Surface
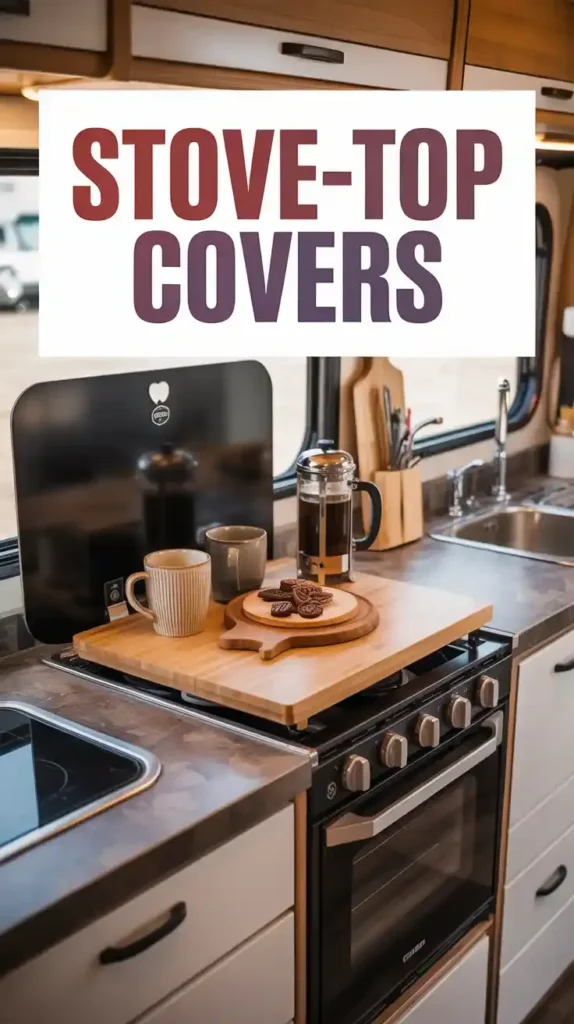
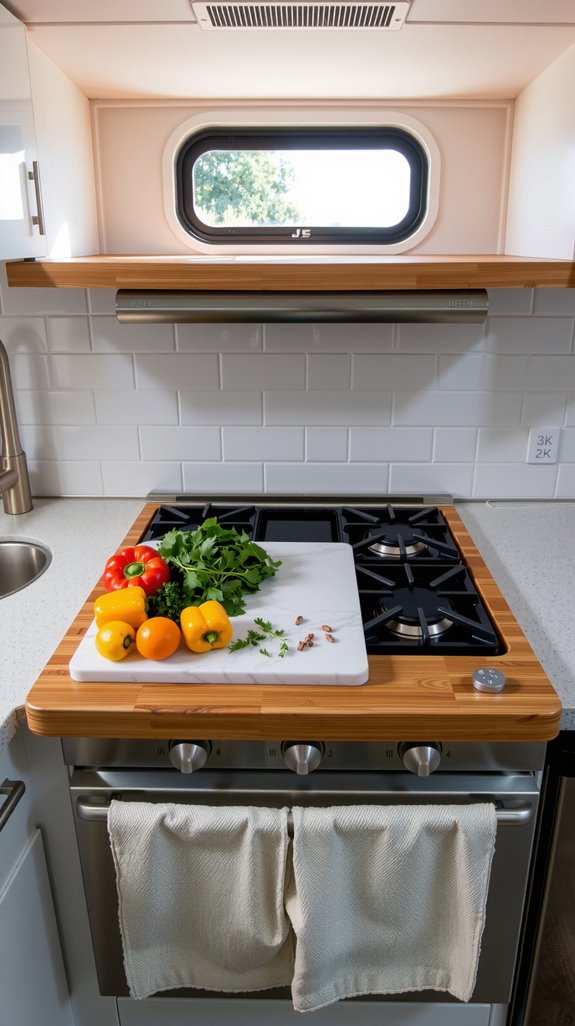
Your stove sits there doing nothing most of the day, so put a cover on it and turn it into usable counter space. Good stove covers run around $40 to $60, typically measure about 19.6 by 17 inches, and come in bamboo, wood, or aluminum depending on what you like.
The better ones have rubber feet to keep them from sliding and can handle some heat if you set a hot pot down. Just make sure you get in the habit of removing it before you turn on a burner, because I’ve seen what happens when someone forgets (it’s not pretty).
Mount Magnetic Spice Racks on Walls or Fridge Fronts
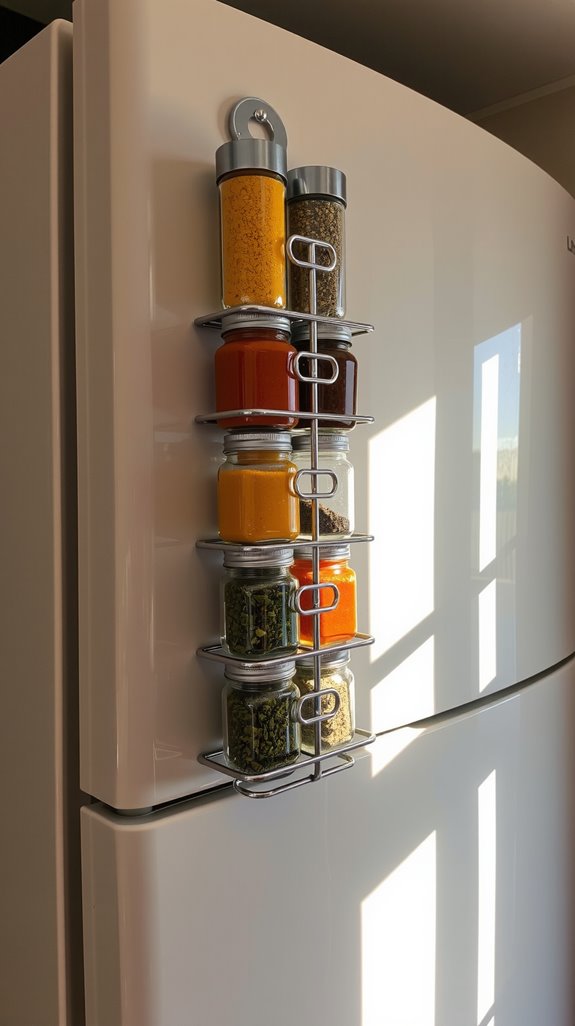
Traditional spice racks are counter hogs, and in an RV, you simply don’t have the real estate to spare. Magnetic strips on your fridge or cabinet sides solve this problem completely, and I actually prefer being able to see all my spices at once rather than digging through a cabinet.
You’ll need metal strips (industrial adhesive or screws work equally well) and magnetic-lidded jars that won’t shake loose when you’re driving. Keep them alphabetized and you’ll never waste time hunting for cumin while something’s burning on the stove.
Maximize Gaps With Narrow Pull-Out Pantries
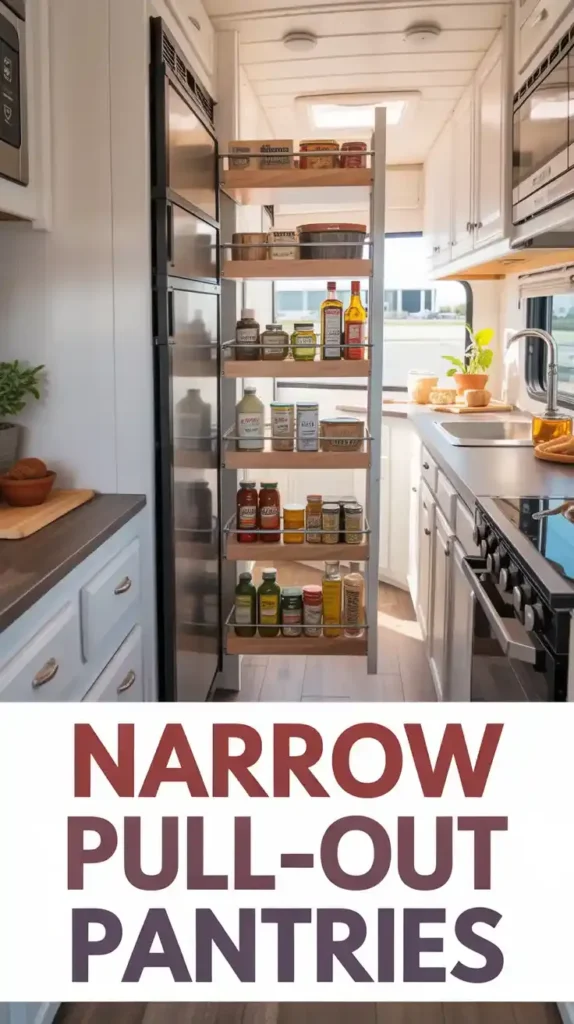
Those annoying slivers between your fridge and the wall aren’t just wasted space, they’re actually opportunities if you handle them right. Pull-out pantries come as narrow as five inches and can squeeze into spots you’d never thought to use.
Get one with soft-close slides and adjustable shelves so you can fit everything from spice jars to baking sheets without things rattling around. The vertical storage means you’re not stacking cans three deep and losing track of what you’ve got.
Upgrade to Slide-Out Drawers and Baskets Inside Cabinets
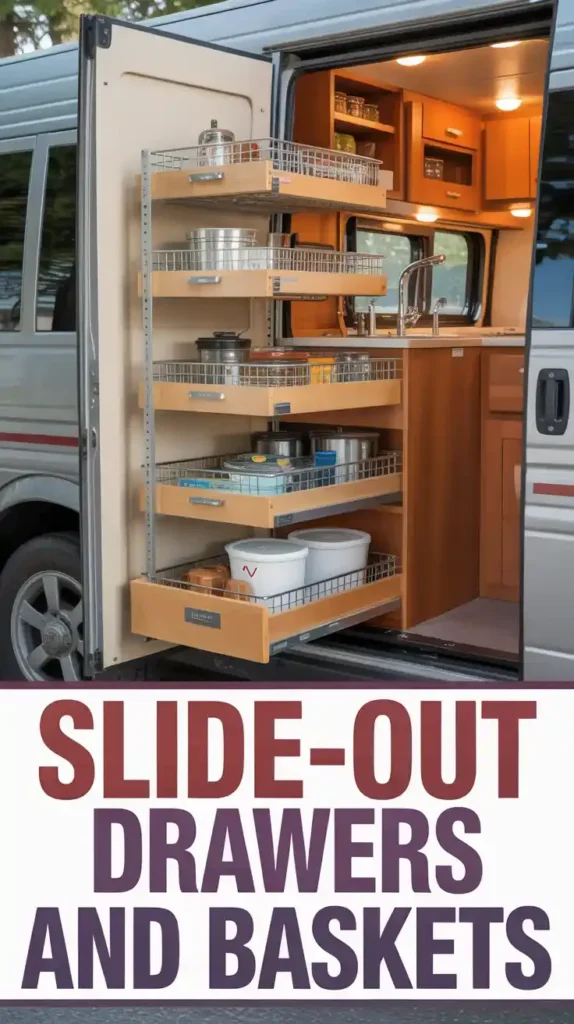
Fixed shelves in RV cabinets waste an unbelievable amount of space because you can’t reach anything shoved to the back. Slide-out drawers change this completely, and once you install them you’ll wonder why RV manufacturers don’t just do this from the factory.
Everything stays visible and accessible, your counters stay clearer because you’re not piling things up, and you stop buying duplicates of stuff you forgot you already had. The install is straightforward enough for a weekend project, and the difference in daily use is massive.
Choose Multi-Function Cooking Appliances Like the Ninja Foodi
When you’re tight on both counter space and storage, appliances that do multiple jobs are worth their weight in gold. The Ninja Foodi handles air frying, pressure cooking, baking, roasting, and dehydrating all in one unit, which means you can ditch four or five separate appliances.
Some newer models have dual zones that let you cook two different things at different temperatures simultaneously, and that feature alone has saved me more than a few dinners. Just make sure whatever you choose fits your power situation, because some of these pull serious watts.
Incorporate Open Shelving for an Airy Feel
Removing some upper cabinet doors creates an instant sense of space that solid cabinets just can’t match. You’ll need to keep things tidy since everything’s on display, but that’s actually a good thing because it forces you to be more intentional about what you keep.
I like mixing open shelves with closed cabinets so you’ve got places to hide the less attractive necessities. Add some hooks underneath for mugs or utensils and you’re maximizing vertical space without making things feel cluttered.
Create Visual Depth With Two-Tone Cabinet Colors
Painting your upper and lower cabinets different colors does something interesting to the perception of space in a small kitchen. Light colors on top (white, pale gray, cream) reflect light and draw your eye upward, which makes the ceiling feel higher than it actually is.
Darker bottoms in navy, charcoal, or forest green anchor everything without closing in the space. The contrast creates depth that a single color can’t pull off, and the effect is noticeable the moment you walk in.
Install Butcher Block Countertops for Warmth and Function
Butcher block brings a warmth to RV kitchens that laminate and other synthetics just don’t deliver. The wood is forgiving when you’re cutting custom pieces for irregular layouts, and you can sand out scratches or stains instead of living with them forever.
Food-grade mineral oil keeps the wood from drying out and cracking in variable humidity, which matters when you’re moving between climates. The maintenance is minimal, maybe a fresh coat of oil every few months, and the natural material actually improves with age.
Add Wall-Mounted Knife Strips for Safety and Space
Magnetic knife strips get your blades off the counter and onto the wall, where they’re both safer and more accessible. Mount them with the knives pointing up to prevent them from sliding off during travel, and make sure you use proper anchors because the last thing you want is knives flying around if you hit a rough patch of road.
Stainless steel strips resist rust better than cheaper alternatives and hold up to the constant vibration. Just position the strip somewhere you won’t accidentally brush against it when you’re moving around.
Organize With Labeled Containers and Stackable Storage
Clear stackable containers might seem basic, but they’re one of those upgrades that make everything easier. You can see what you’ve got at a glance, things stay fresh in airtight seals, and you’re using vertical cabinet space efficiently.
Label everything so you’re not playing the guessing game, and group similar items together in zones. I keep collapsible containers for things I don’t need all the time, so storage can shrink or expand depending on what I’m carrying.
Install Rotating Storage Racks in Corner Cabinets
Corner cabinets are where cookware goes to die unless you put in lazy susans or rotating racks. Those deep corners are impossible to access properly without pulling everything out, but carousel systems bring the back stuff to the front with a simple spin.
Two or three tiers give you enough space for pots, pans, and all those lids that never seem to stack right. The install is usually pretty straightforward, and the difference in usability is night and day.
Upgrade to Compact French-Door Style Ovens
Drop-down oven doors are a pain in tight RV galleys because you’re constantly stepping around them or reaching over them to check your food. French doors that swing outward solve this problem completely and give you way better access to the interior.
You can find compact units that fit 21 to 24-inch openings with 1.6 to 2.0 cubic feet of capacity, which is plenty for RV cooking. Most come with convection settings and multiple rack positions, so you’re not really sacrificing functionality for the better door design.
Set Up a Portable Grill for Outdoor Cooking
Moving some of your cooking outside keeps the heat out of your RV and frees up your indoor kitchen for other tasks. Position your grill on level ground at least ten feet from any structures, and if you can hook it into your RV’s LP system with a quick-connect, you’ll save yourself the hassle of managing separate propane bottles.
Make sure you’ve got proper clearance from walls and awnings because heat damage is real. A decent portable grill expands your cooking options considerably without adding permanent fixtures.
Add a Portable Sink With Water Hookups Outside
An outdoor sink makes your exterior cooking setup actually functional instead of just convenient. Hook it up to a fresh water tank with an electric pump, and you’ve got running water for washing hands, rinsing vegetables, or cleaning dishes without tracking back and forth inside.
The gray water collection is important, so make sure you’ve got a proper system rather than just dumping it on the ground. Seal all your fittings well because outdoor plumbing takes more abuse than indoor lines.
Use Accent Walls or Decorative Paneling for Dimension
A single accent wall can completely change how your kitchen feels without requiring major construction. Peel-and-stick options like 3D tiles, faux stone, or subway patterns add texture and visual interest while staying removable if you change your mind later.
White shiplap brings that modern farmhouse look, and mosaic patterns work if you want something with more movement. The texture creates depth that flat-painted walls can’t match, and the installation usually takes an afternoon.
Create an Outdoor Kitchen Zone With Weather Protection
A retractable awning with side panels turns the space outside your RV into a legitimate cooking area that’s protected from wind and rain. Mount weatherproof storage for utensils and spices so everything’s where you need it, and tap into your RV’s propane system to avoid juggling separate tanks.
Good lighting is crucial if you’re cooking after dark, and I’ve found that LED strips under the awning work better than trying to position standalone lights. This setup keeps smoke and cooking smells outside while giving you serious expansion room.
Optimize Vertical Space With Refrigerator-Top Storage
The space above your fridge usually sits empty, but it’s perfect for lightweight non-perishables if you secure them properly. Install adjustable bars or baffle strips to keep things from shifting when you’re driving, and use clear bins so you can actually see what’s up there.
Non-slip mats help prevent movement, and stick to shatterproof containers because anything glass is eventually going to take a tumble. Just keep the weight reasonable since you don’t want to strain the fridge mounts or make the whole unit top-heavy.