Halloween pumpkins are easy to carve badly. Cutting a lopsided triangle face and calling it done is one thing, but celestial designs reward the extra hour you spend on them.
A well-carved constellation or crescent moon catches the candlelight differently than a basic jack-o-lantern, throwing patterns across your porch that stop people mid-stride. The night sky gives you an almost unlimited source of inspiration, and pumpkins are surprisingly good canvases for it. Here’s what actually works.
Contents
- 1 Star Gazer Kitty Design
- 2 Classic Five-Point Star Pattern
- 3 Moon and Star Combination
- 4 Constellation Carving Ideas
- 5 Layered Pumpkin Displays
- 6 Whimsical Witches’ Hat Accents
- 7 Mystical Symbol Integration
- 8 Deep Carving Techniques
- 9 Battery-Operated LED Illumination
- 10 Sharp Angle Star Shapes
- 11 Hollowing for Optimal Light
- 12 Layered Carving for Depth
- 13 Fine Detail Tool Usage
- 14 Pattern Consistency Strategies
- 15 Symmetrical vs. Abstract Stars
- 16 Multi-Star Size Effects
- 17 Mixed Media Pumpkin Art
- 18 Pumpkin Preservation Tips
- 19 Online Pattern Resources
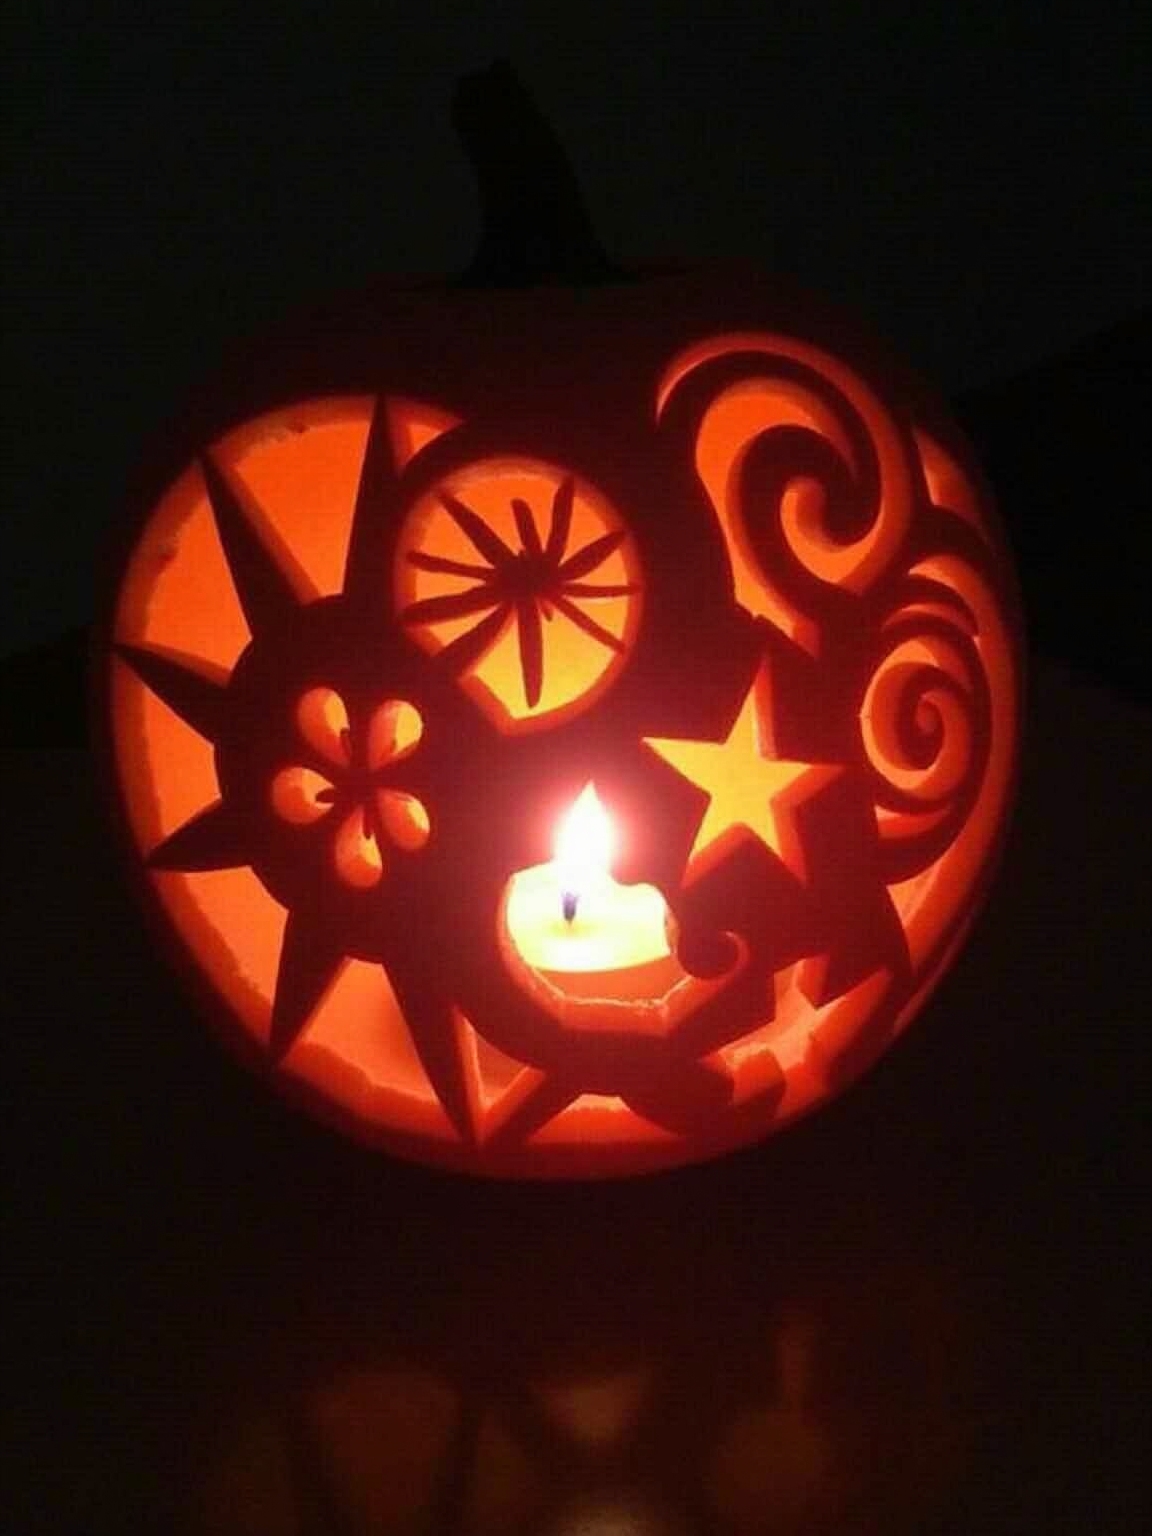
Star Gazer Kitty Design

A cat silhouetted inside a crescent moon is one of those designs that looks harder than it is. You trace the cat outline first, then carve the moon around it using relief techniques rather than cutting all the way through.
The result is a two-toned glow when lit from inside; the cat stays dark while the moon burns bright. It’s the kind of design that photographs well and holds up through a full week of October nights.
SEE THIS: 19 Amber Glass Fall Decor Ideas That Glow in Golden Light.
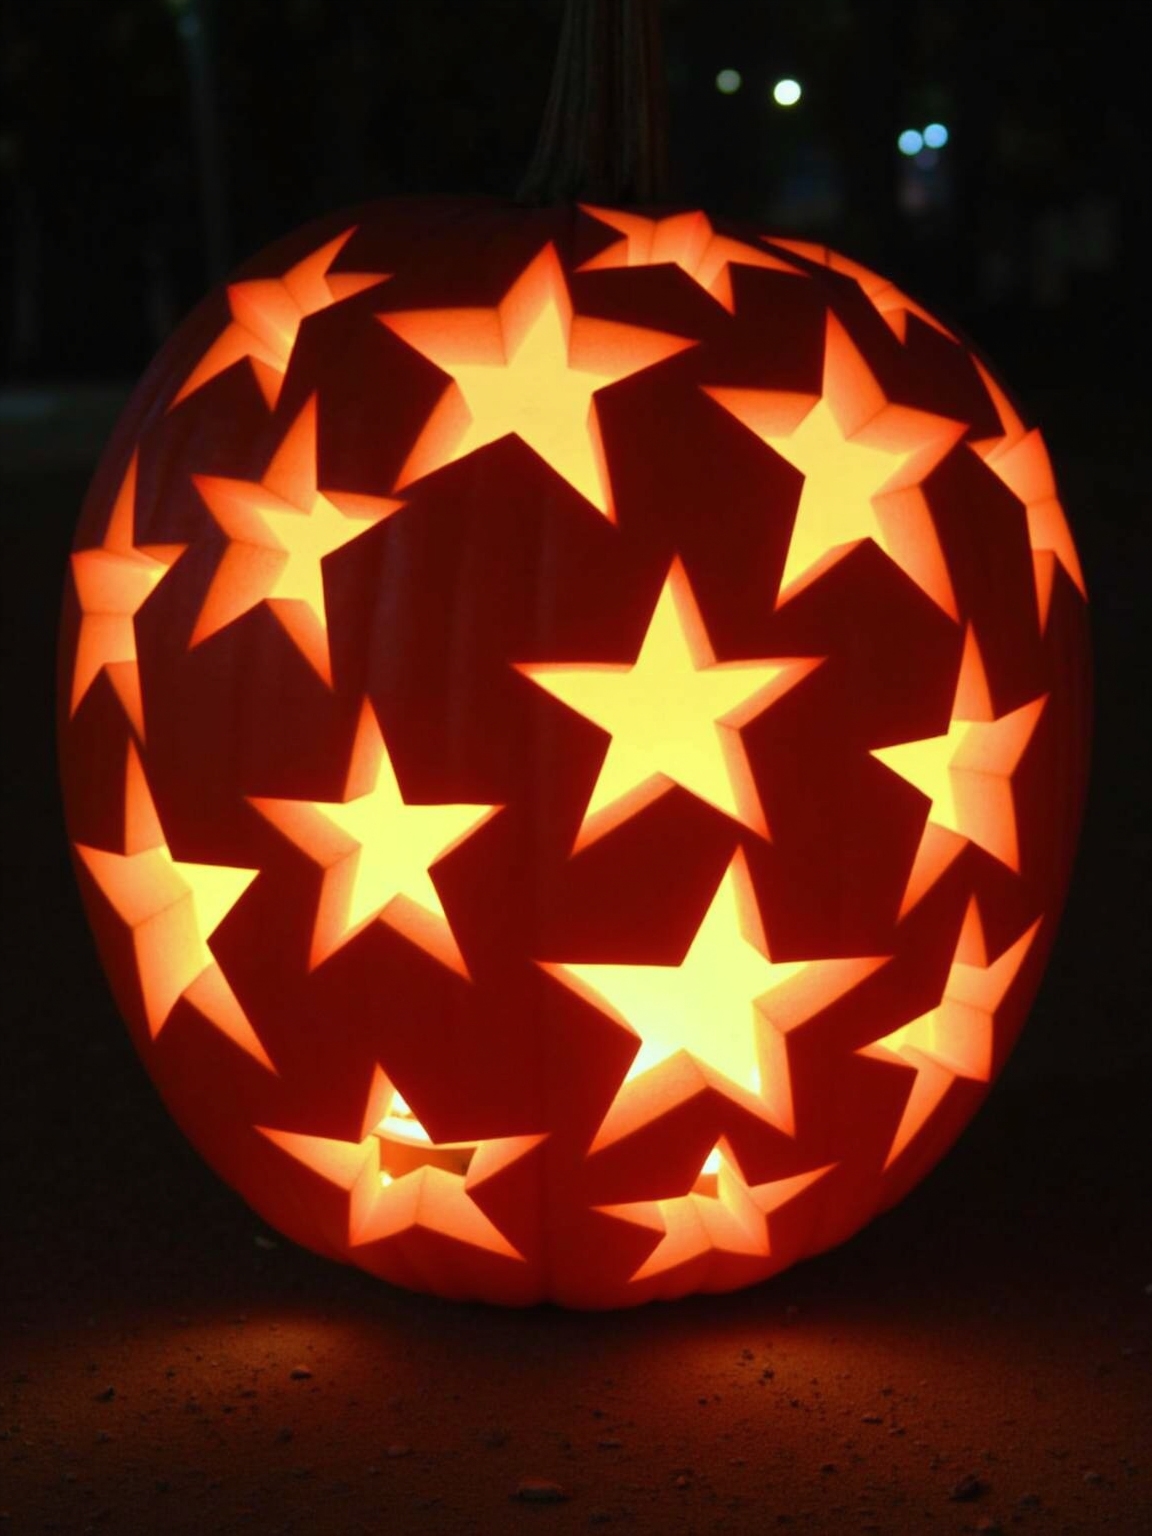
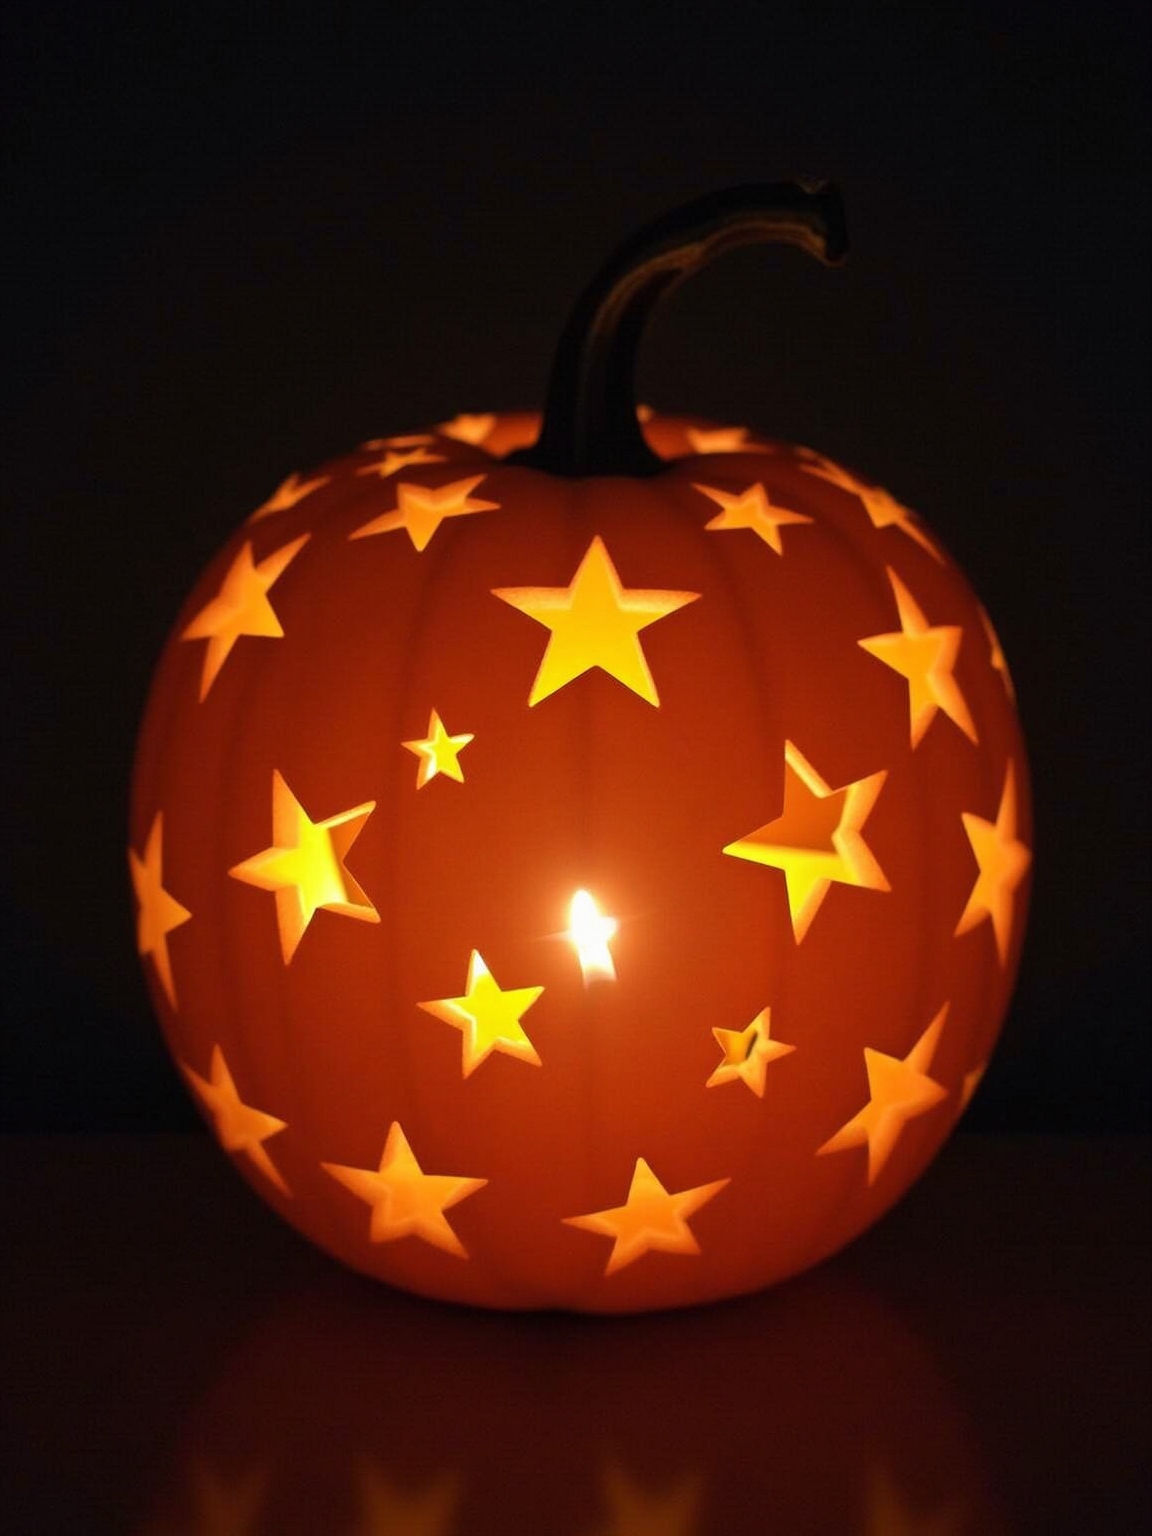
Classic Five-Point Star Pattern

Draw your star on the pumpkin with a Sharpie before you touch a blade to it. Use an X-Acto knife to cut the outline carefully, connecting alternating points to keep the geometry tight and even.
Scrape the interior wall behind the star thinner than the rest, which concentrates the light and makes the shape pop at night. Lay a newspaper under your workspace before you start, because pumpkin guts travel further than you expect.
SEE THIS: 15 Cute Animal Face Pumpkin Carving Ideas for Fall Fun.
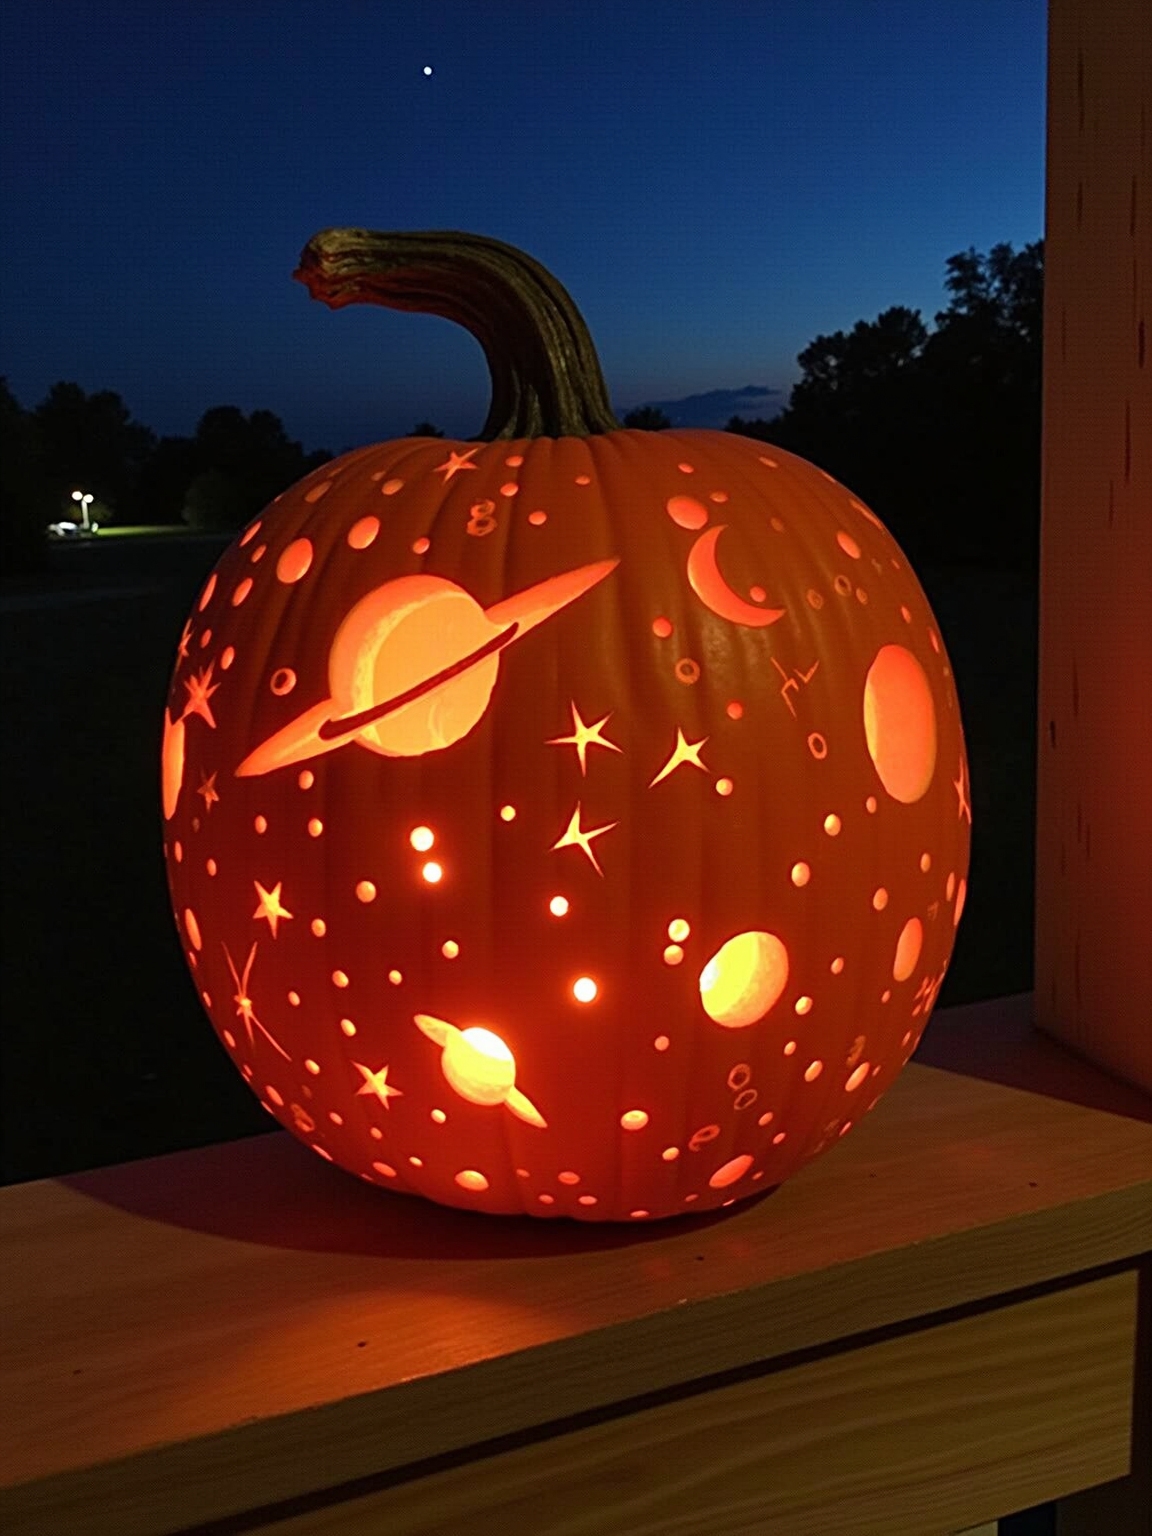
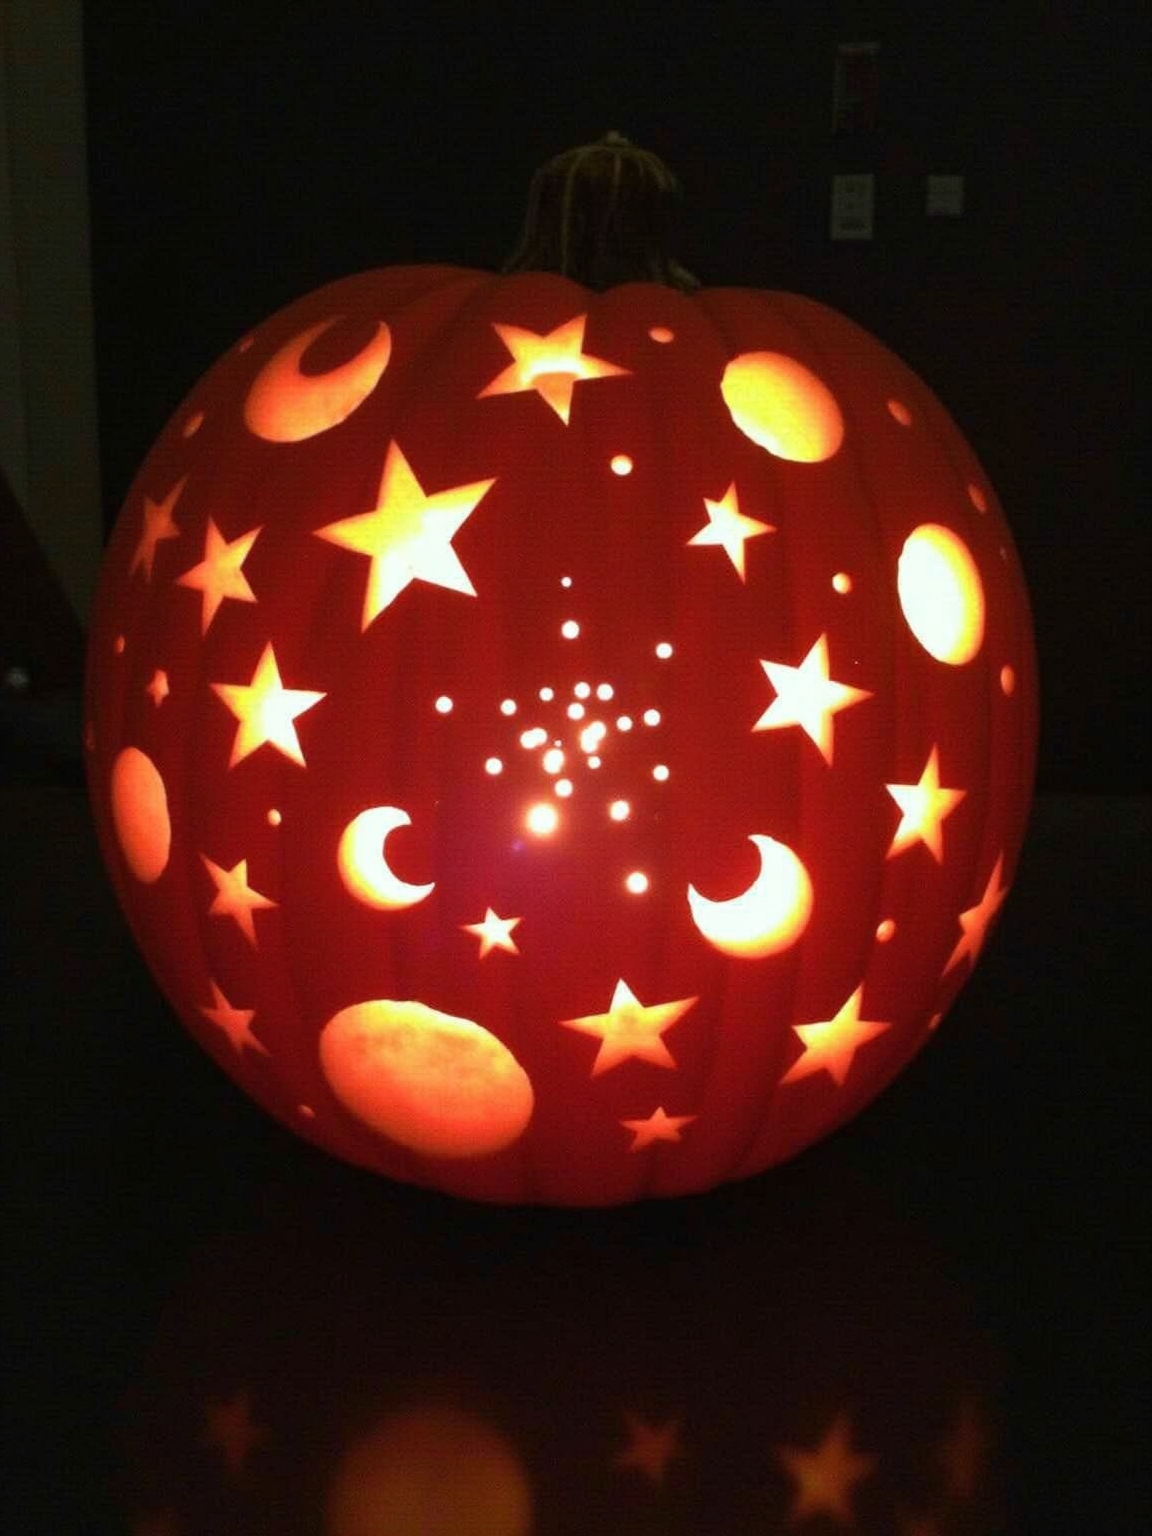
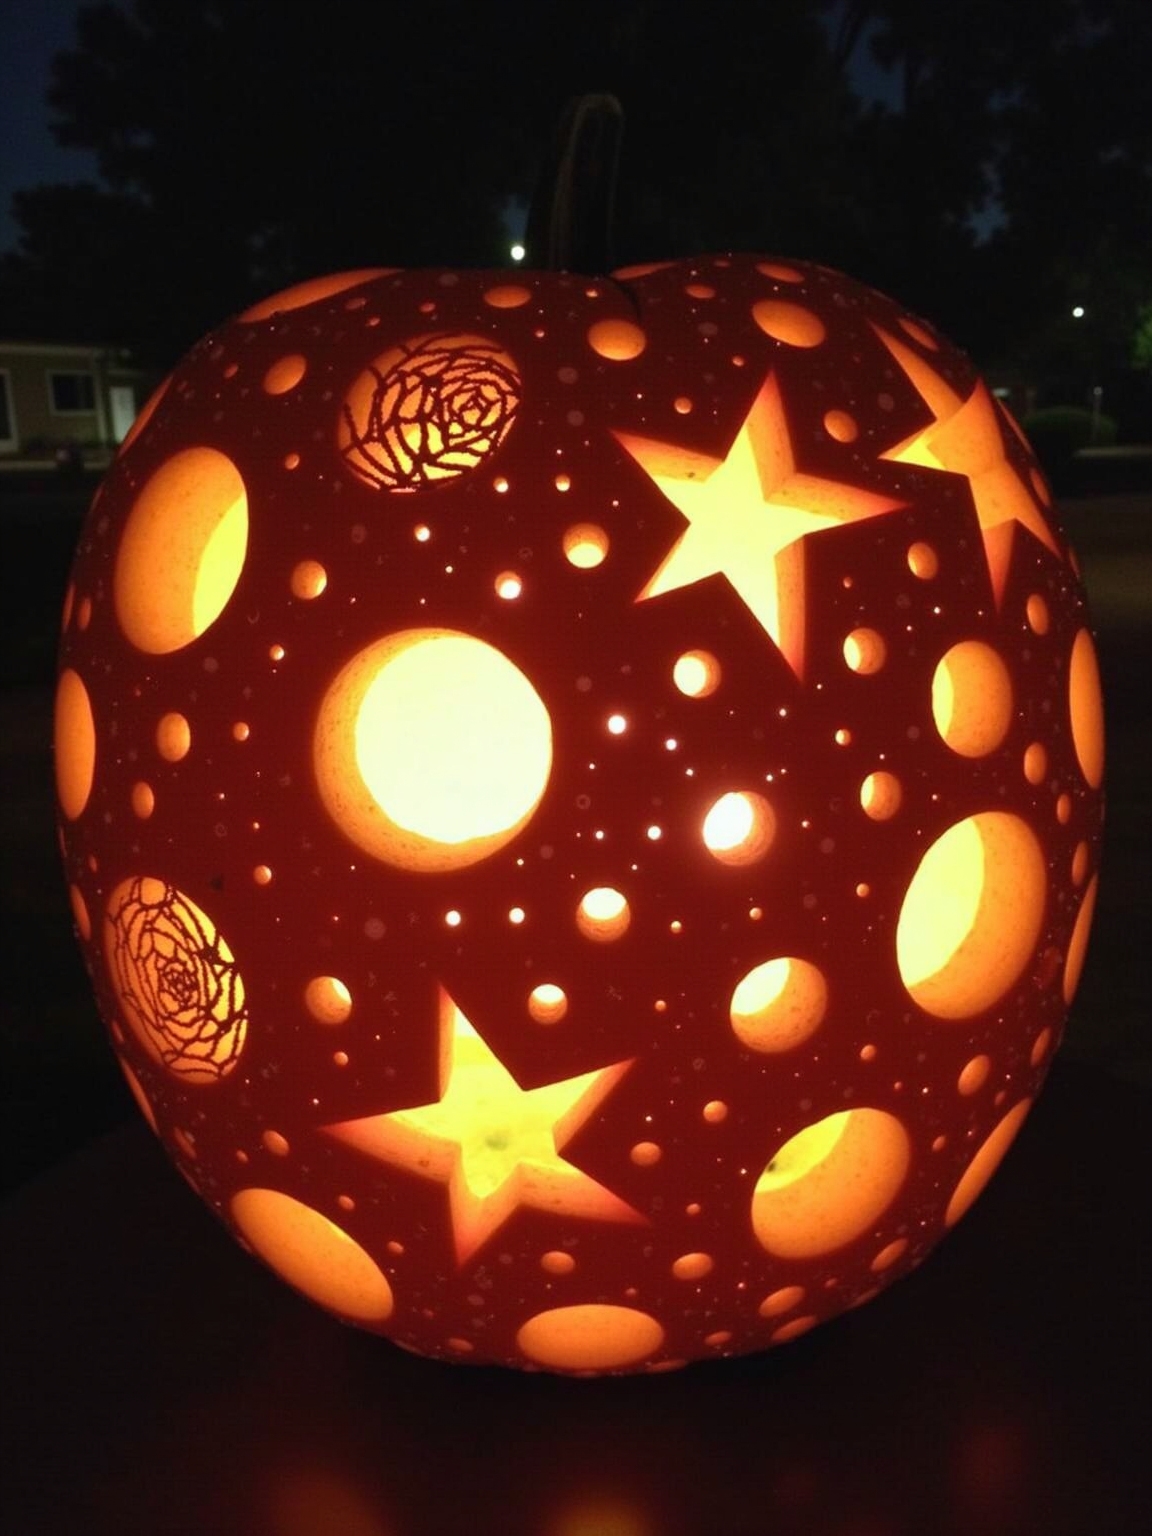
Moon and Star Combination

Pairing a crescent moon with a silhouetted forest underneath gives you a layered, storybook scene without requiring advanced skills. Try carving stars in varying sizes across the face, connecting them with thin scored lines to suggest constellations without fully cutting through.
Matte dark paint on the uncarved sections deepens the contrast when the light is on. An electric drill with a small bit makes the tiny star holes faster and more consistent than any hand tool will.
SEE THIS: 20 Ombre Painted Pumpkin Ideas for a Modern Fall Aesthetic.
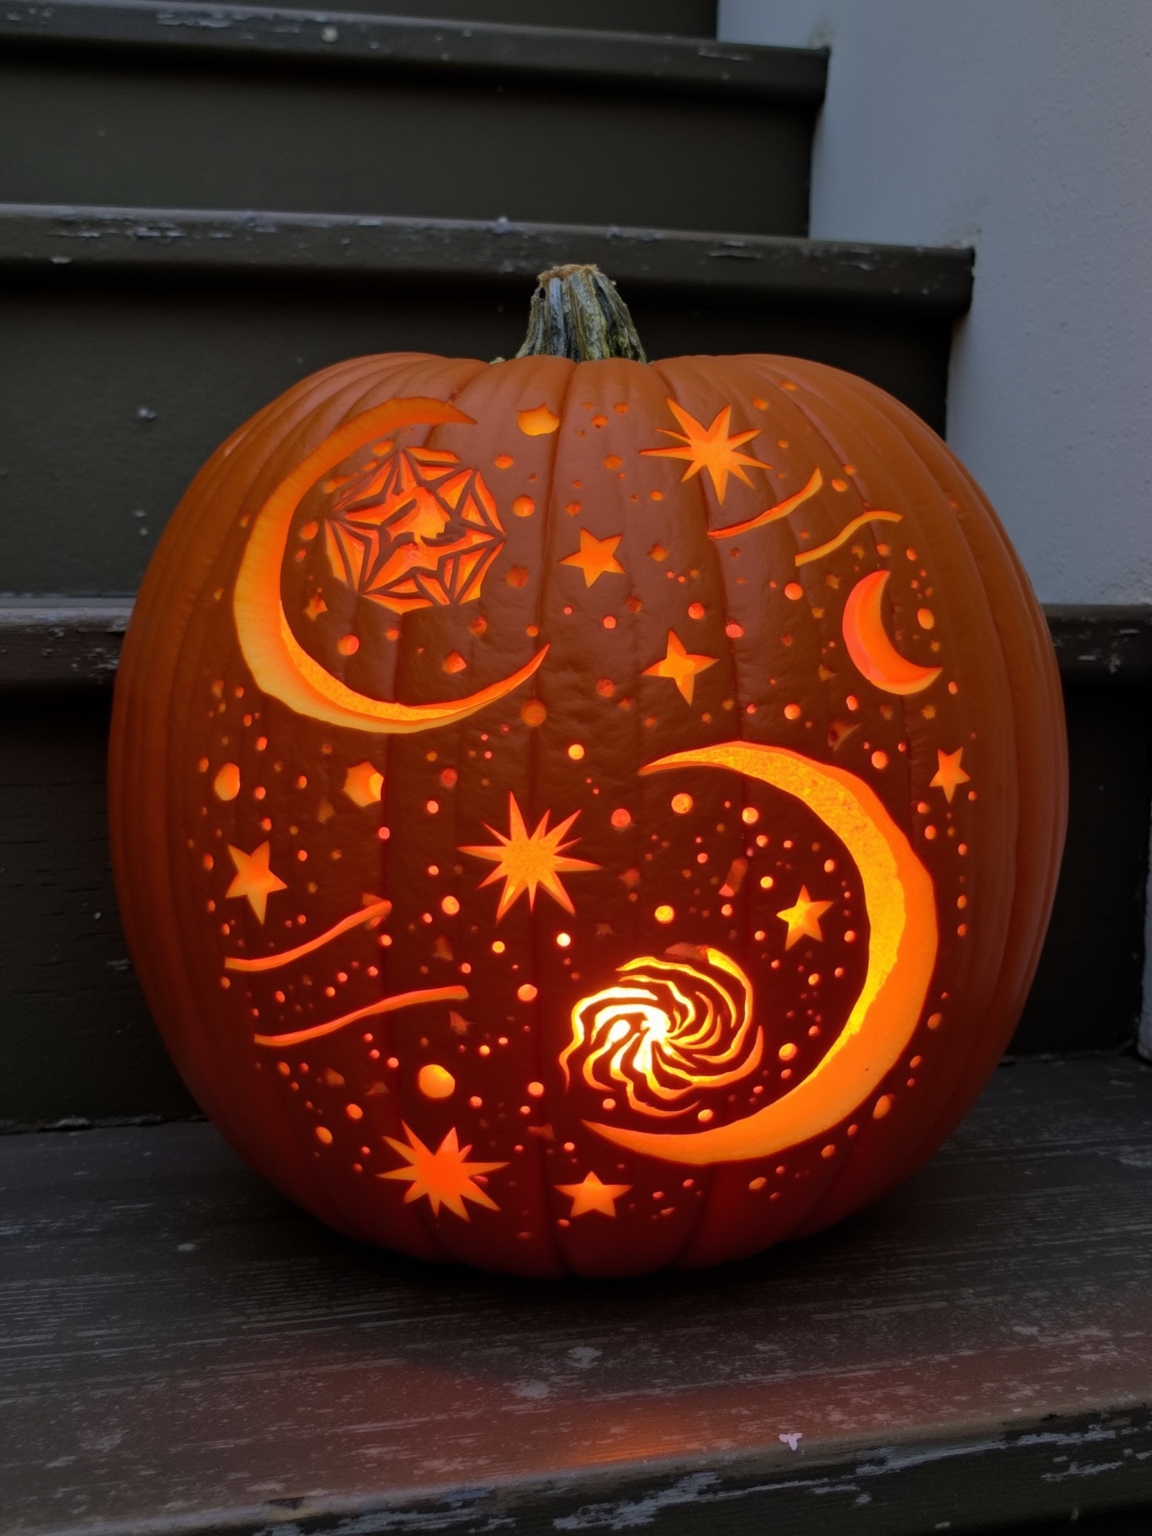
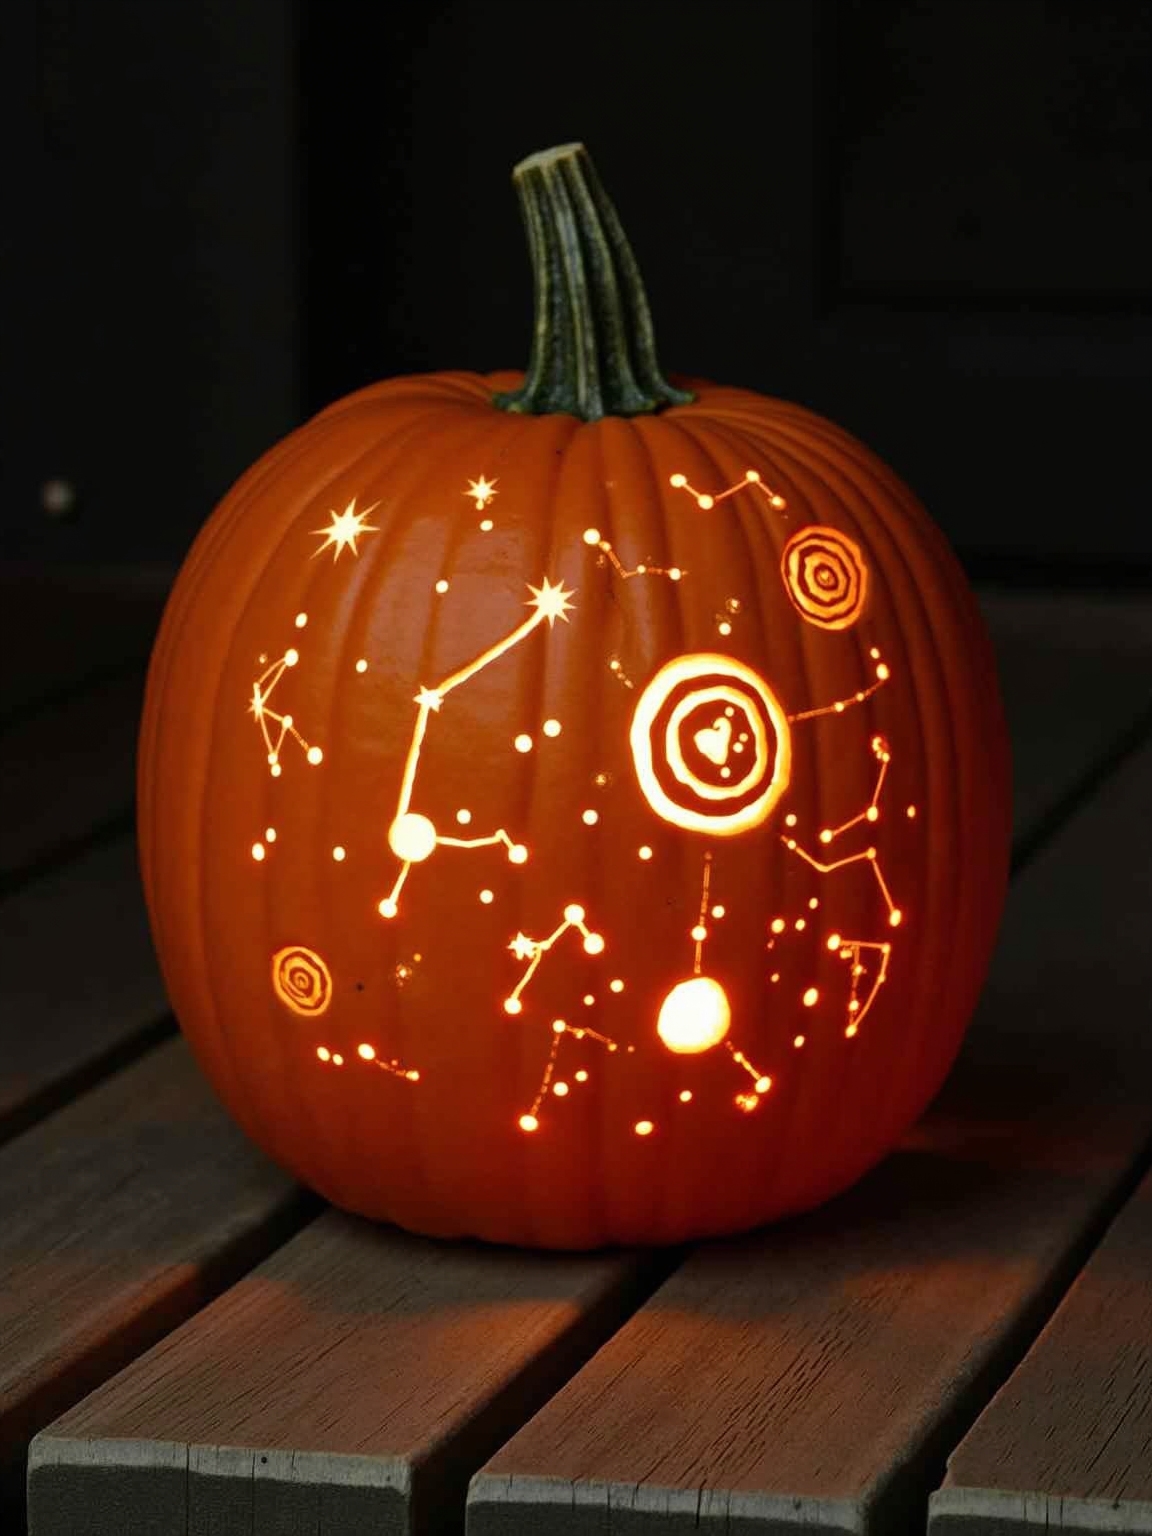
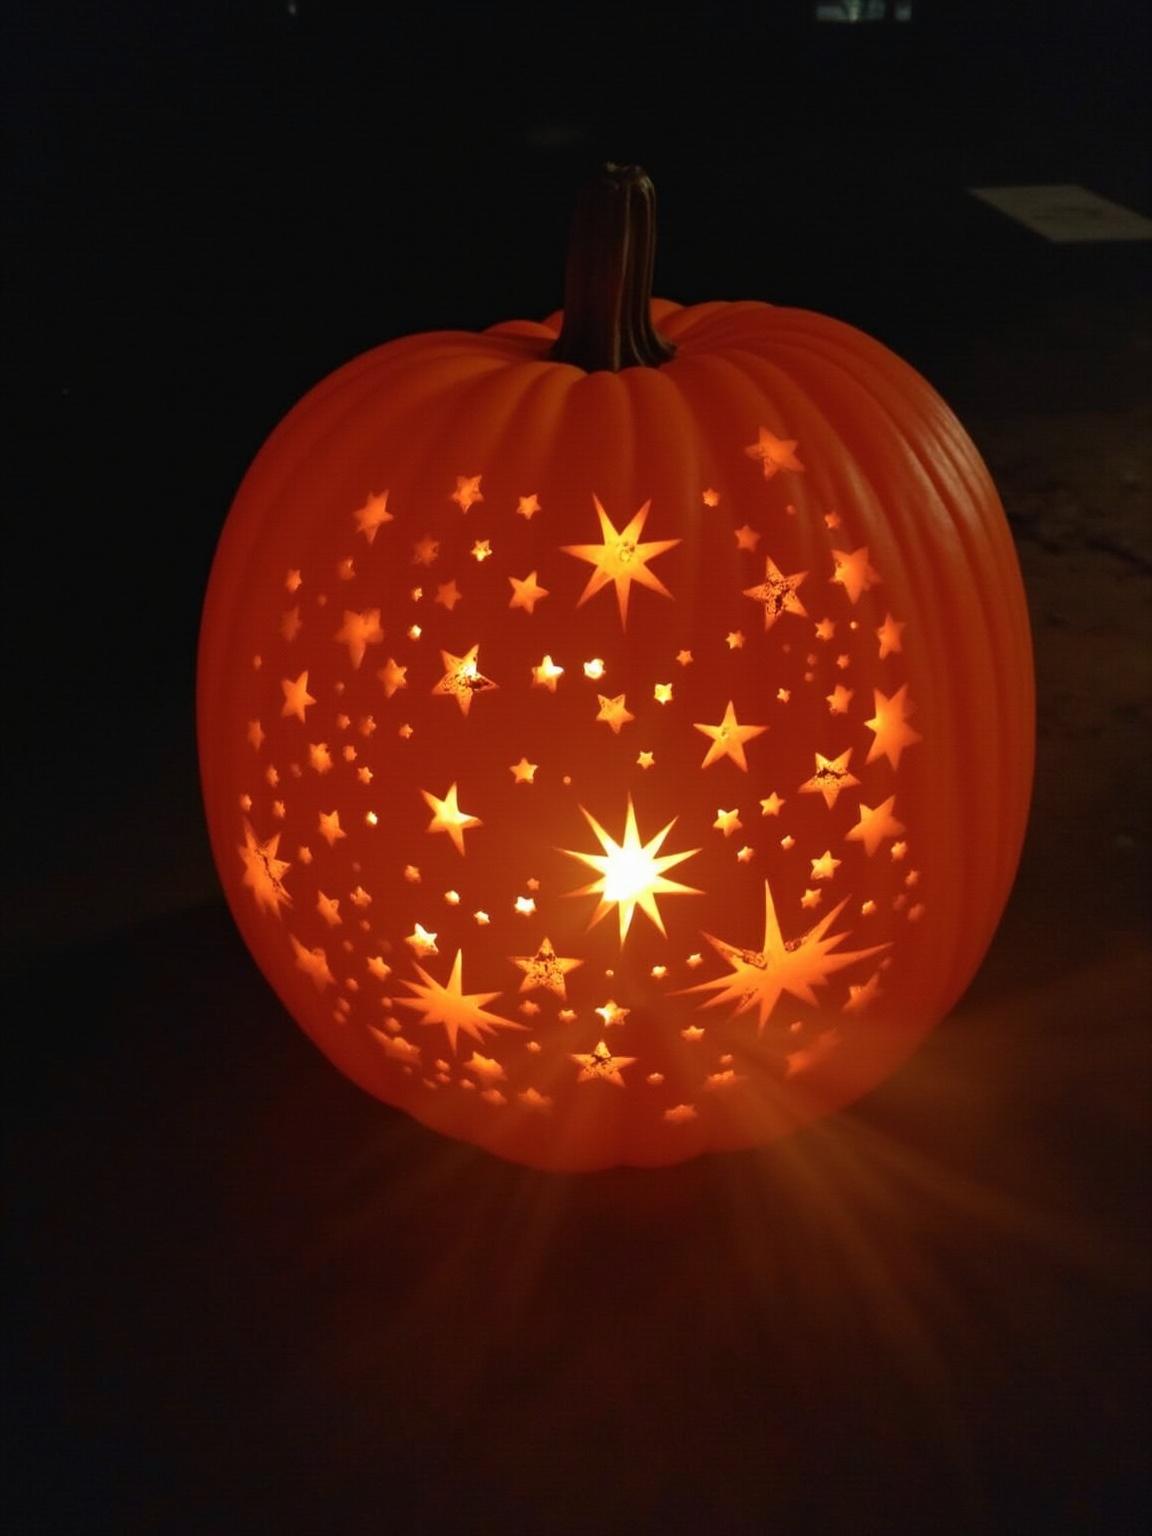
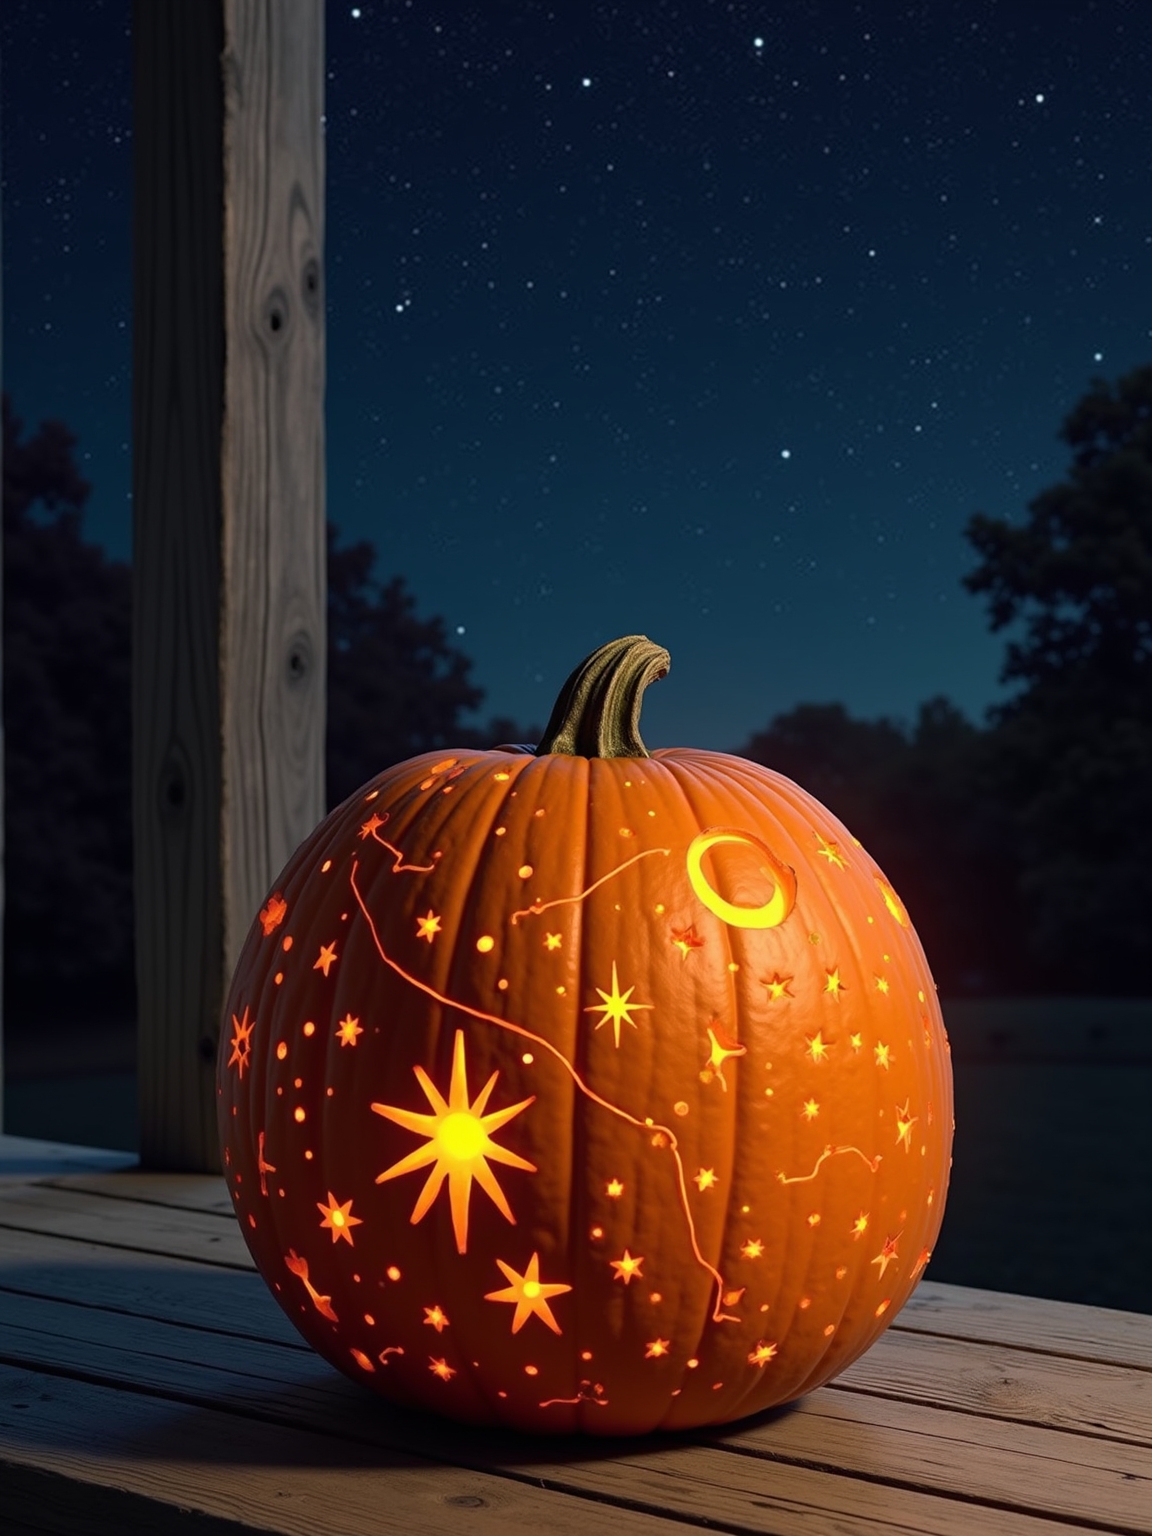
Constellation Carving Ideas
Drilling star holes of different diameters is the trick that makes constellation carvings look realistic instead of flat. Choose a recognizable pattern like Orion or Scorpio, print a reference image, tape it to the pumpkin, and poke through the paper to mark your drill points before you start.
Painted lines connecting the stars read clearly from a distance and survive the carving process better than carved lines do. A metallic paint base coat underneath everything ties the design together once the LED goes in.
SEE THIS: 19 Terracotta Painted Pumpkins That Bring Warm Farmhouse Vibes.
Layered Pumpkin Displays
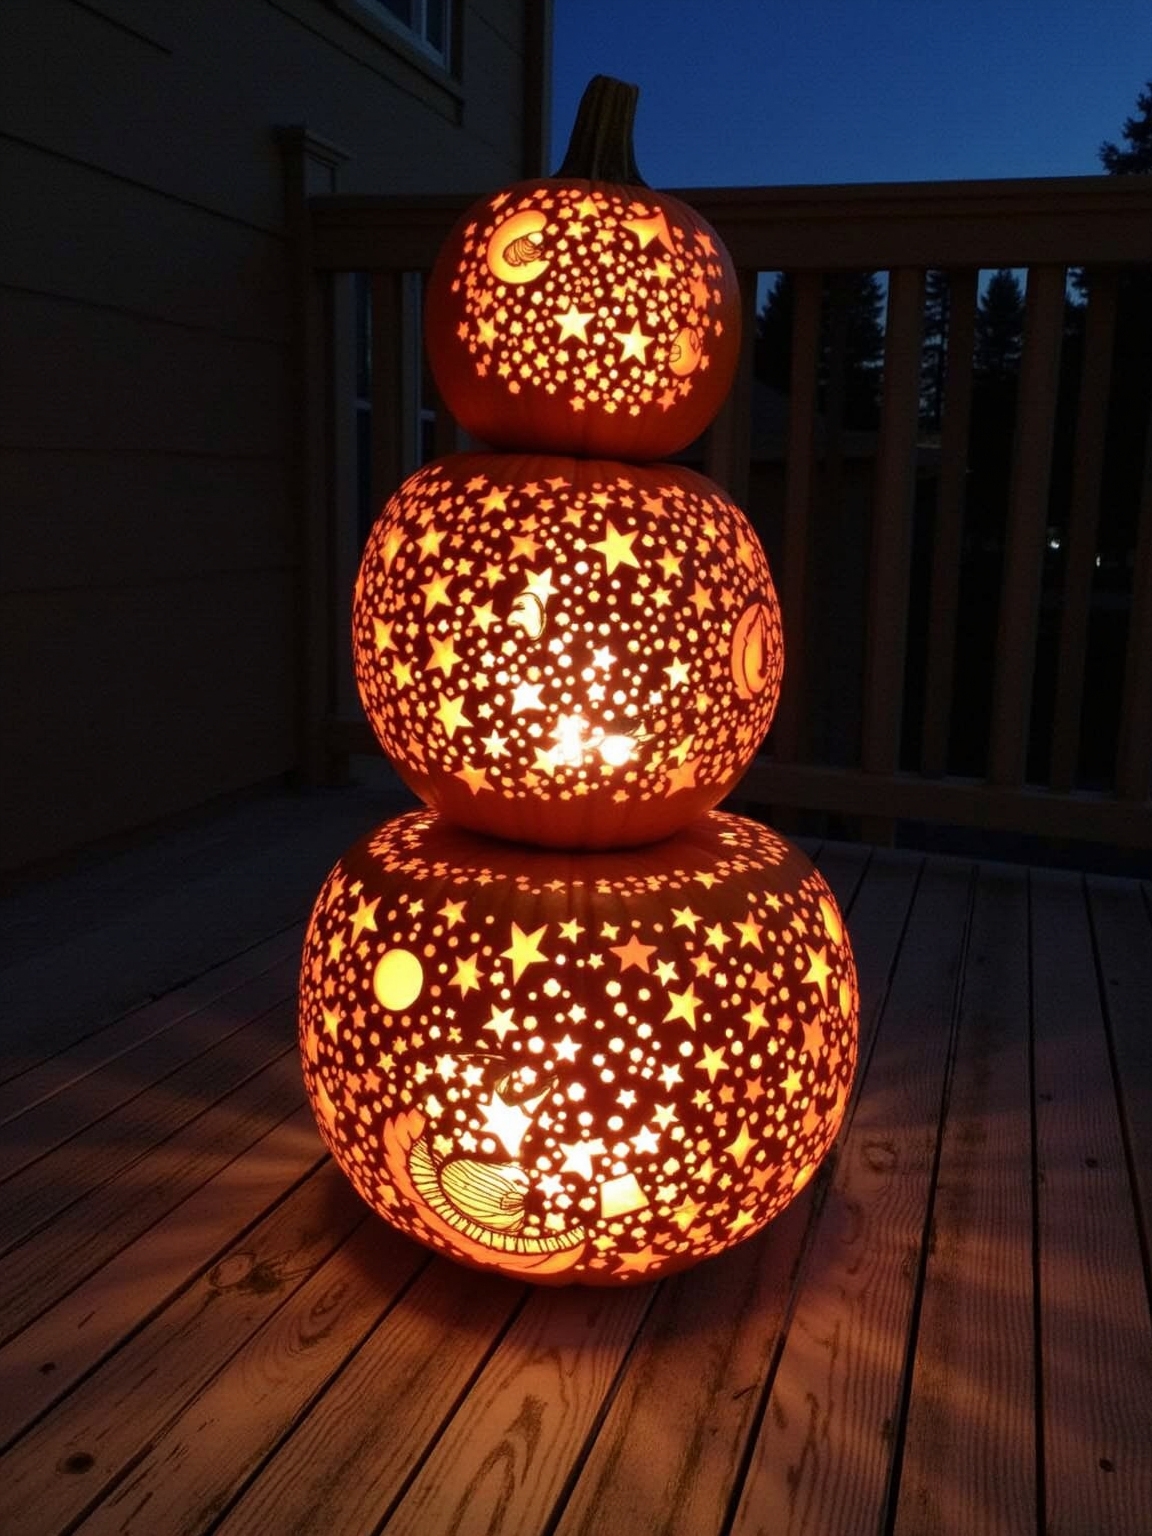
Stacking pumpkins at different heights creates a display with more visual weight than a single carved specimen sitting on a step. Quality cardstock like Bazzill works well for paper cutout accents layered between pumpkins, adding color and texture without more carving.
Foam adhesive dots lift those paper elements slightly off the surface, giving the arrangement a subtle three-dimensional quality. Chipboard backing keeps the whole structure from buckling when temperatures drop overnight.
SEE THIS: 20 Ways to Layer Rugs for a Cozy & Stylish Fall Look.
Whimsical Witches’ Hat Accents
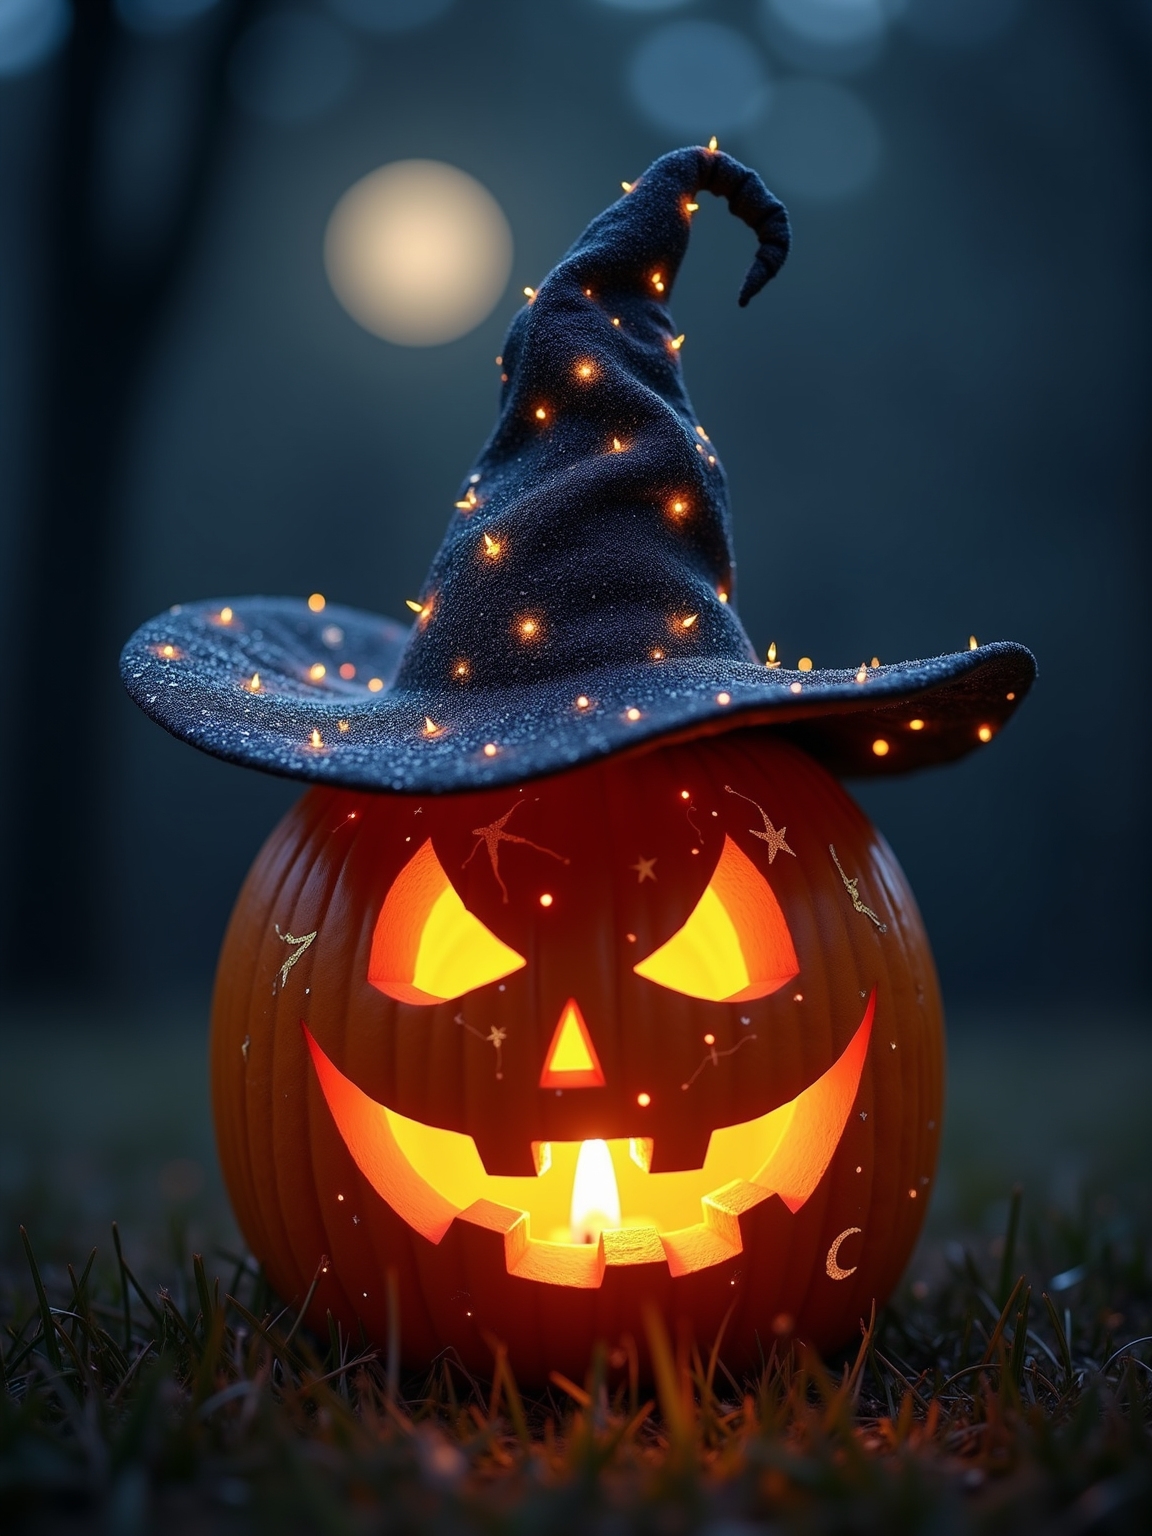
A carved witch’s hat alongside a celestial design ties the Halloween atmosphere together without competing with the night-sky theme. The tall conical shape carves cleanly with a stencil and holds its structure well, even on a mid-sized pumpkin.
Add small star cutouts along the brim to keep the celestial thread running through the whole display. Lit from within, the hat and stars glow together as one unified scene rather than feeling like two separate ideas on the same pumpkin.
Mystical Symbol Integration
Pentagrams, crescent moons, and runic symbols carve cleanly and read well from a distance, especially when the negative space is used deliberately. Combining a carved symbol with painted vines or foil star accents on the uncarved surface adds dimension without requiring more cutting.
Symmetry matters more with mystical symbols than with organic designs, so take the time to center and measure before cutting. Runes and alchemical shapes paired together on a single pumpkin create a layered folklore effect that holds up surprisingly well under porch lighting.
Deep Carving Techniques
Layered carving means removing flesh at different depths rather than cutting all the way through, and it’s what separates flat designs from ones that look three-dimensional. Chisels and clay loop tools give you more control over depth than knives do, letting you scrape down to varying thicknesses that transmit different amounts of light.
The thinner the remaining flesh, the brighter that section glows against the darker, thicker areas around it. Leave the corners and edges of your design thicker to keep the structural integrity intact through the week.
Battery-Operated LED Illumination
Real candles look warmer, but they also melt your pumpkin faster and become a fire risk near dry leaves and decorations. Battery-operated LED votives mimic the flame flicker without the heat, and they won’t scorch the interior walls of a thinly carved design.
String lights work well inside larger pumpkins where a single light source leaves dark corners. Rechargeable options are worth the upfront cost if you’re running several pumpkins across a full season.
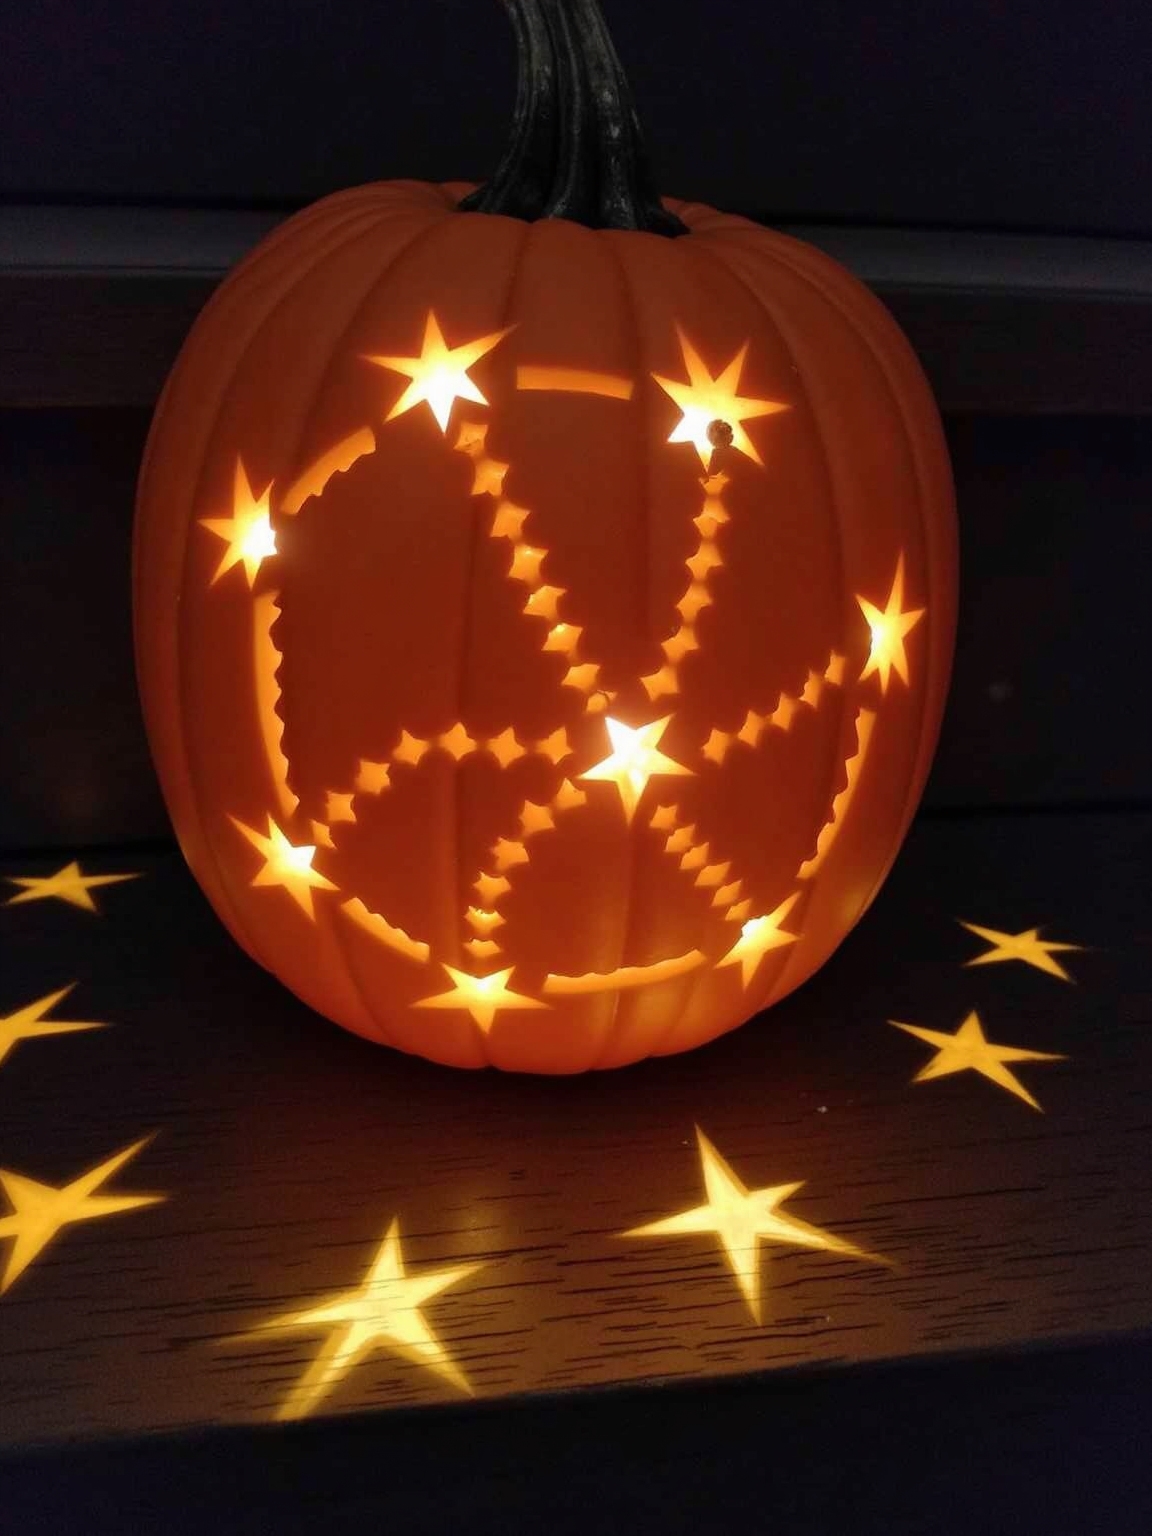
Sharp Angle Star Shapes
Geometric stars with sharp, defined points require structural planning before you cut anything. Plot your vertices first, draw the intersecting lines, then identify where the thinnest bridges of flesh will be and decide whether they’ll hold.
Small connecting sections of uncut pumpkin at the inner corners keep the points from breaking off mid-display. A poking tool to pre-mark the pattern before cutting ensures your angles stay true across the whole design.
Hollowing for Optimal Light
Nobody talks enough about how much the hollowing job affects the final glow. Thin the interior walls to roughly half an inch with a sturdy scraping tool, working evenly so the light diffuses consistently across the whole face.
Leave a clean, round ventilation hole at the top rather than hacking a jagged opening, since trapped heat shortens both candle burn time and pumpkin life. The smoother the interior surface, the more evenly your design will radiate.
Layered Carving for Depth

Varying the thickness of pumpkin flesh across a single design creates shadows and highlights that flat cutout carving never achieves. Use chisels and clay loop tools for precise depth control, scraping incrementally rather than committing to a single pass.
Areas scraped to near-translucency glow intensely, while thicker sections stay dim, giving your design a natural sense of distance and dimension. Keep the structural load-bearing sections, especially corners and outer edges, noticeably thicker than the rest.
Fine Detail Tool Usage
A basic X-Acto knife handles outlines, but a dentist’s pick or push pin is what actually transfers your pattern accurately. Use short, controlled strokes with pumpkin saws rather than long drags, especially on curves and tight corners.
Keep a scalpel or bird’s beak knife on hand for the small detail work that standard blades can’t reach cleanly. Sharp tools do less damage to the surrounding flesh than dull ones, so swap blades more often than you think you need to.
Pattern Consistency Strategies
A flat, firm pumpkin is the starting point for any design that requires symmetry or repeating elements. Lightly scrape the surface before applying your pattern so the tape and paper sit flush without gaps.
Moisten the skin slightly before pressing the stencil down, then cover with plastic wrap while you trace to keep it from shifting. Simplifying complex patterns to their major outlines first lets you confirm placement before committing to the fine detail work.
Symmetrical vs. Abstract Stars
Symmetrical stars carve predictably and read clearly from the street, which matters when your pumpkin is thirty feet from the nearest viewer. Abstract stars give you more creative freedom, with irregular points and asymmetric shapes that produce unexpected light patterns when illuminated.
The tradeoff is structural: irregular cuts leave thinner, less predictable bridges of flesh that are more likely to crack before Halloween night is over. Choose based on how much risk you’re willing to take with a pumpkin you’ve already spent two hours carving.
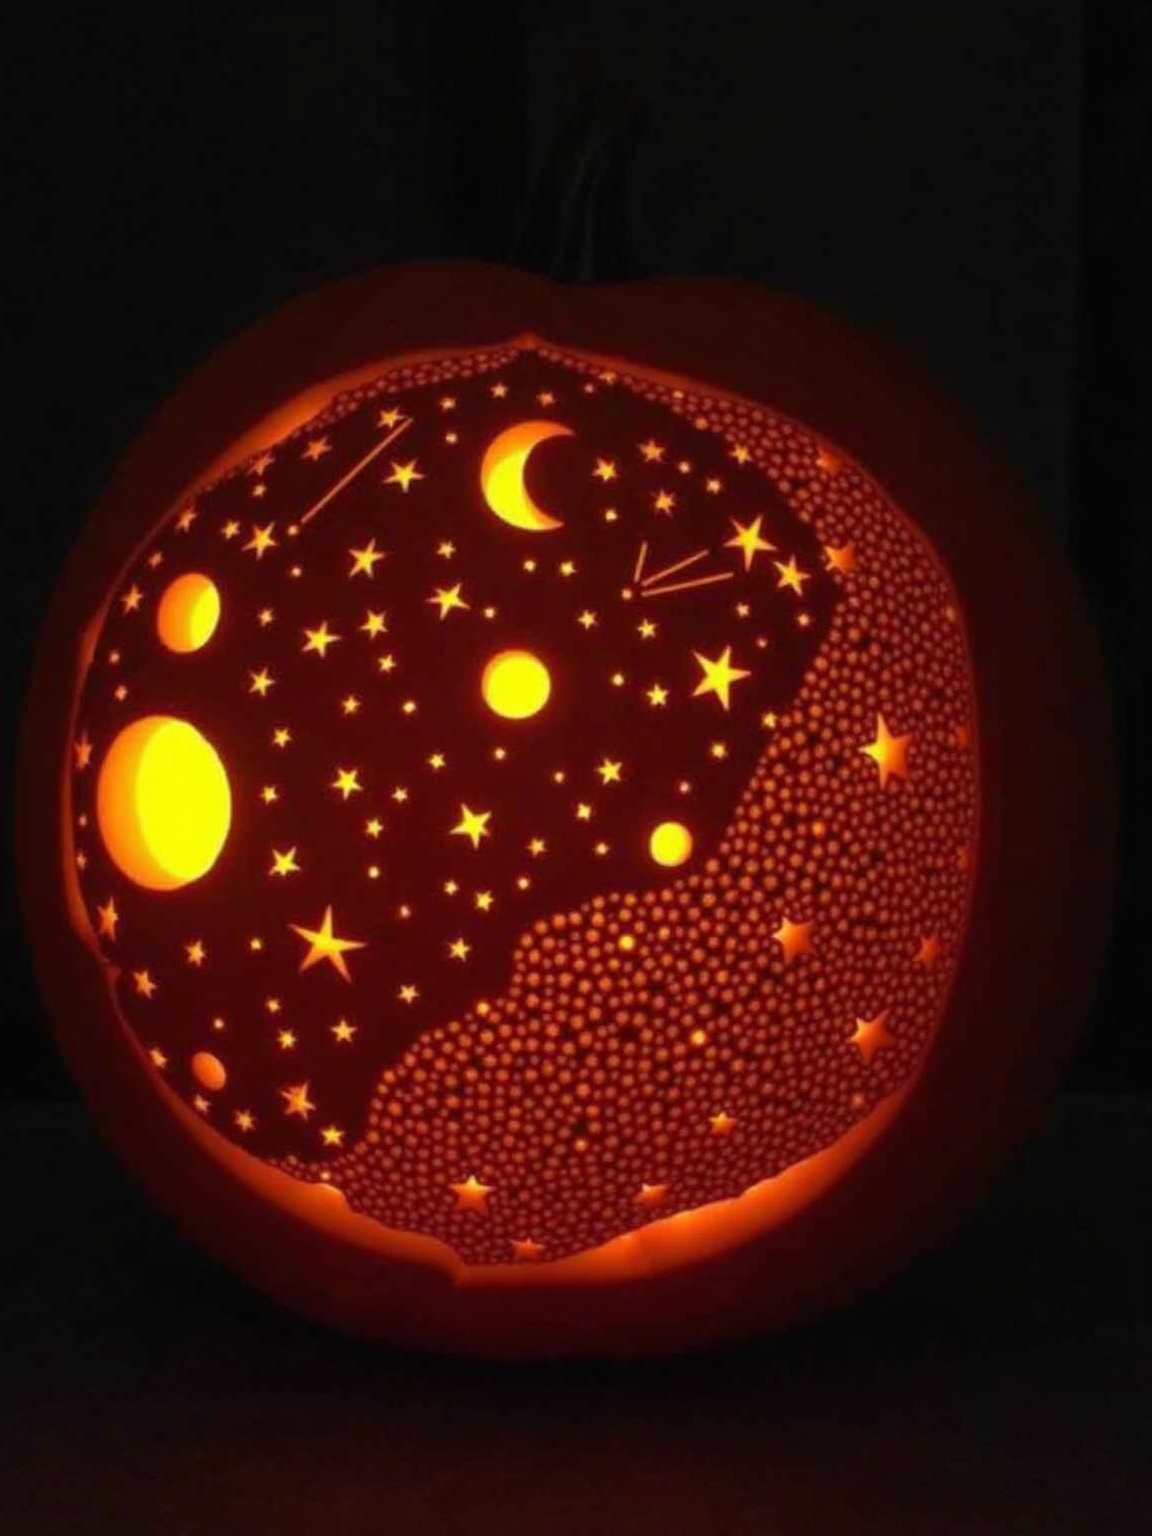
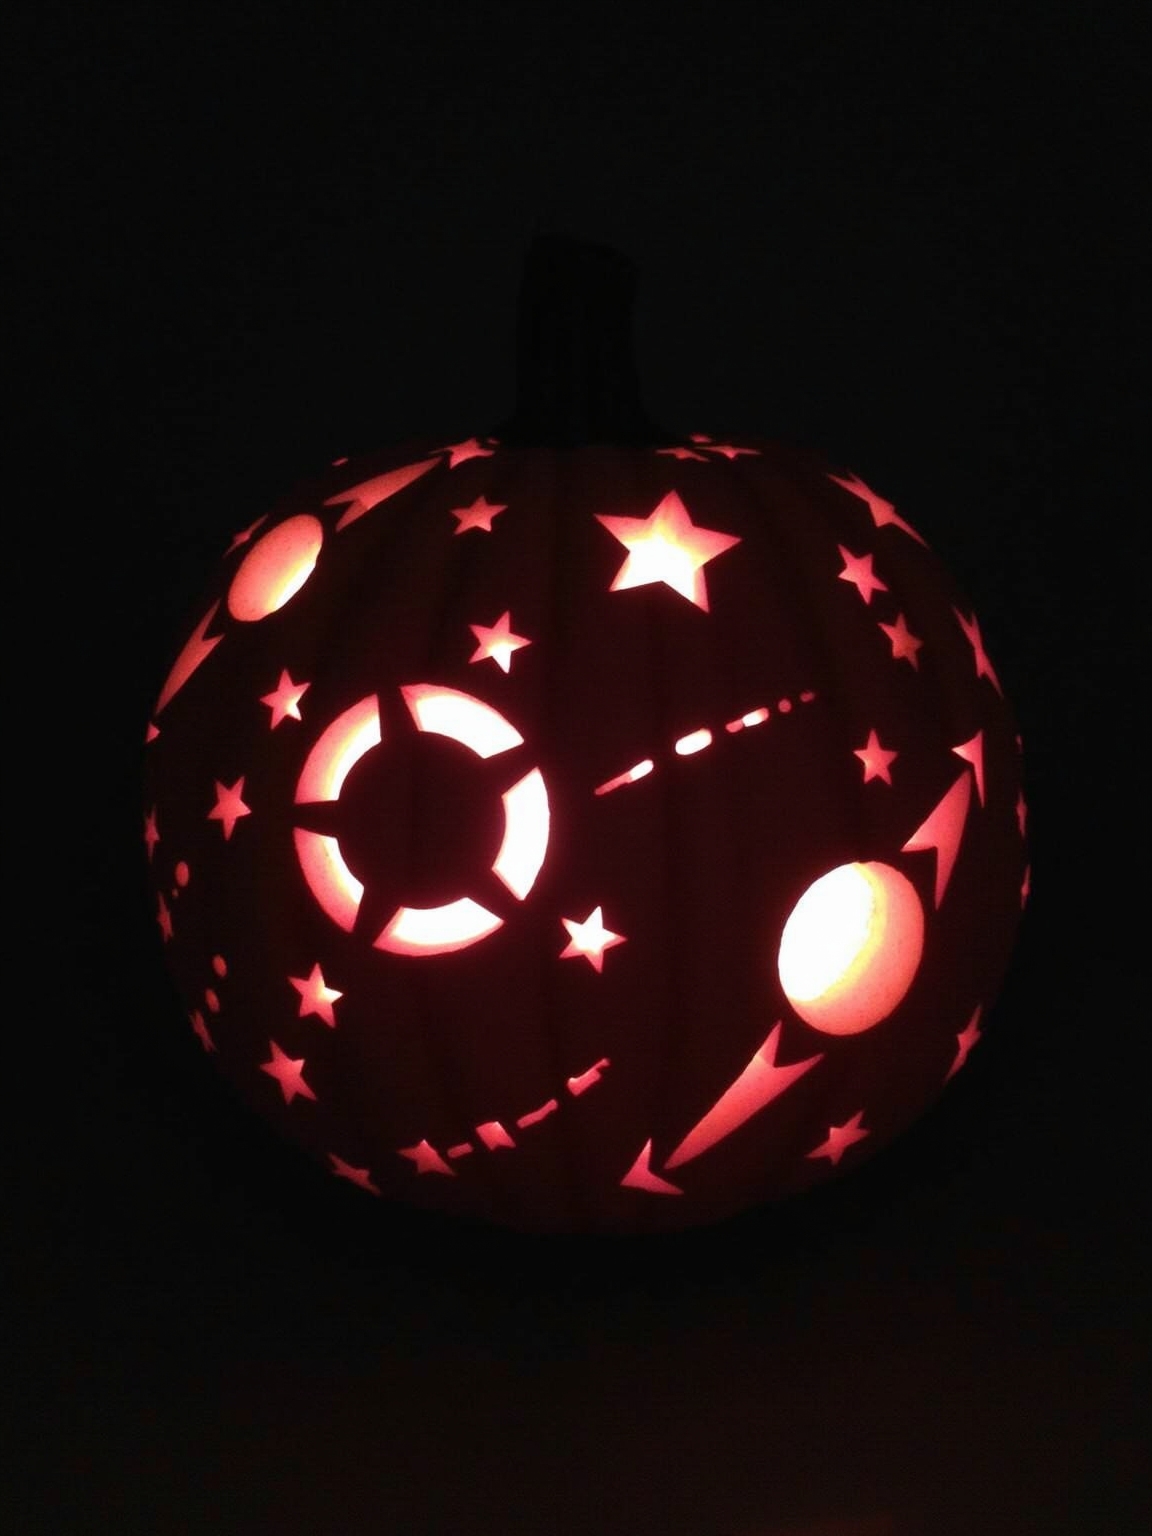
Multi-Star Size Effects
Mixing star sizes on a single pumpkin creates the kind of visual depth that a field of identical stars never achieves. Large cutout stars throw the most light and work best as focal points near the center of the design.
Medium stars scraped halfway through add a softer glow, while tiny drilled holes read as distant stars on the periphery. The placement matters as much as the size, so sketch the layout on paper before committing to the pumpkin.
Mixed Media Pumpkin Art
Combining carving with paint, fabric, and foil on the same pumpkin sounds like it could get messy, but the results are worth the extra prep. Wood carving chisels and clay loop tools handle the dimensional texture work, while metallic and translucent paints fill in the areas you want to glow with color rather than plain candlelight.
Holographic foil stars pressed onto the uncarved exterior catch porch light independently from the internal glow, layering the visual effect across the whole surface. The key is deciding which technique leads and which ones support it, rather than throwing everything at the pumpkin equally.
Pumpkin Preservation Tips
A carved pumpkin in warm weather lasts about three days without any intervention, but a few easy steps can stretch that to a week or more. Disinfect the whole pumpkin with diluted bleach or white vinegar before carving, and let it dry completely before you pick up a knife.
Coat every cut edge with petroleum jelly to slow the moisture loss that causes shriveling and mold. Store it somewhere cool and ventilated overnight rather than leaving it on a sun-exposed porch through the afternoon heat.
Online Pattern Resources
Sites like ZombiePumpkins carry free and paid stencils across a wide skill range, with printable downloads you can tape directly to the pumpkin surface. The paid patterns tend to include more detailed celestial designs, including constellations, moon phases, and zodiac motifs that would take real time to draft yourself.
Browsing a few options before settling on a design also helps you match the pattern complexity to how much time you actually have. A realistic read of your skill level on the front end saves a ruined pumpkin on the back end.