The first time I squeezed into a 19-foot travel trailer for a two-week trip, I learned fast that good intentions mean nothing in a small space. Every bad decision compounds. A cluttered counter bleeds into a claustrophobic bedroom, which bleeds into a trip you can’t wait to end.
After years of camping in everything from pop-ups to converted vans, I’ve watched people make the same avoidable mistakes over and over again, so let’s cut straight to what actually matters.
Contents
- 1 Overlooking Natural Light Opportunities
- 2 Choosing Dark Paint Colors for Walls
- 3 Failing to Maximize Vertical Storage Space
- 4 Poor Lighting Fixture Placement
- 5 Neglecting Moisture Control in Bathroom Areas
- 6 Cluttering Countertops and Tables
- 7 Using Bulky Furniture Pieces
- 8 Ignoring Multi-Functional Storage Solutions
- 9 Skipping Regular Maintenance Checks
- 10 Overcrowding With Decorative Items
- 11 Mismanaging Window Treatments
- 12 Selecting Non-Durable Materials
- 13 Disregarding Door Storage Potential
- 14 Creating Inefficient Traffic Flow
- 15 Overlooking Hidden Storage Opportunities
- 16 Choosing Improper Lighting Temperature
- 17 Installing Insufficient Ventilation Systems
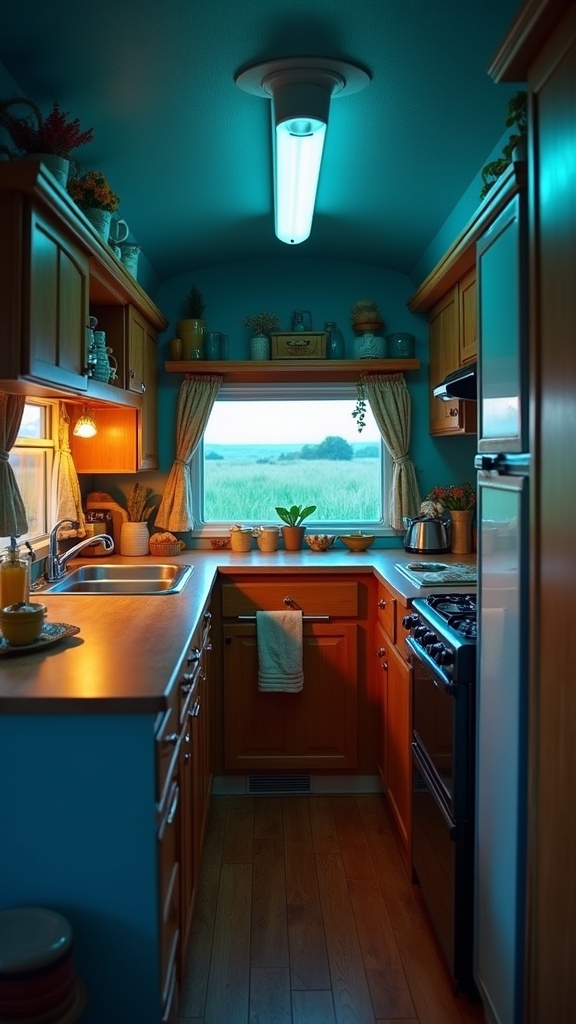
Overlooking Natural Light Opportunities
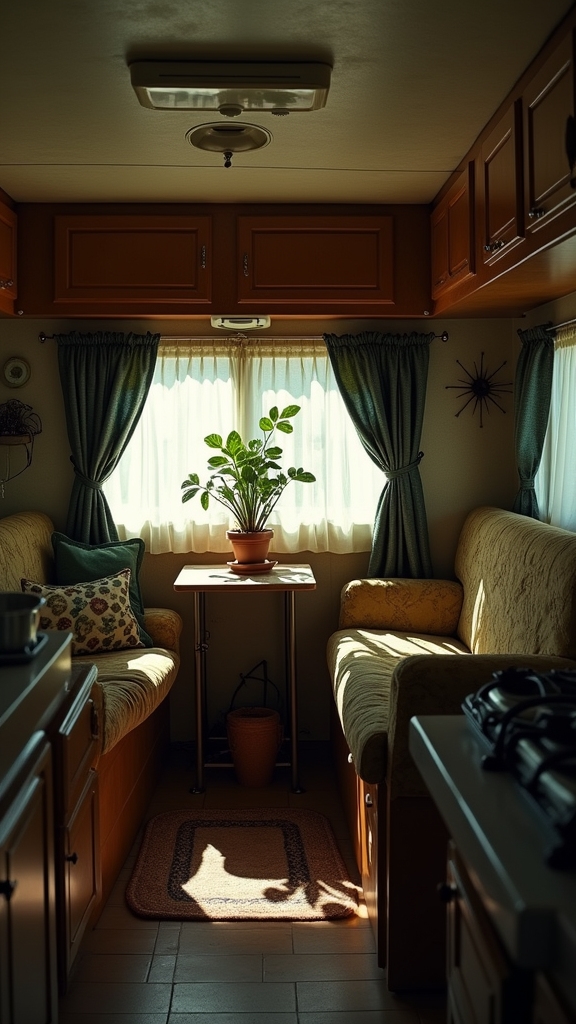
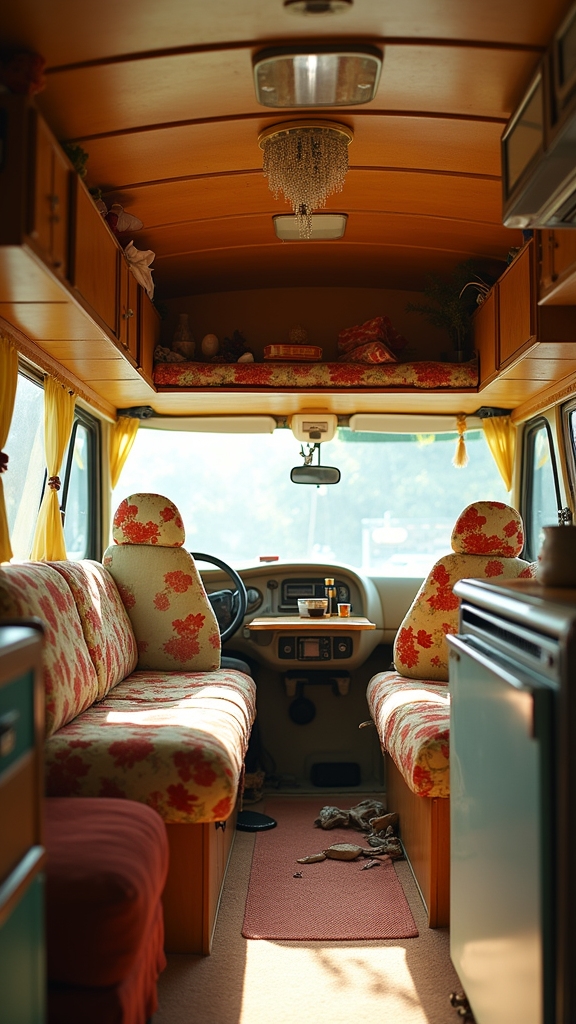
Natural light is the cheapest square footage you’ll ever add to a small camper. Park facing east when you can, use light-filtering shades instead of blackout curtains during the day, and keep window sills completely clear.
If your budget allows, larger windows with UV-protective glass make a noticeable difference in how open the space feels throughout the day. Blinds that roll up completely beat anything that only partially opens, because half-measures with light just leave you with a dim, uninviting interior.
SEE THIS: How I Turned a Dated Camper Into a Pinterest Dream!
Choosing Dark Paint Colors for Walls
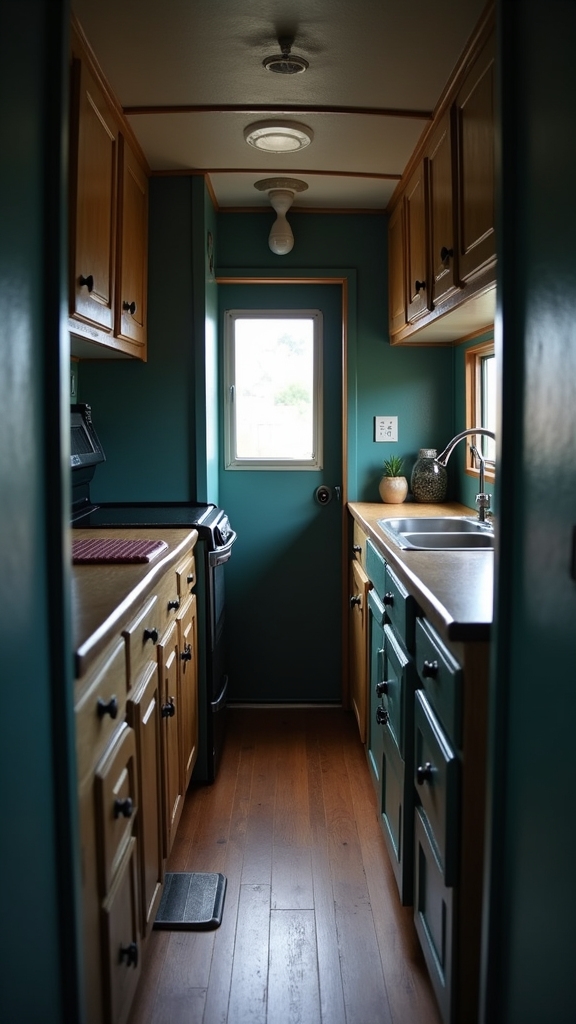
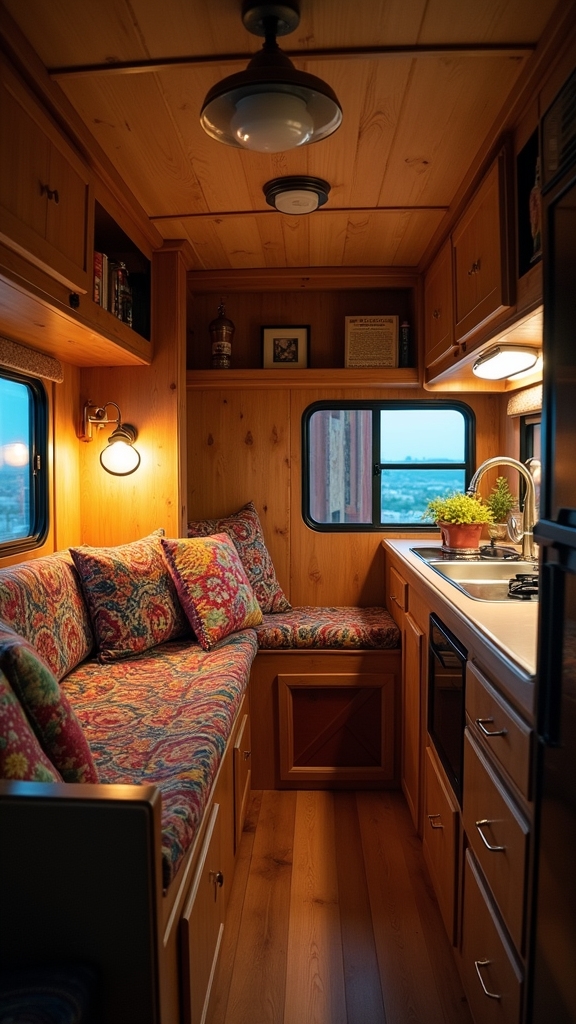
Dark walls absorb the light you’ve worked hard to let in and make a small camper feel like a closet by midafternoon. Beyond the visual heaviness, dark paint holds heat, which matters a lot in a metal or fiberglass shell baking under a summer sun.
Warm whites, soft creams, and pale grays reflect light back into the space and make architectural details easier to see and appreciate. If you want contrast or personality, bring it in through textiles and accessories, not the walls.
SEE THIS: 15 Jaw-Dropping Before & Afters of DIY Camper Decorating Ideas!
Failing to Maximize Vertical Storage Space
Floor space in a tiny camper is precious and mostly spoken for, but the walls are wide open. Floating shelves, adhesive hooks, magnetic knife strips, and wall-mounted dispensers in the bathroom all move clutter off surfaces and into dead air space that was doing nothing before.
Standard furniture heights designed for houses feel immediately wrong once you’re living in something under 200 square feet. Build or buy with your actual ceiling height and daily reach in mind, not what looks good in a showroom.
SEE THIS: 23 Amazon Camper Accessories That Are Actually Genius!
Poor Lighting Fixture Placement
Harsh overhead lighting in a tiny space makes everything feel institutional and exhausting at the end of a long day outside. Position fixtures with specific tasks in mind rather than just centering them on the ceiling and calling it done.
LED strip lights mounted under cabinets or along a ceiling perimeter give you ambient warmth without glare, and they run cool enough that you’re not adding heat to an already-warm rig. Dimmable options are worth every penny, especially when you want to wind down after dark without flipping the whole space into full daylight mode.
Neglecting Moisture Control in Bathroom Areas

Bathrooms in small campers are humidity traps, and most people don’t take that seriously until they find mold growing behind the toilet. A solar-powered exhaust fan is one of the best investments you can make early in a build or renovation.
Keep a small moisture absorber tucked in the corner, crack a vent during showers, and make a habit of monitoring humidity levels before problems become structural. Water that gets in quietly does the most damage.
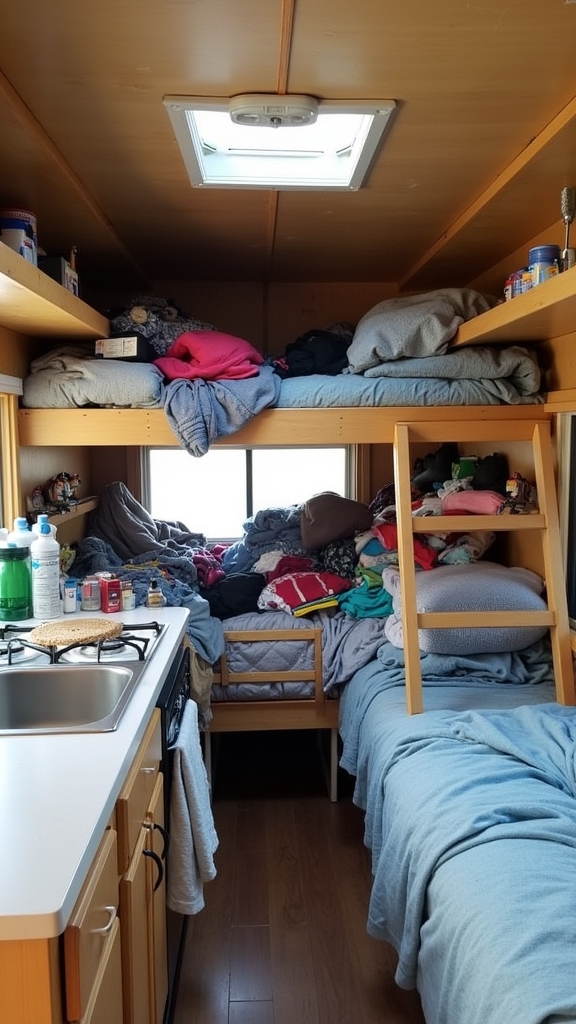
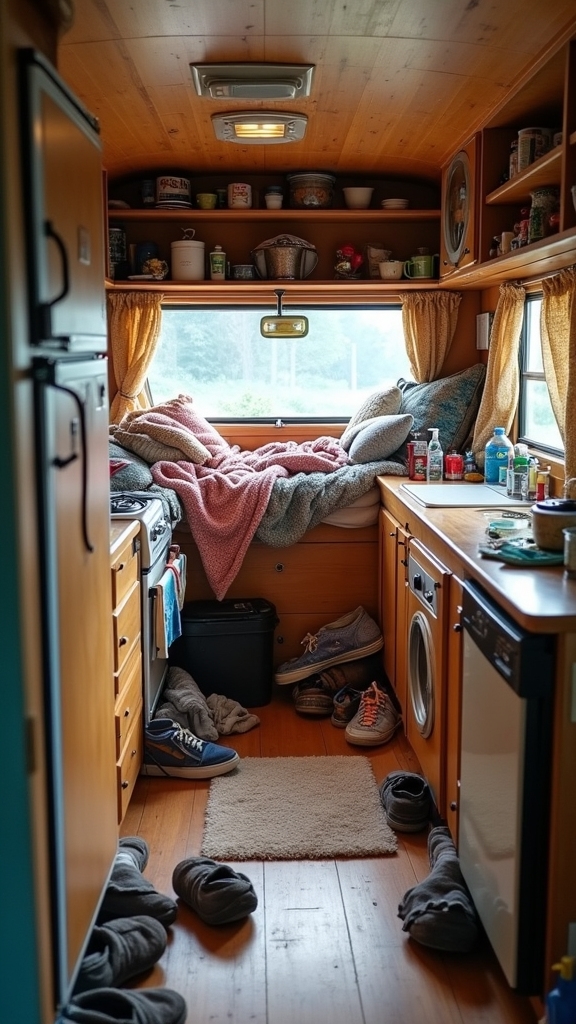
Cluttering Countertops and Tables
Countertops in a camper kitchen are already small enough to make cooking feel like a puzzle. The moment you let a cutting board, a coffee maker, and three random items from yesterday’s hike pile up, you’ve lost your workspace entirely.
Hooks, drawer organizers, and a consistent habit of returning things to their designated spots immediately after use are the only real solutions. It sounds obvious until you’re three days into a trip and can’t find the can opener because it got buried under a rain jacket.
Using Bulky Furniture Pieces
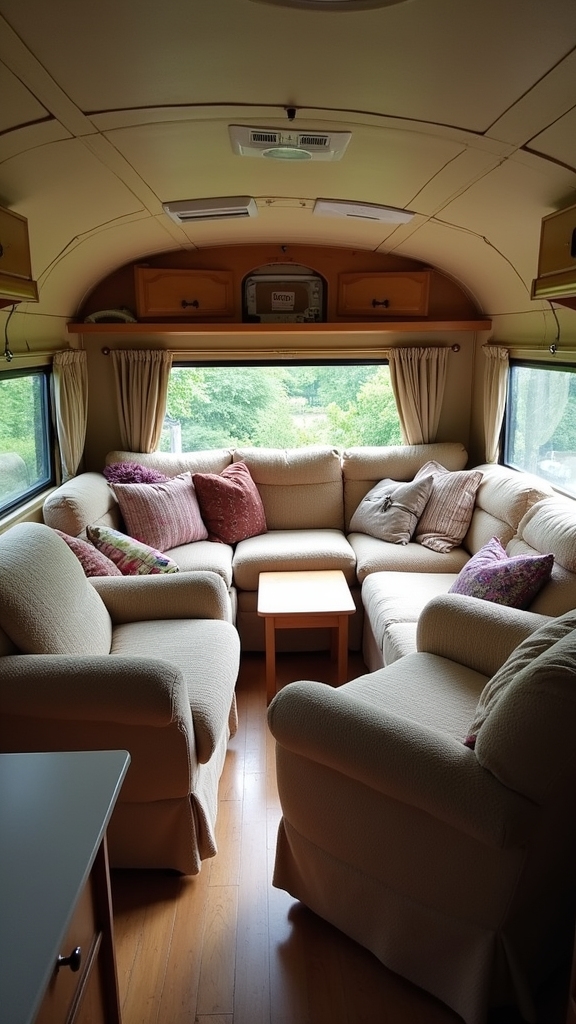
A full-size sofa that looked reasonable on the dealer lot will eat your entire living area the moment you actually try to move around it. Every furniture piece should earn its place by doing at least two jobs: a bench with storage underneath, a table that folds flat against the wall, a bed frame with drawers built in.
Scale matters more than style here, and something proportionate to the space will always look better than something that technically fits but dominates the room. When you’re shopping, bring your floor plan and be ruthless about what makes the cut.
Ignoring Multi-Functional Storage Solutions
Single-purpose items are a luxury that tiny camper living simply doesn’t support. Pull-out drawers under the bed, foldable tables that double as workspaces, and seating with built-in compartments all solve multiple problems at once without adding footprint.
Stackable containers and modular components let you reconfigure storage as your needs shift from trip to trip. Once you commit to the mindset that everything must do more than one thing, the whole camper starts working harder for you.
Skipping Regular Maintenance Checks
A tiny camper that doesn’t get regular attention will find ways to remind you, usually at the worst possible moment and in the most expensive way. Check roof sealants before every season, keep tire pressure consistent, and don’t let the battery sit uncharged for weeks between trips.
Electrical and plumbing issues in small rigs tend to cascade fast because everything is crammed close together. Thirty minutes of inspection before a trip beats three days of repairs on the road.
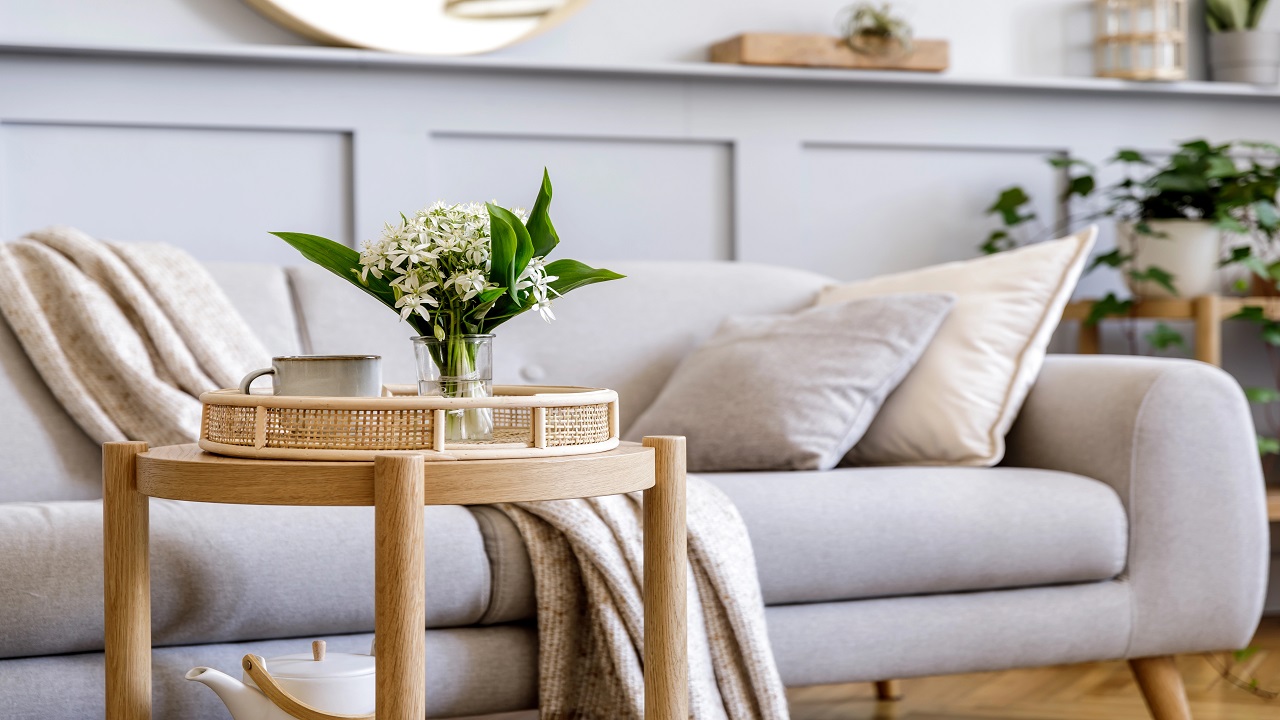
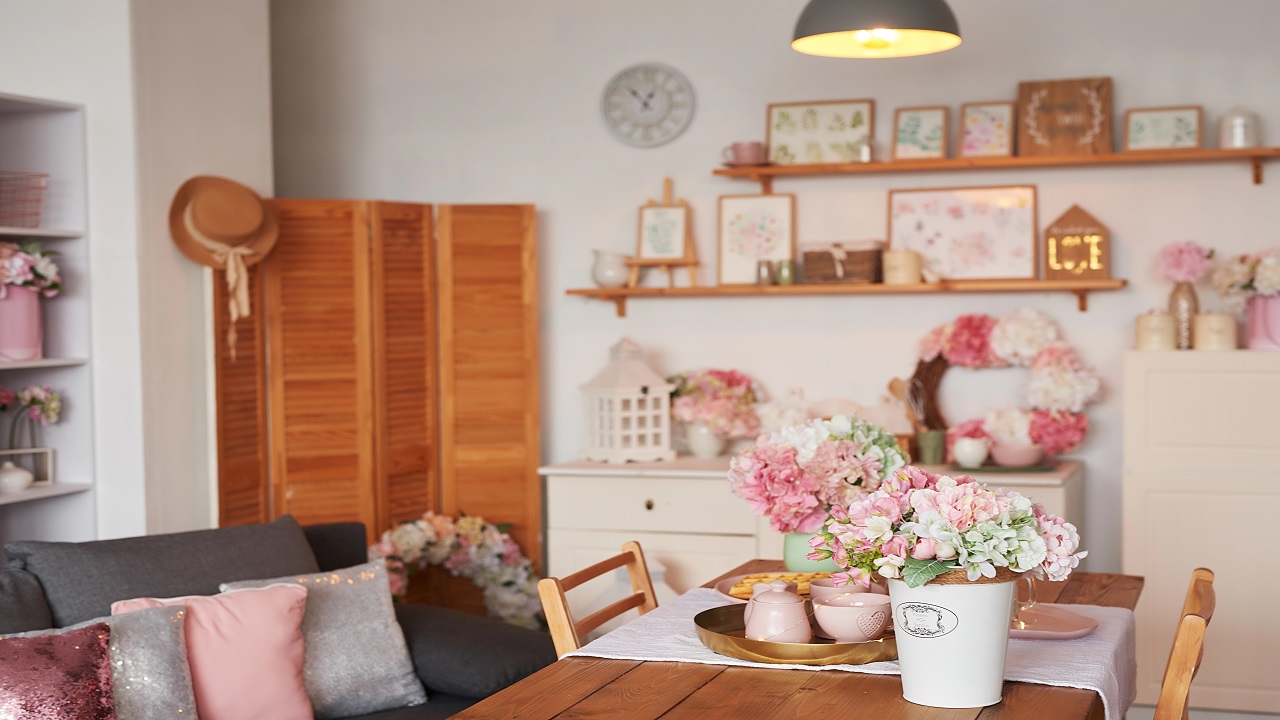
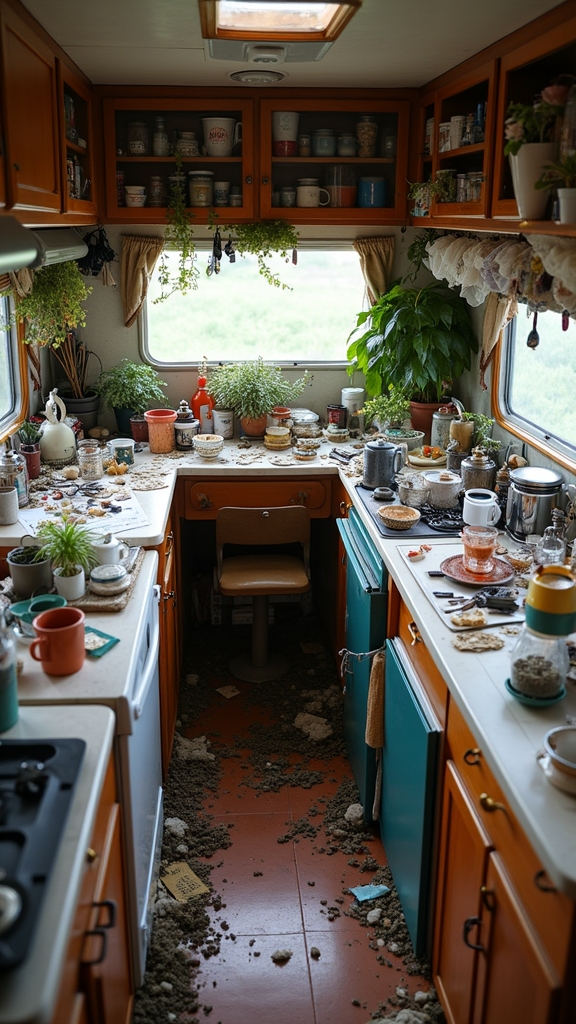
Overcrowding With Decorative Items
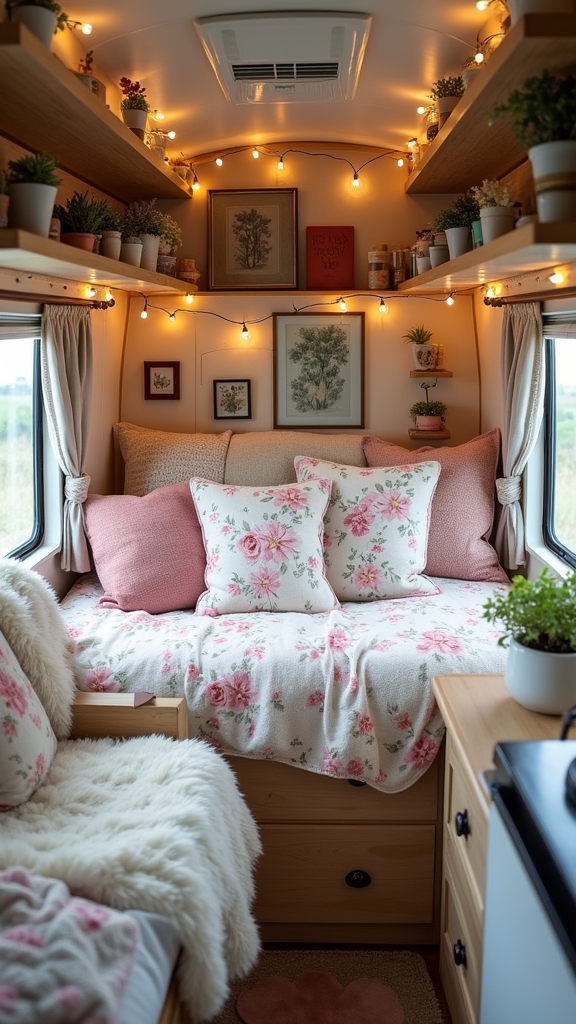
Every decorative item in a camper adds weight and takes up space, so it needs to be something you genuinely love or something that also serves a function. A small plant in a secure mount, a piece of art that makes the space feel like yours, a rug that adds warmth underfoot: those things earn their place.
What doesn’t work is stuffing shelves with trinkets that shift and rattle down the highway and need dusting every week. Edit ruthlessly, keep what makes the space feel like home, and leave the rest behind.
Mismanaging Window Treatments
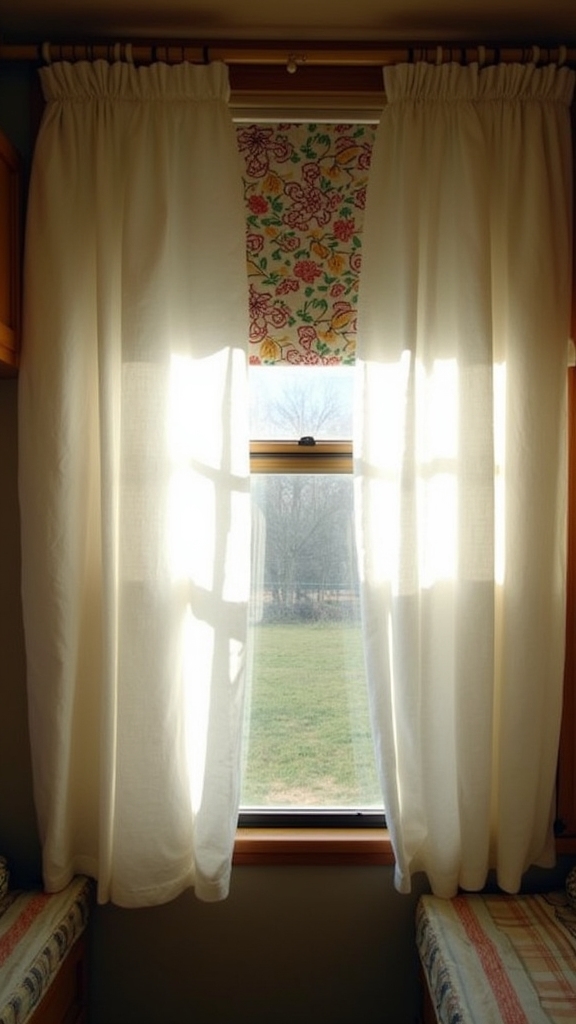
Oversized curtains that pool on the floor or hang past the window frame look awkward and eat visual space in a room that has none to spare. Heavy hardware that requires drilling into thin walls can cause real structural damage, so damage-free mounting solutions like command hooks and tension rods are worth using wherever possible.
Lightweight treatments that coordinate with your color palette and roll or fold completely out of the way during the day are almost always the right call. The goal is to control light and privacy without the window treatment becoming the thing everyone notices when they walk in.
Selecting Non-Durable Materials
Untreated canvas, standard plywood, and uncoated aluminum all sound reasonable until they’ve spent a season exposed to moisture, UV, and temperature swings. Marine-grade wood, fiberglass, and properly sealed aluminum hold up to the real conditions a camper faces, and the upfront cost difference is far less painful than replacing deteriorated materials mid-trip.
Interior surfaces need water-resistant finishes too, especially in the kitchen and bathroom, where humidity is a constant presence. Buy for durability first, aesthetics second, and you won’t be redoing the same work in two years.
Disregarding Door Storage Potential
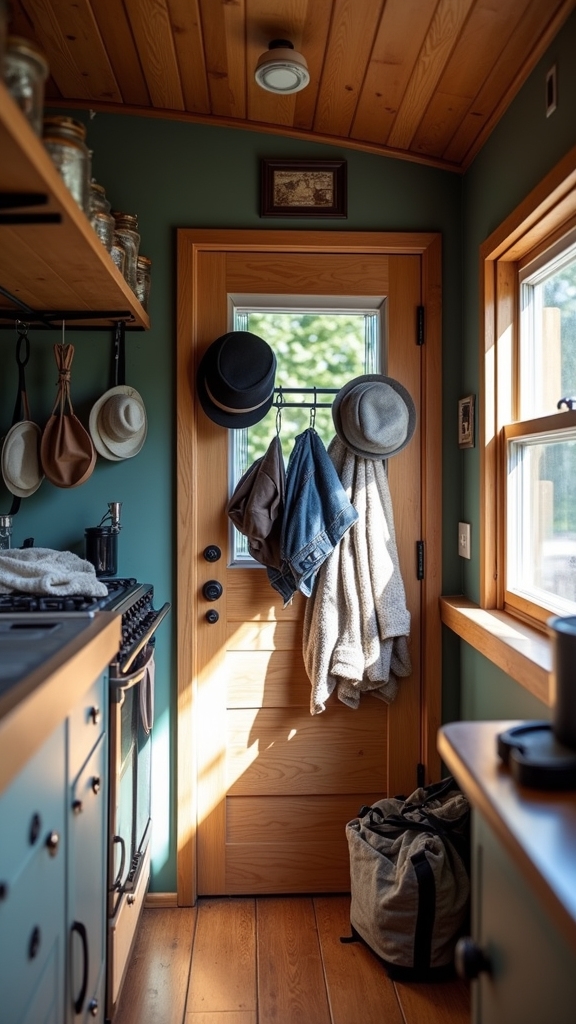
The backs of cabinet doors, the inside of the entry door, the awkward narrow wall beside the sink: most camper owners walk past these spots every day without registering their potential. Over-the-door organizers, small magnetic strips, and recessed shelving near doorways can quietly absorb a surprising amount of everyday clutter.
Adhesive hooks on the back of the bathroom door alone can handle towels, bags, and a robe without taking up any floor or counter space. Once you start seeing dead space as opportunity, the whole camper becomes more manageable.
Creating Inefficient Traffic Flow
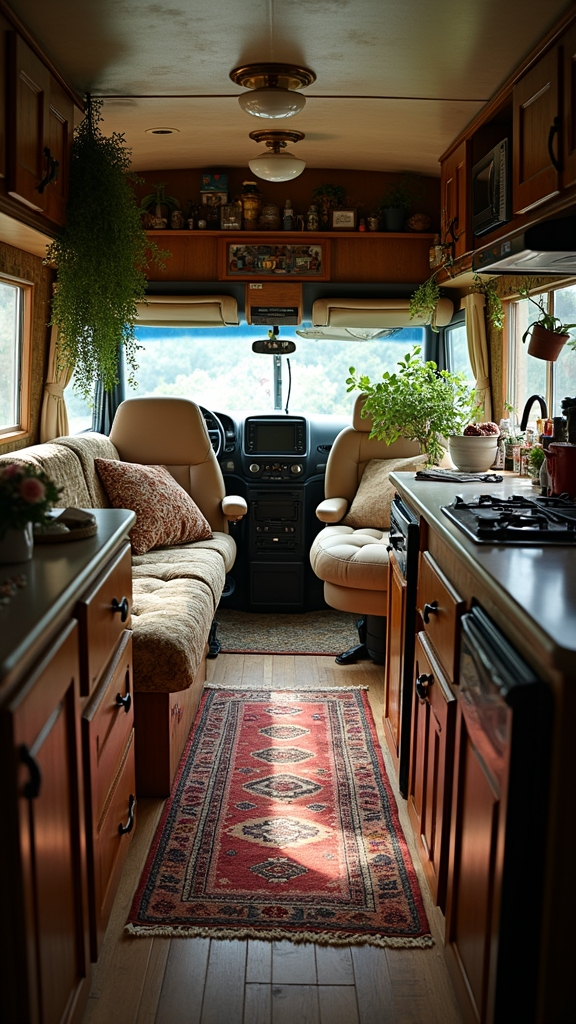
A camper where you have to turn sideways to get from the kitchen to the bathroom is exhausting to live in, no matter how nice the finishes are. Plan your layout so that pathways stay clear even when drawers and cabinet doors are open, because they will be open when you’re actually using the space.
Foldable tables and sliding doors earn their keep specifically because they don’t swing into your walking path. If a furniture arrangement forces you to choreograph your movements, it’s time to reconfigure before the trip, not after.
Overlooking Hidden Storage Opportunities
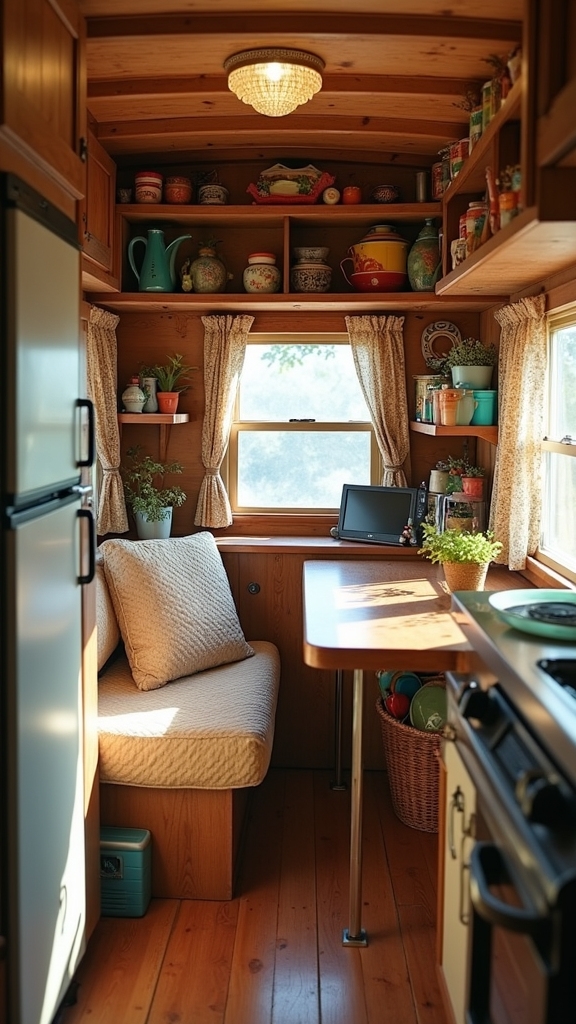
Corners, under-seat areas, the space beneath a dinette bench, the gap beside the refrigerator: all of it is storage waiting to happen. Flip-up benches, hidden compartments built into furniture, and removable containers tucked into recessed spaces can collectively add meaningful capacity without changing how the camper looks.
Wall-mounted shelves in corners that feel too awkward for anything else often end up holding exactly what you need within arm’s reach. The campers that feel most livable are usually the ones where someone spent real time thinking about every dead inch.
Choosing Improper Lighting Temperature
Lighting temperature plays a bigger role in how a small space feels than most people realize until they get it wrong. Warm bulbs in the 2700 to 3000K range belong in sleeping and lounging areas, where cooler light will make relaxing feel weirdly clinical.
Kitchen and task areas benefit from cooler whites around 4000K, which makes it easier to see what you’re actually doing with a knife or a stove. Neutral temperatures work well in common areas, and mixing zones thoughtfully makes a single-room camper feel like it has distinct spaces within it.
Installing Insufficient Ventilation Systems
A single roof vent is not enough, and you’ll know it the first cold morning when condensation is dripping down your walls. A combination of passive roof vents and an active fan system keeps air moving, controls moisture, and makes sleeping in warm weather bearable without running AC all night.
Skimping here to save money during a build is one of the most common regrets I hear from people who’ve gone full-time. Get it right from the start, because retrofitting ventilation into a finished camper is a miserable, expensive project that nobody enjoys.
My final reminder…
Good camper design isn’t about making everything look pretty; it’s about making a small space work hard without making you feel like you’re living inside a storage unit. Every decision you make, from paint color to furniture scale to where you hang your towel, either adds to the comfort or chips away at it.
The campers that hold up over years of real use are the ones where the owner thought carefully about function first and let the personality follow naturally from there. Get those fundamentals right, and the space will feel like yours every time you roll the door open.