Once you’ve spent a few Halloweens experimenting with drills, paint, and oddball gourds, you start to realize how much you’ve been leaving on the table.
The range of techniques out there runs from stupid-simple thumbtack patterns to multi-layered carve-and-paint combos that look genuinely stunning on a front porch.
None of this requires art school. It just requires a willingness to try something new and ruin a pumpkin or two in the process. The 17 ideas ahead give you plenty of material to work with, and at least a few are worth attempting this season.
Contents
- 1 Carving Butternut Squash for Unique Shapes
- 2 Transforming Gourds Into Spooky Faces
- 3 Painting and Embellishing Faux Pumpkins
- 4 Creating Scenes With Combined Gourds
- 5 Using Small Squash as Pumpkin Features
- 6 Precision Carving With Power Drills
- 7 Simple Patterns With Cookie Cutters
- 8 Shading Techniques by Skin Scraping
- 9 Adding Fine Details With Acrylic Paint
- 10 Using Accessories for Themed Characters
- 11 Decorating Pumpkins With Thumbtacks
- 12 Finger Painting for Child-Friendly Designs
- 13 Building Texture With Puff Paint
- 14 Glowing Designs Through Translucent Patterns
- 15 Character-Based Thematic Carvings
- 16 Hanging Pumpkins for Dynamic Displays
- 17 Multi-Layered Visuals With Carving and Painting
Carving Butternut Squash for Unique Shapes
Butternut squash is underrated as a carving canvas, and most people walk right past it at the farmers’ market. The narrow neck naturally suggests a jawline, which makes it almost purpose-built for skull designs.
Its hard skin holds detail well, and the compact size means you have real control over a blade. Whatever you scoop out makes a great soup base, so nothing goes to waste.
SEE THIS: 21 Glitter & Glam Painted Pumpkins That Double as Party Centerpieces.
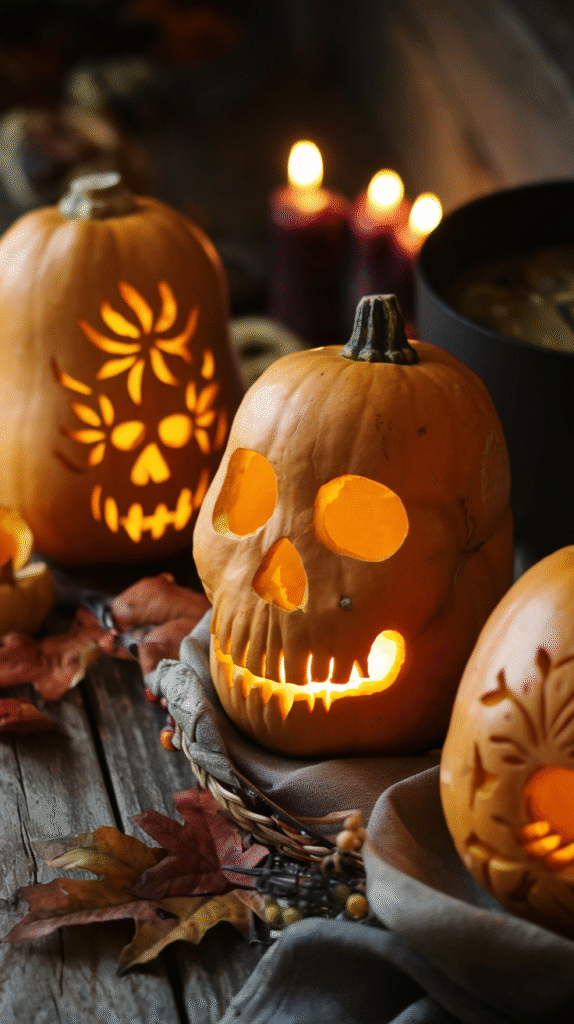
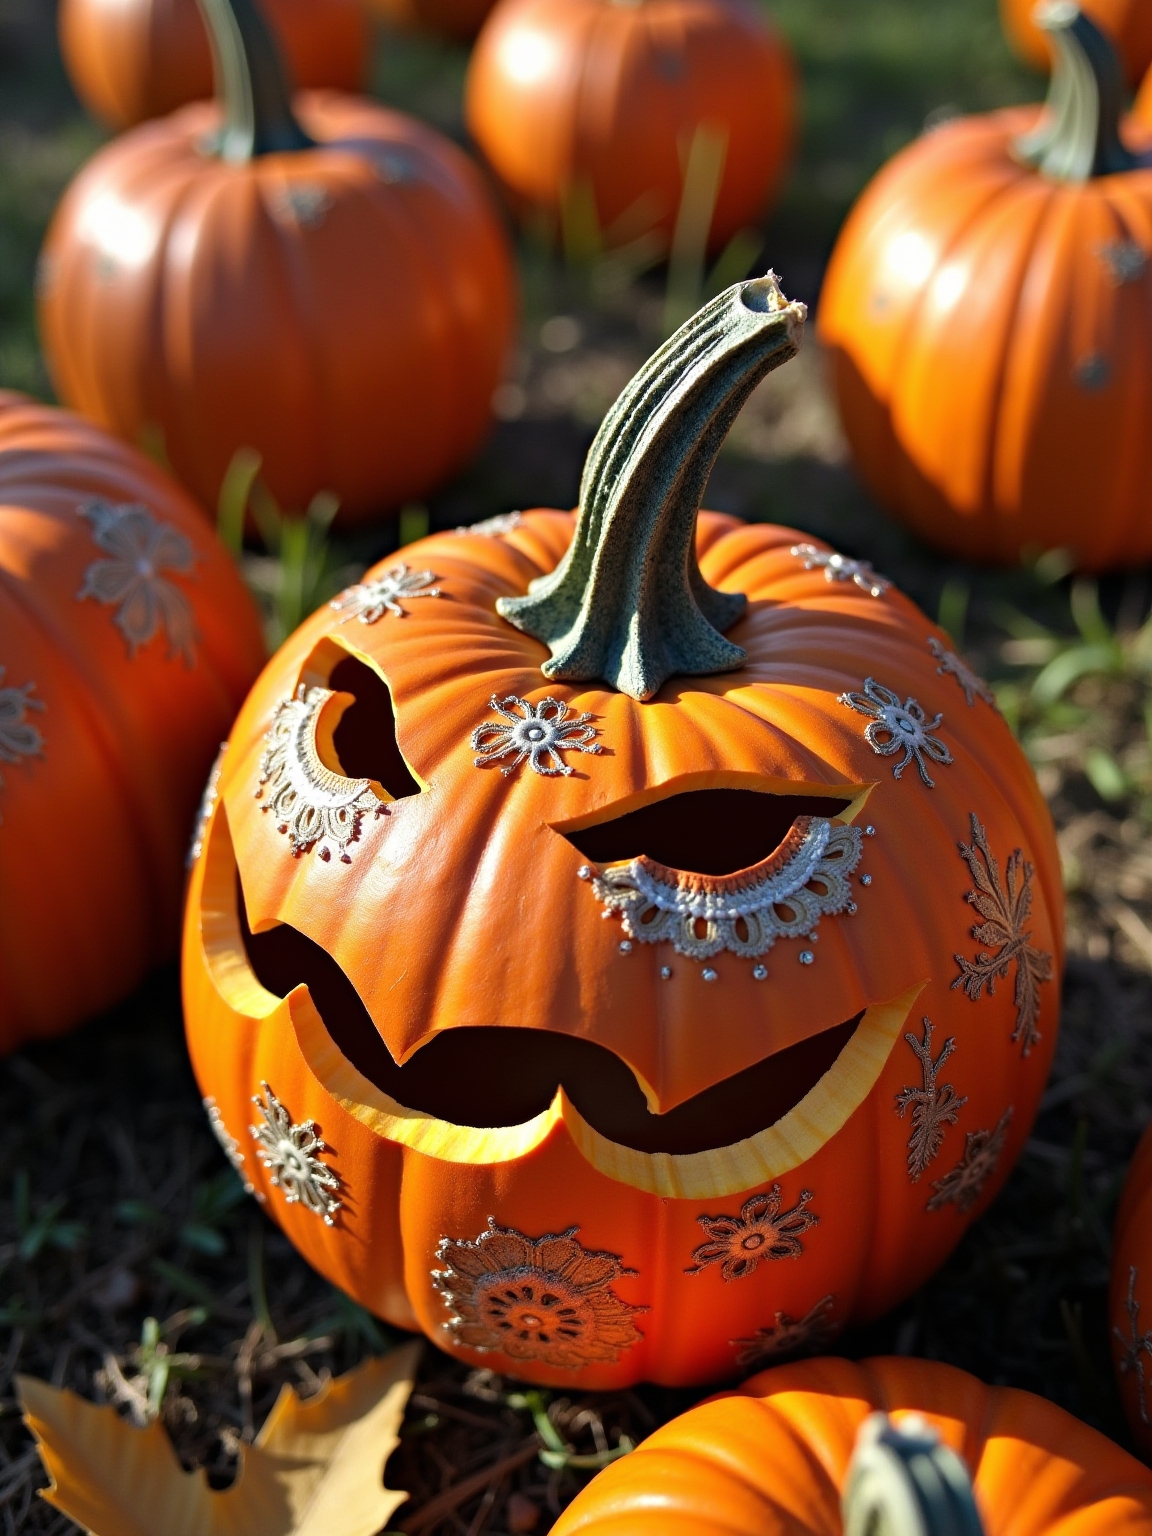
Transforming Gourds Into Spooky Faces

Pick gourds with thick walls and firm skin. Soft spots mean the flesh will tear rather than carve cleanly, and you’ll regret it fast.
Layer your cuts at different depths to create shadow and dimension in the features. Drop an LED light inside, and the whole thing comes alive in a way a flat carve never quite does.
SEE THIS: 20 Ombre Painted Pumpkin Ideas for a Modern Fall Aesthetic.
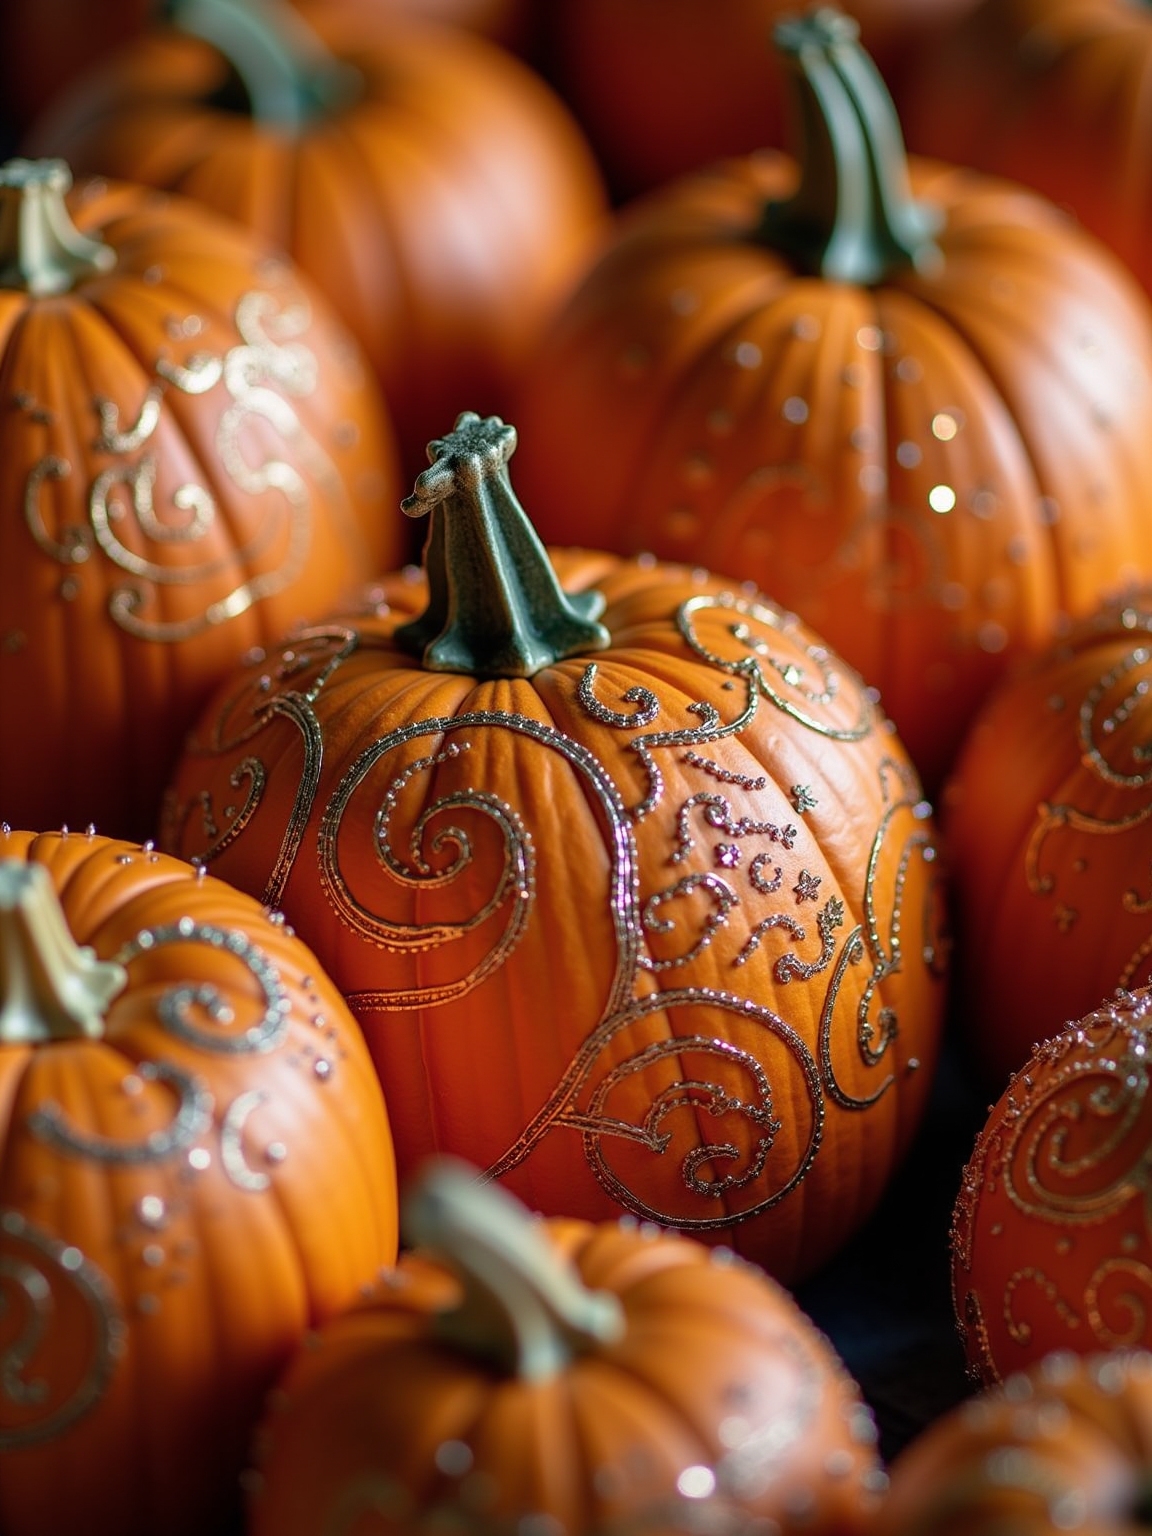
Painting and Embellishing Faux Pumpkins

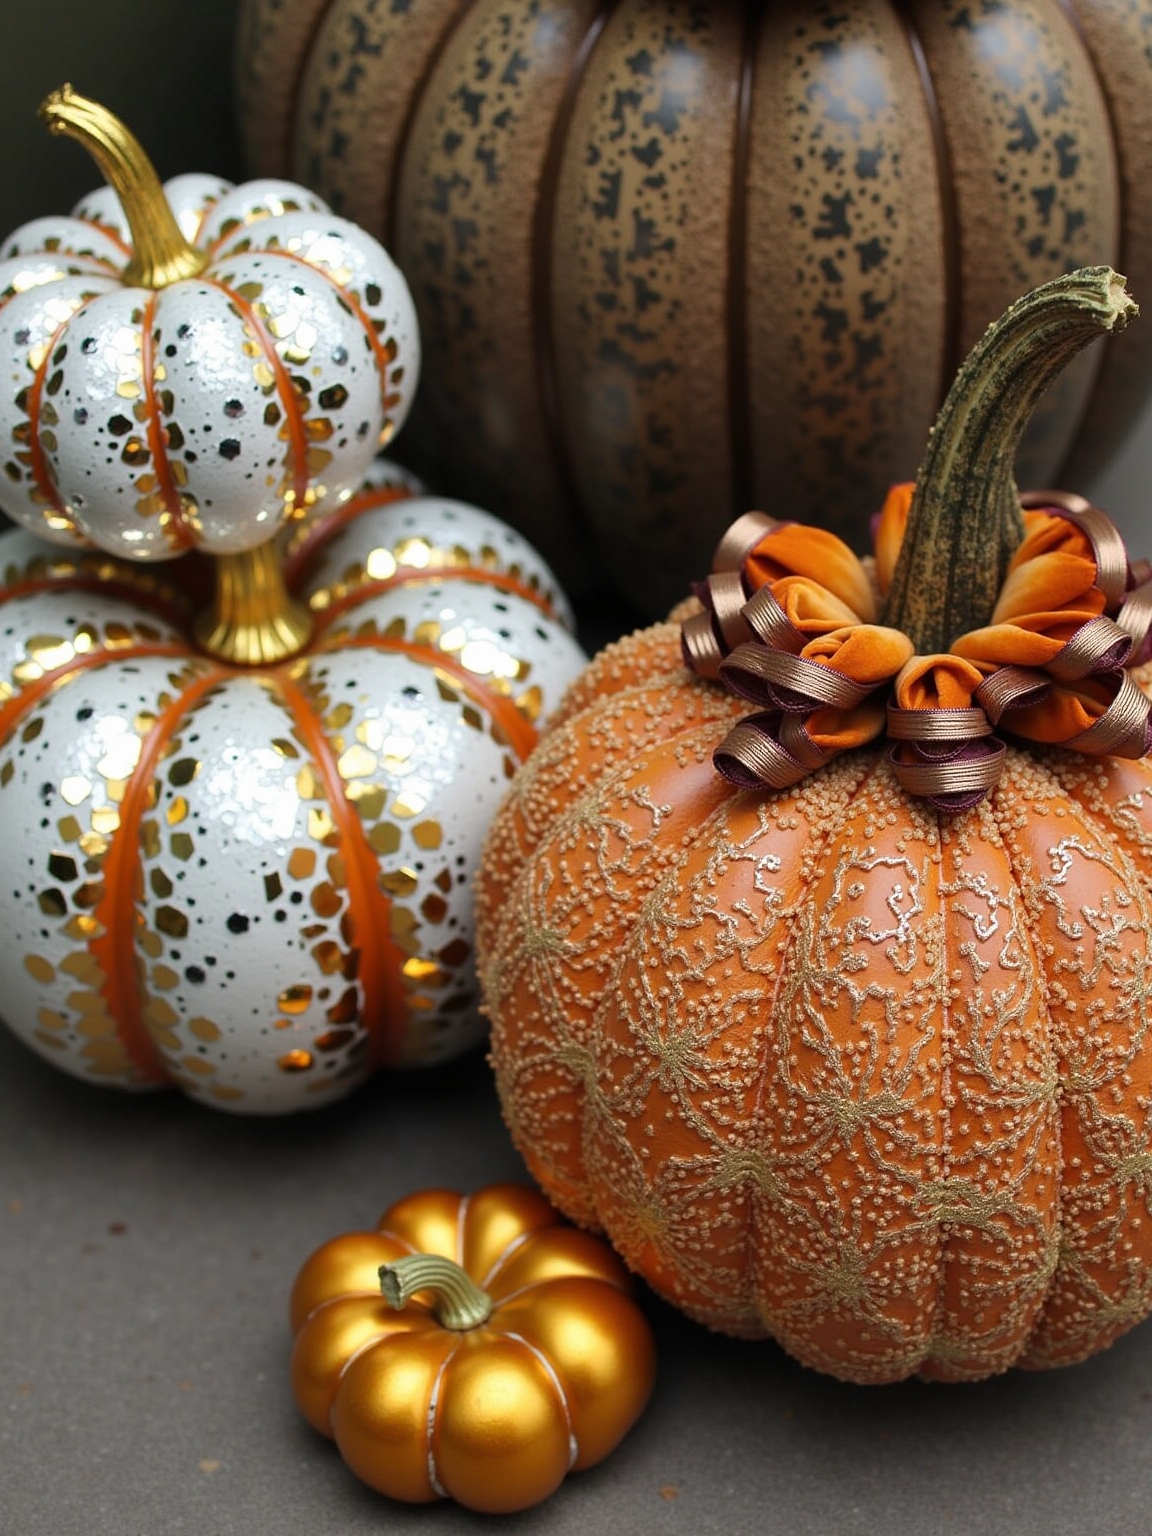
Foam and resin pumpkins get a bad reputation, but they’re genuinely useful if you want something that lasts past November. Wipe them down so the paint grips, then build up color in thin layers rather than slapping on one thick coat.
A little brown wax rubbed into the recesses gives the whole thing an aged, organic look. Seal it with matte finish, and it’ll survive years of storage without chipping.
SEE THIS: 19 Stargazer Pumpkin Carving Ideas That Shine Bright at Night.
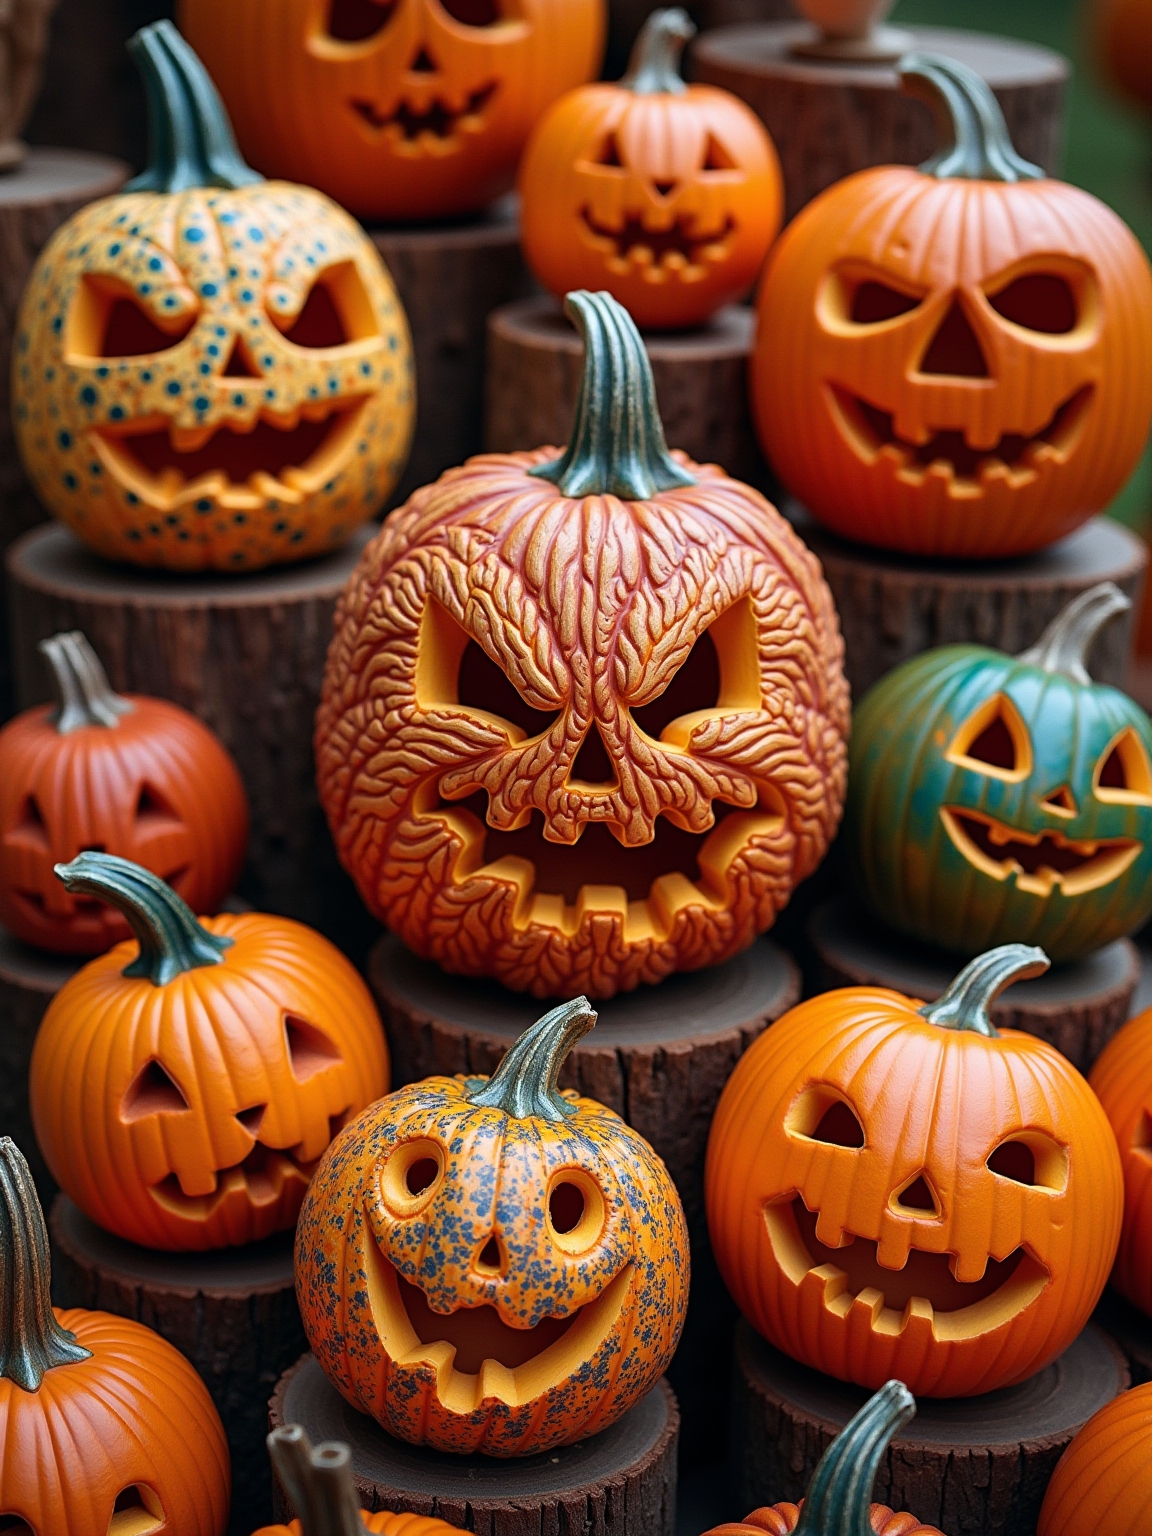
Creating Scenes With Combined Gourds
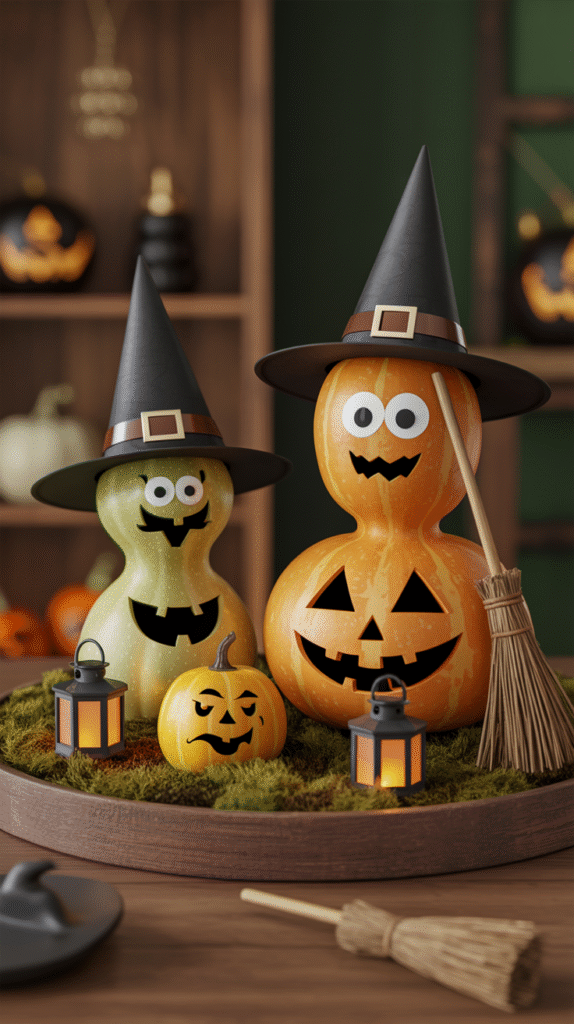
Grouping gourds together is where things get fun fast. Stack a small warty gourd on top of a fat pumpkin, carve them to suggest a face, and suddenly you’ve got a character instead of a decoration.
Toothpicks and short lengths of wire hold the arrangement together well enough for a porch display. Tuck in a little hat or a pair of googly eyes, and you’ve got something neighbors will actually stop to look at.
SEE THIS: 17 Fall-Inspired Terrarium Ideas That Double as Whimsical Centerpieces.
Using Small Squash as Pumpkin Features

Acorn squash and miniature patty pans make surprisingly expressive noses and horns when attached to a larger pumpkin. Use an X-Acto knife to hollow out a shallow socket, press the small squash in, and secure it from behind with a cocktail stick.
The color and texture contrast between varieties adds visual interest you just can’t get from carving alone. It’s a small detail that reads as surprisingly sophisticated from the street.
SEE THIS: 19 Amber Glass Fall Decor Ideas That Glow in Golden Light.
Precision Carving With Power Drills
A power drill sounds aggressive, but it gives you a level of consistency that’s hard to match by hand. Spade bits cut clean stars, and coring bits punch perfect circles every time.
Mark your drill points lightly with a pencil first, use a measuring tape for even spacing, and keep your pressure steady and light.
Rush it, and you’ll blow out the back wall; take your time, and the pattern looks almost mechanical in the best possible way.
SEE THIS: Velvet Pumpkin Decor: 20 Luxe Fall Trend You’ll Want This Season.
Simple Patterns With Cookie Cutters

This is the technique that surprises people most with how clean the results look. Press a metal cookie cutter against the flat side of a pumpkin, tap it through with a rubber mallet, and pull it free with pliers.
Stick to simpler geometric shapes so the pumpkin wall stays structurally sound. A battery-operated tea light inside keeps things safe and shows off the pattern without the heat damage a real candle causes.
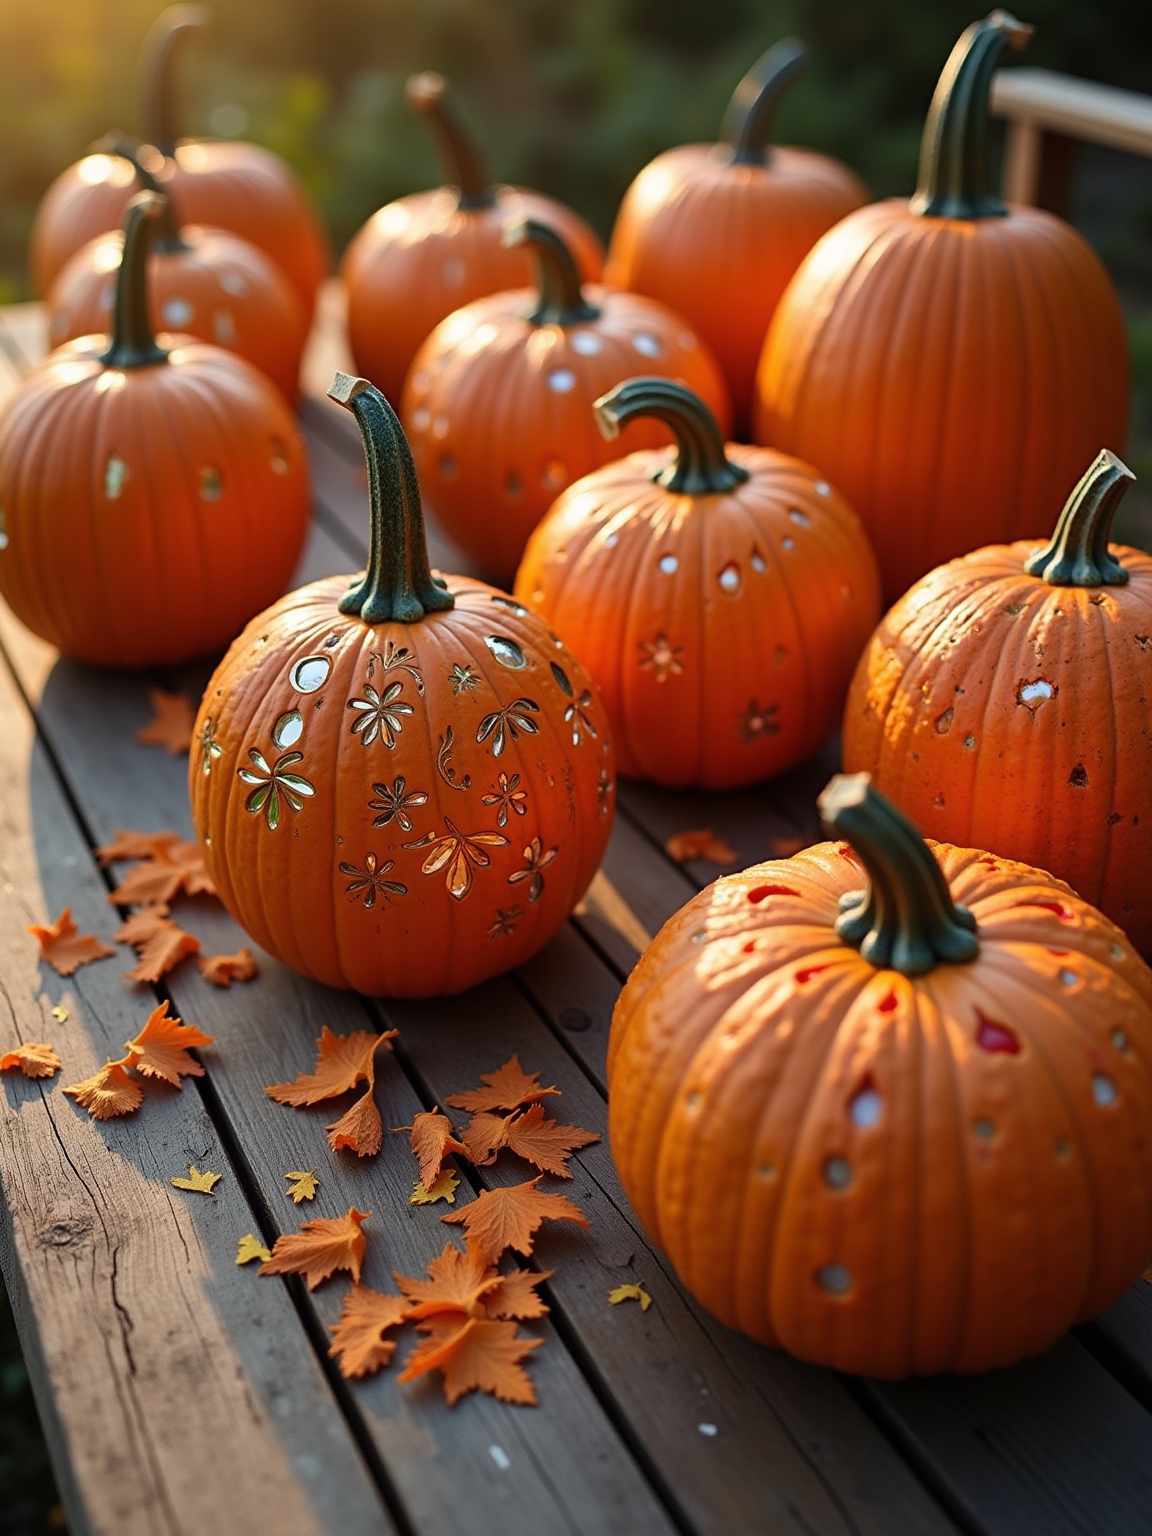
Shading Techniques by Skin Scraping
Scraping rather than cutting through creates a translucent effect that looks incredible when lit from inside. A small clay loop or the tip of a screwdriver lets you shave the skin back in thin layers, revealing the lighter flesh underneath.
Work slowly and vary your pressure to get gradations from near-white to deep orange. The thinner you take the wall, the more light bleeds through, so plan your design with that glow in mind.
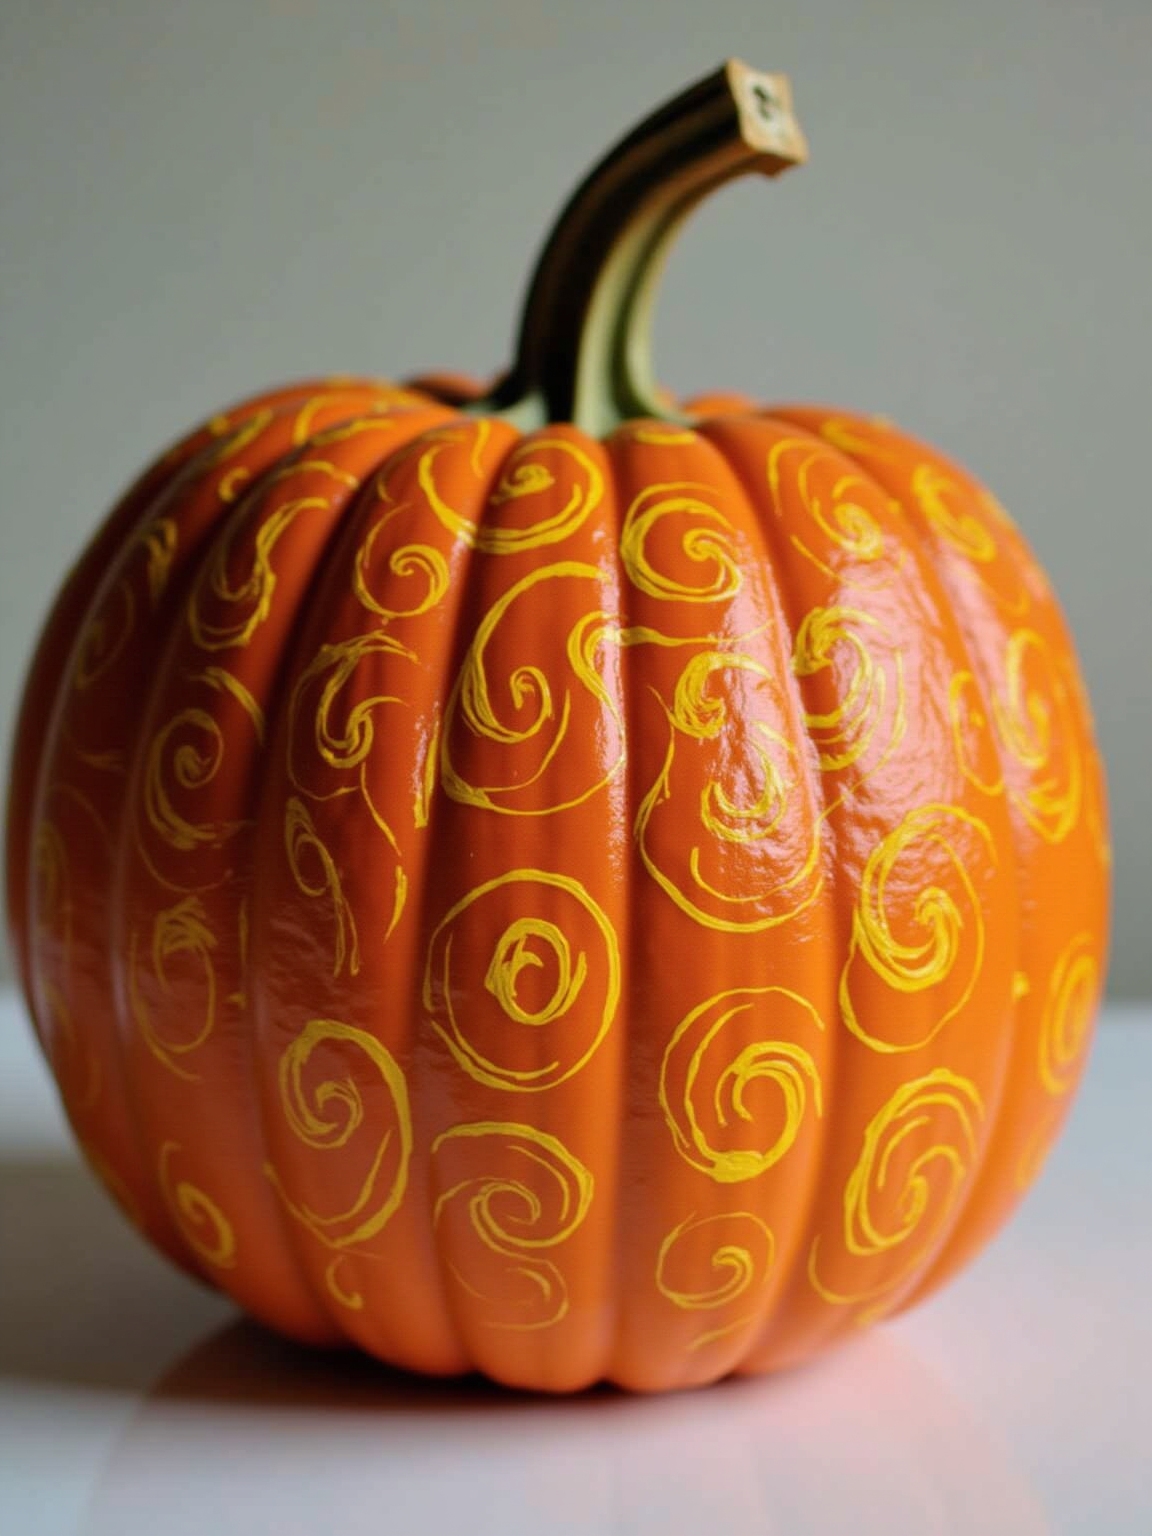
Adding Fine Details With Acrylic Paint
Acrylic paint is the easiest way to add fine detail without a blade anywhere near the pumpkin. Thin it slightly with water so it flows smoothly off a size 1 or 3 round brush.
Build up multiple thin coats rather than one heavy one, which prevents cracking as the paint dries. Seal the surface first with a quick-dry primer, and your design will hold up for weeks without fading.
Using Accessories for Themed Characters

A pair of plastic sunglasses changes a plain pumpkin into a personality. Pipe cleaners twist into whiskers or wild hair, and a strip of construction paper becomes a collar or cape in under a minute.
Hot glue holds lightweight accessories firmly without damaging the surface. Keep the concept simple and commit to it fully: a half-realized witch reads as an accident, but a fully dressed one reads as intentional.
Decorating Pumpkins With Thumbtacks
Thumbtacks are one of the most underappreciated no-carve options out there. Trace your design onto the pumpkin with transfer paper first, then push the tacks in tightly so there are no gaps between them.
Multiple colors let you build geometric patterns that look almost textile-like. White tacks against an orange pumpkin make a striking ghost silhouette that holds up well even in daylight.
Finger Painting for Child-Friendly Designs

Non-toxic fabric paint like Tulip Soft grips the skin without slipping and dries fast enough to keep small kids from smearing their own work. Use smaller pumpkins that fit comfortably in a child’s hands, and have brushes nearby for detail work once the big color fields are down.
The whole setup is low-stakes in the best way: no sharp tools, no hollowing, no mess that a drop cloth can’t handle. Kids end up genuinely proud of what they make, which is the whole point.
Building Texture With Puff Paint
Mix shaving cream with white school glue until you get a thick, fluffy consistency, then fold in whatever fall colors you want. Apply it generously with a brush, building up ridges and peaks that create real three-dimensional texture once dry.
It works on both real pumpkins and foam ones, and the surface catches light in a way flat paint never does. The result looks almost like frosting, which sounds odd but photographs beautifully.
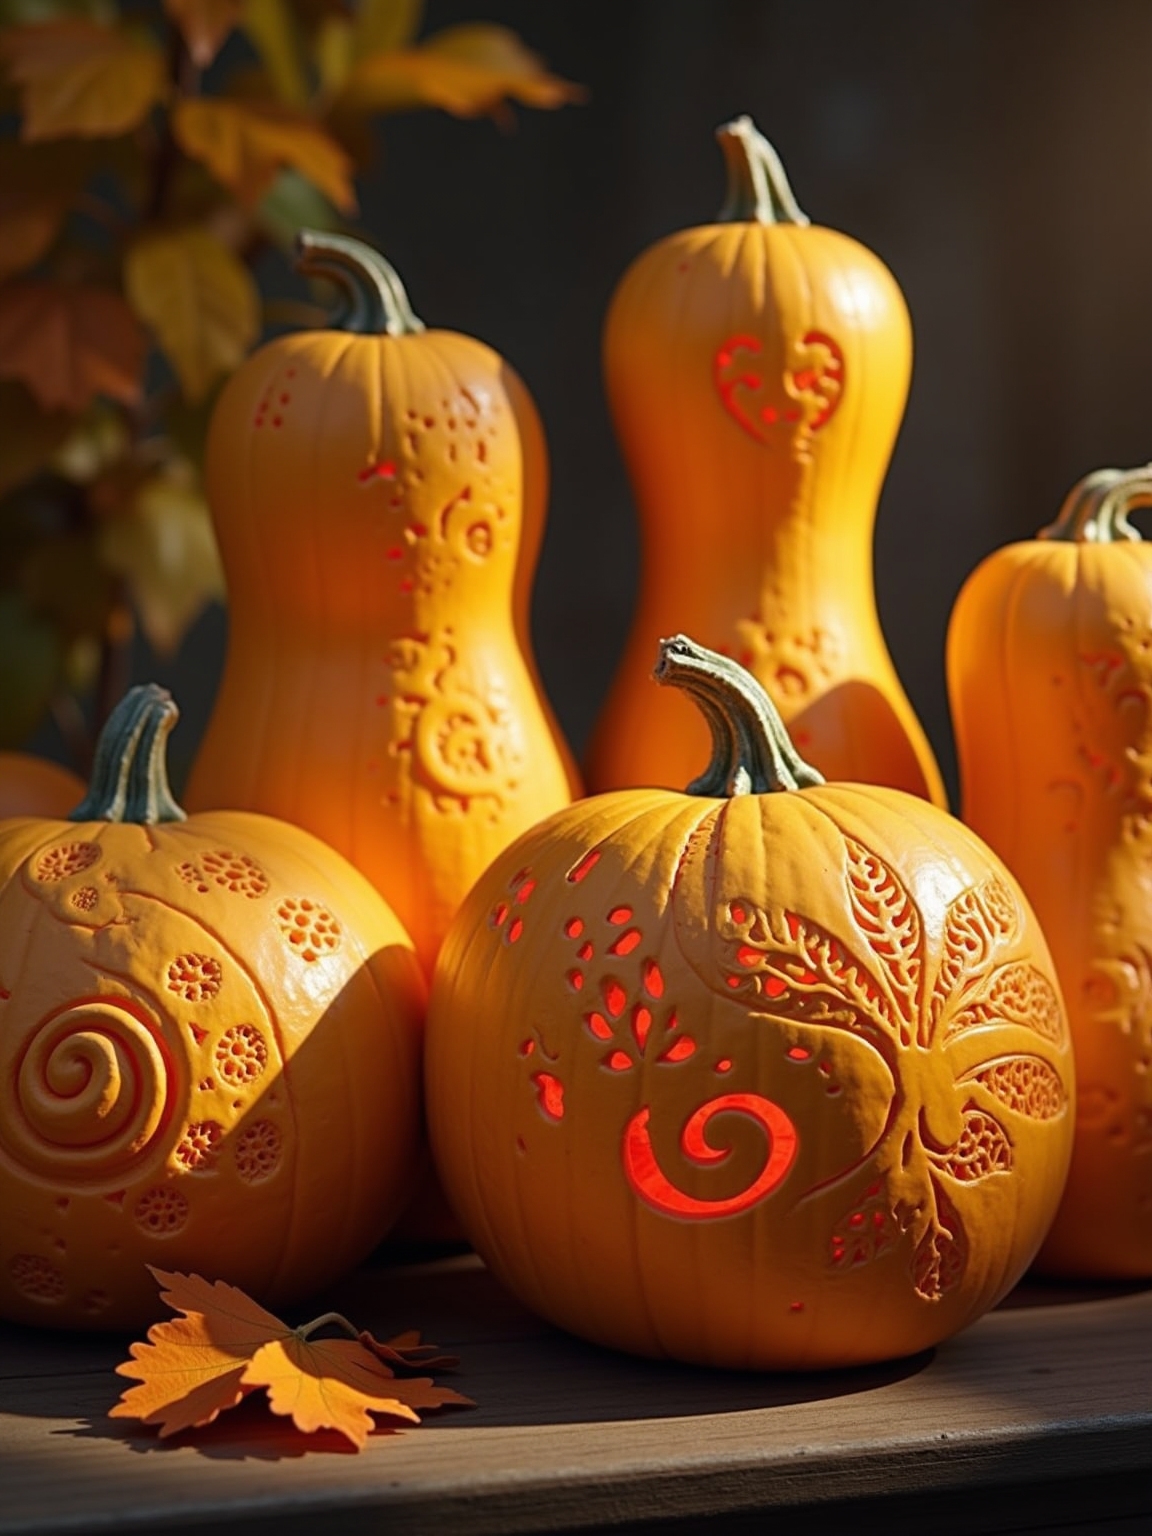
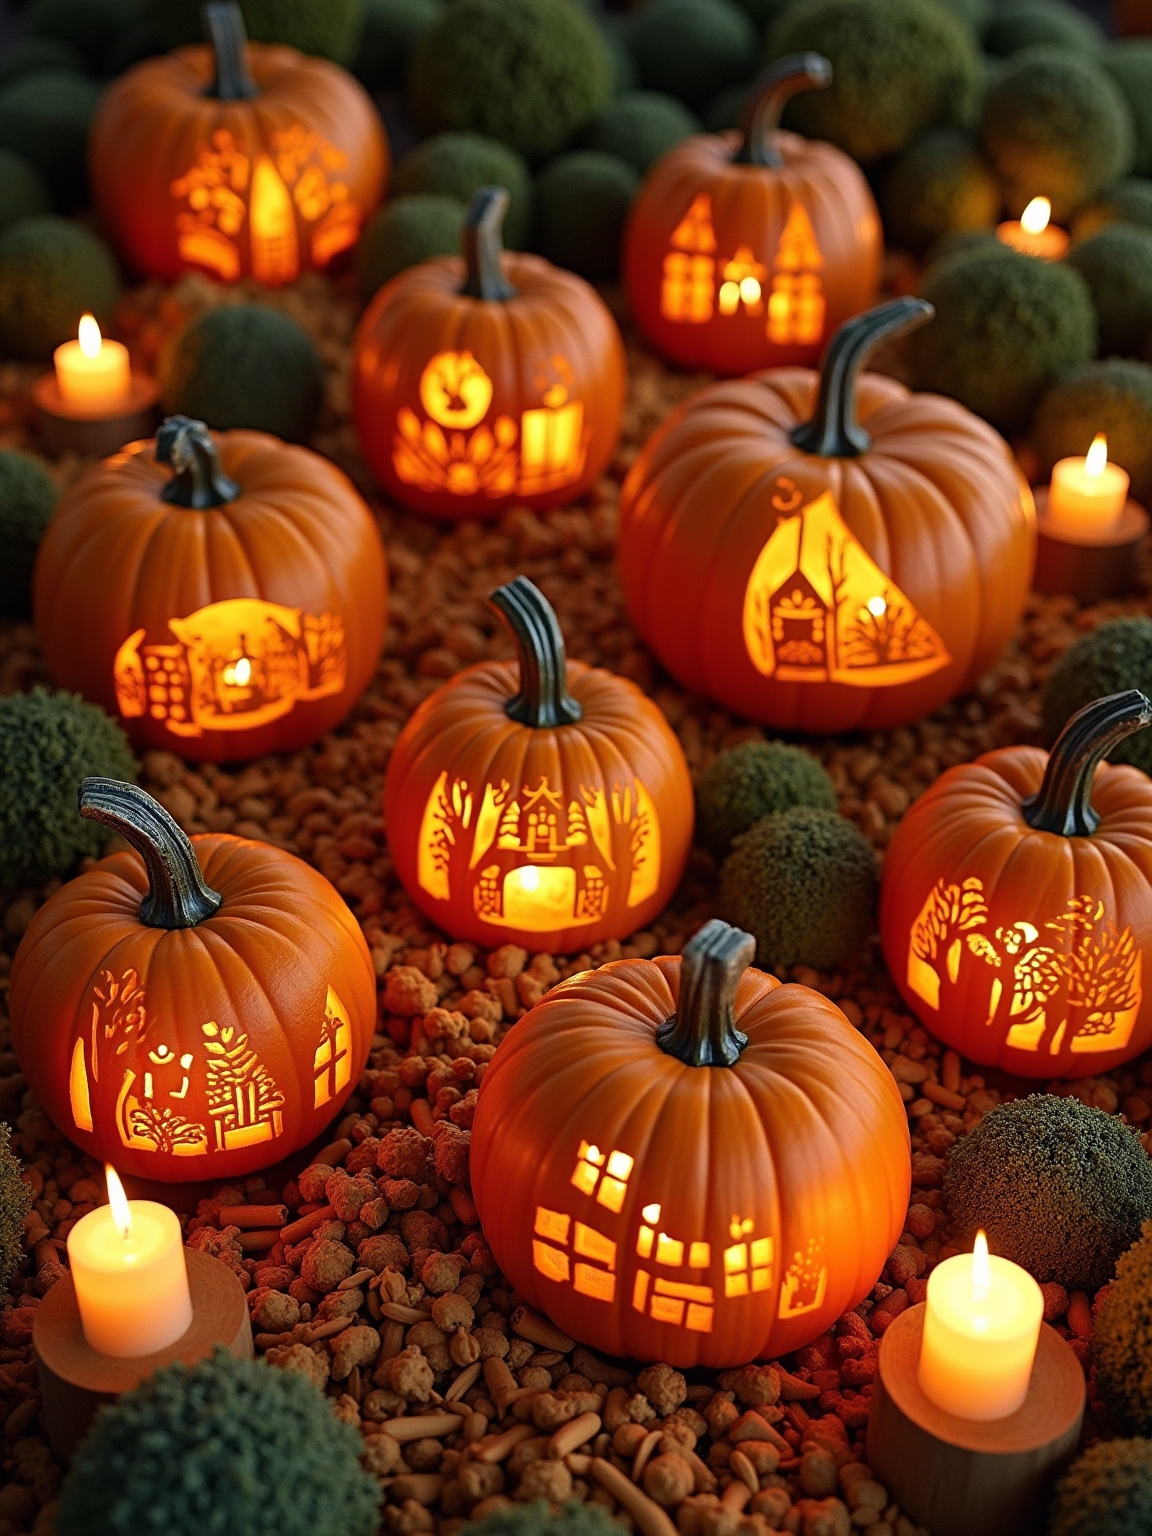
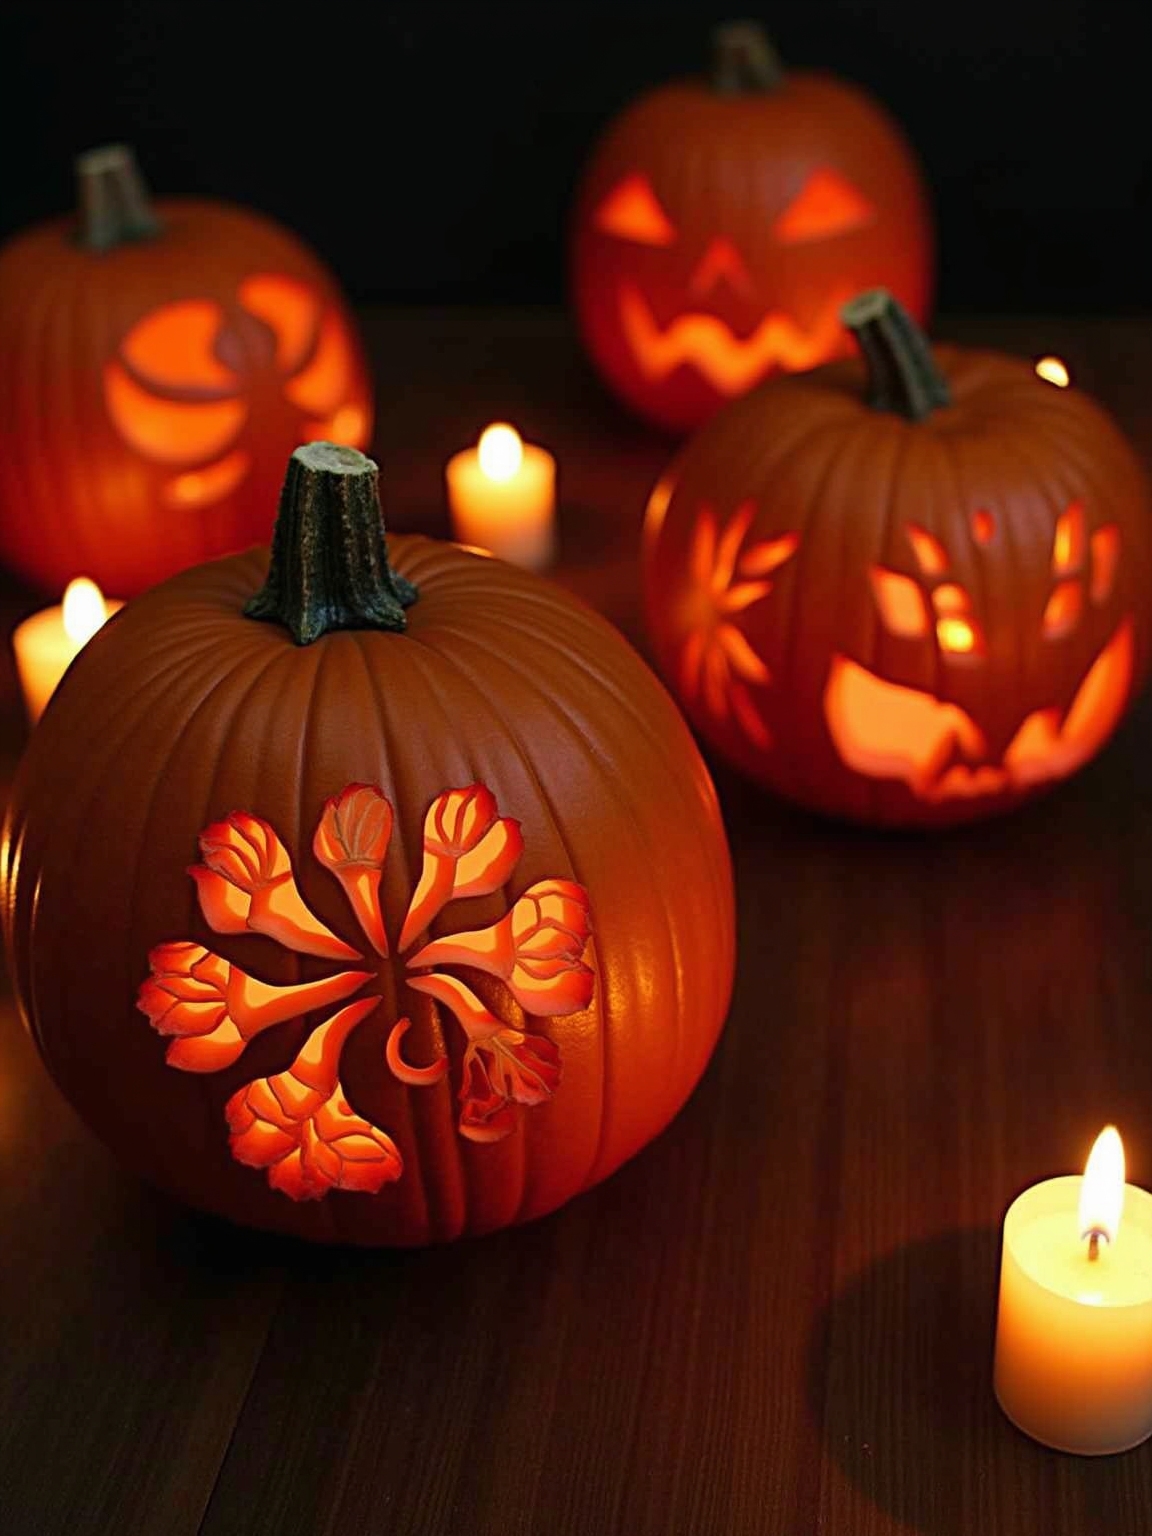
Glowing Designs Through Translucent Patterns

The idea here is to carve at multiple depths across a single design, creating zones that glow at different intensities. Deeper cuts let more light through; shallow scrapes produce a warm amber glow.
An X-Acto knife gives you the precision to keep flesh intact where you need it, which matters more than it sounds. Position your LED light source carefully inside and the finished piece looks almost backlit, like stained glass.
Character-Based Thematic Carvings

Printable stencils make character carvings far more achievable than freehand attempts. Tape the template directly to the pumpkin, trace the key lines with a pin tool, then carve along those marks.
Paint and small accessories fill in the details a blade alone can’t capture. Getting kids involved in picking the character makes the whole project feel less like decorating and more like something they’ll actually remember.
Hanging Pumpkins for Dynamic Displays
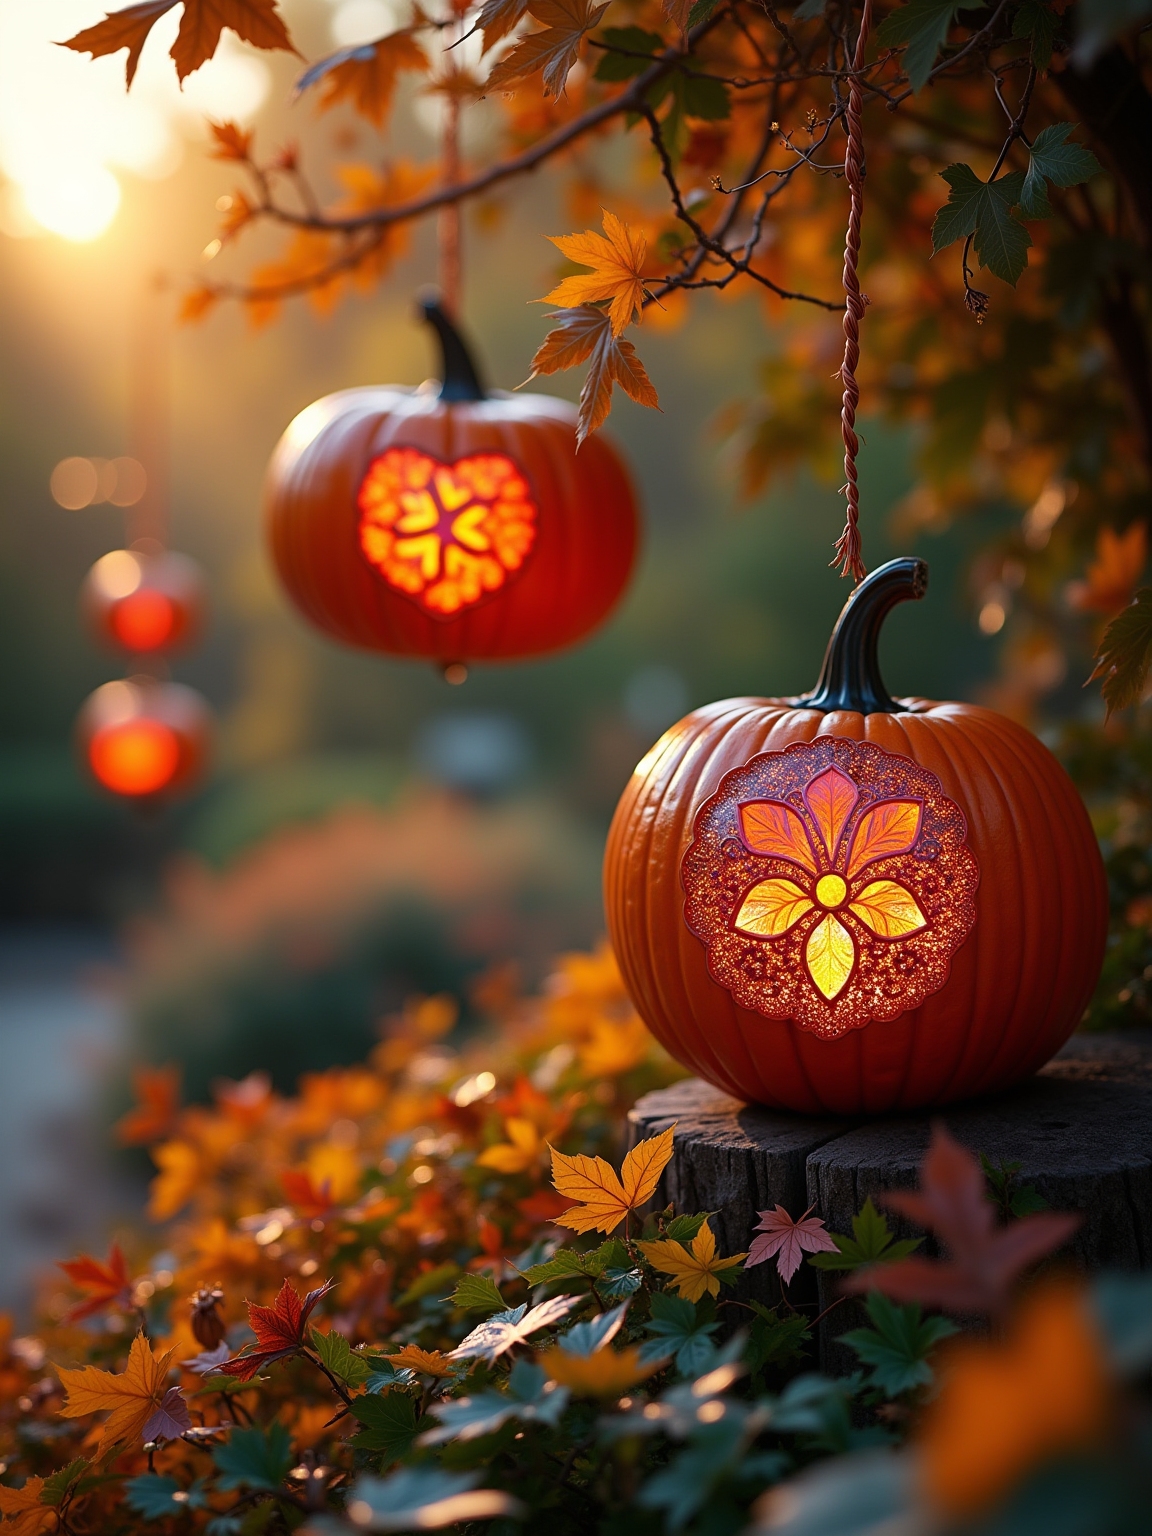
A pumpkin at eye level is fine. A cluster of pumpkins hanging at three different heights from a tree branch is a statement. Use sturdy twine or wire and keep the weight manageable by choosing smaller varieties for hanging.
Vintage ladders work well as indoor or covered-porch display structures, letting you arrange pumpkins at staggered levels without relying on branches at all.
Multi-Layered Visuals With Carving and Painting
Using both techniques together is where the most sophisticated results come from. Carve to varying depths to control how much light comes through, then use translucent paint to tint those glowing zones different colors. High-contrast reference images work best as guides: the bolder the pattern, the more it reads at a distance.
Photo editing software is actually useful here for sharpening a reference image before you transfer it, which sounds like overkill until you see how much cleaner the final carve turns out.