Many bus conversions that looked great in the planning phase became cramped nightmares once people actually tried living in them. The problem isn’t the bus itself but rather how people approach the space.
It’s common for first-time converters to treat a skoolie like a tiny house on wheels, forgetting that you’re essentially working with a 7-foot-wide hallway that happens to be 35 feet long.
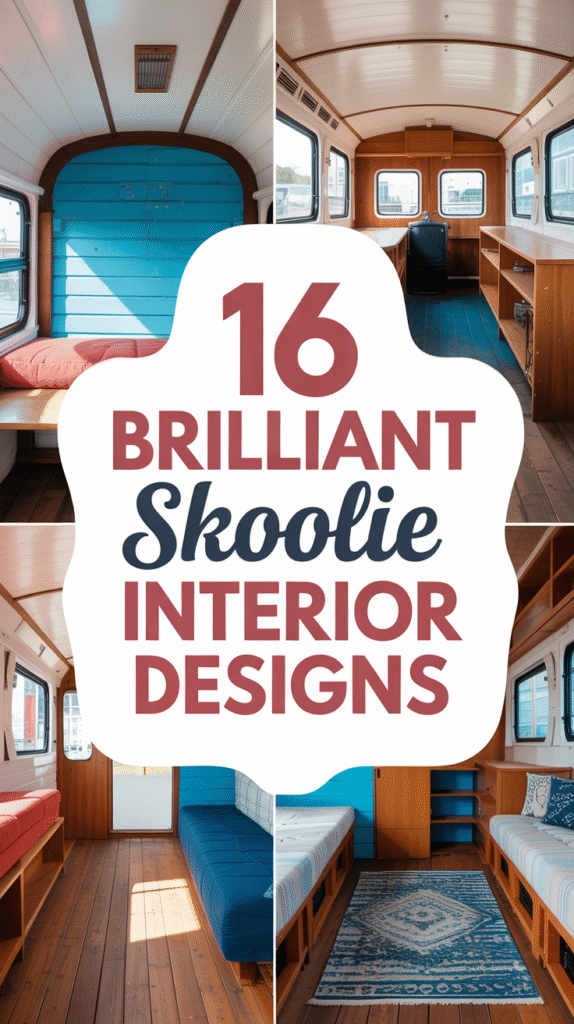
What separates a clever conversion from a claustrophobic one comes down to understanding how people actually move through and use tight spaces. We show you 16 layout ideas to help you get the layout right, and the narrow tube becomes surprisingly livable.
L-Shaped Layouts That Preserve Natural Light and Window Space


Running your kitchen and living space in an L-shape instead of straight down one side changes everything about how the bus feels. Most people default to putting everything along one wall with an aisle down the middle, which blocks half your windows and wastes a ton of space.
Position your kitchen along one side near the front and let your seating area wrap around the corner. You’ll keep sight lines open from front to back, and light pours in from both sides instead of getting trapped. The bedroom fits naturally at the rear, separated enough to feel private without needing walls that chop up the space.
Open-Plan Living and Kitchen Areas for Seamless Flow
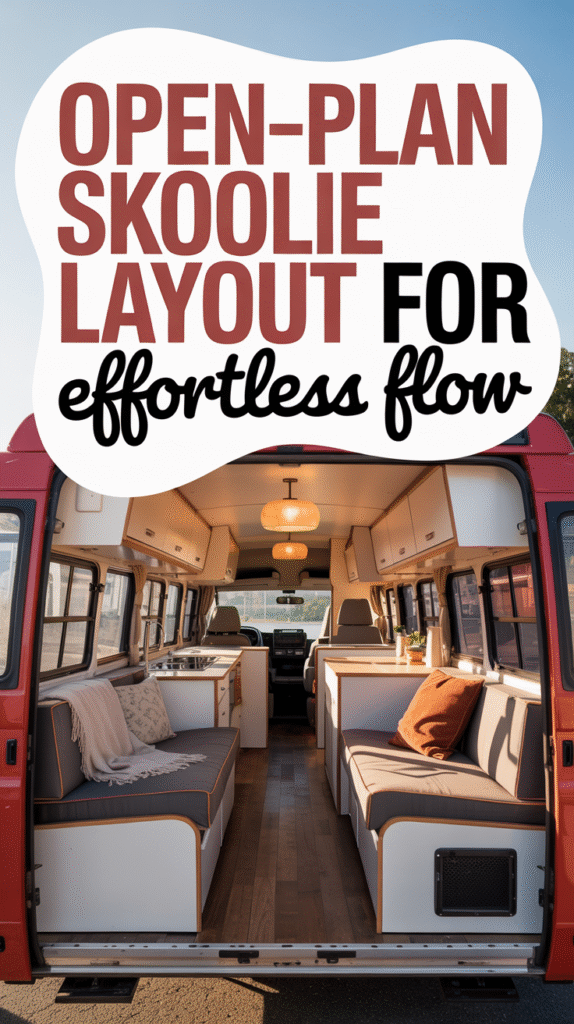

Putting up walls between your kitchen and living space might seem like it creates definition, but it actually makes both areas feel smaller and kills the flow. Set your counter so you’re facing into the living area when you cook, which lets you talk to whoever’s hanging out instead of staring at a wall.
Some converters split their kitchen across both sides of the bus, with the fridge and pantry on one wall and the sink and stove on the other. It sounds unconventional, but it keeps the middle open and prevents that galley kitchen tunnel effect that makes cooking feel like working in a submarine.
Booth Seating With Dual-Purpose Dining Tables

A booth setup with benches facing each other and a table in between gives you serious seating without eating up floor space the way chairs do. Make those benches 18 to 24 inches deep, with backrests 30 to 36 inches high, and you’ve got comfortable seating that also hides storage underneath.
The table itself should either fold down, slide out, or adjust in height so it can work as a desk during the day and a dining table at night. I’ve seen setups where the whole table hangs from the wall and stows completely flat when not in use, opening up the floor for yoga or letting kids run around.
Sliding Barn Doors for Space-Efficient Bathroom Access

Your bathroom door shouldn’t claim 10 square feet of space just for its swing radius. Barn-style sliding doors run on a track mounted above the doorway and tuck against the wall when open.
You can build one from pallet wood for next to nothing, and the hardware is simple enough that you don’t need carpentry skills to install it. The door still gives you complete privacy (nobody wants a curtain for their bathroom), and it works with pretty much any design style you’re going for.
Lofted Bunks and Murphy Beds for Maximum Floor Space
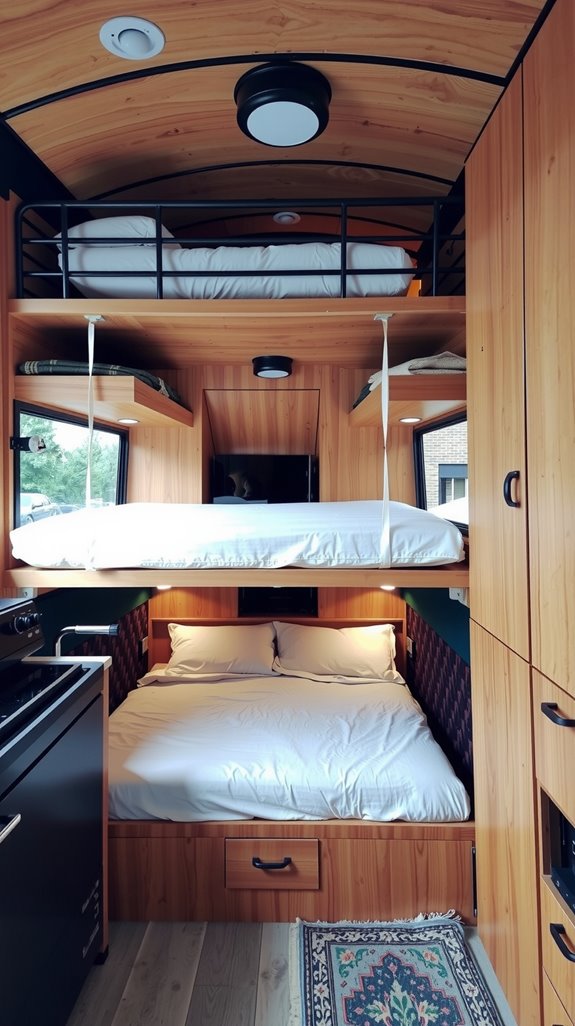
Bunks that run floor to ceiling make sense if you’ve got kids or plan to host friends regularly. Leave at least 33 inches between levels so people don’t feel like they’re in a coffin, and you can fit two or even three sleeping spots in the space one regular bed would take.
Murphy beds work better for couples who want a real mattress but don’t want to surrender their entire living space to a bedroom. The bed folds up into a cabinet during the day, and you can build storage shelves or a desk into the same unit.
Rear-Positioned Master Bedrooms for Private Retreats

There’s something to be said for having an actual bedroom instead of a fold-out or loft situation. Claiming the rear of the bus for your sleeping space creates a proper retreat that feels separated from the kitchen and living area.
The back corner works perfectly for an L-shaped layout that wraps storage around the bed perimeter. You can tuck your water tanks and electrical components underneath the bed platform, which keeps them accessible but out of sight.
Under-Bed Storage Drawers and External Garage Access

That elevated bed platform you’re building sits at least two feet off the floor, creating a massive storage zone that most people underutilize. Drawers that pull out from the side let you organize clothes and gear without lifting the whole mattress.
Plastic bins work fine if you’re on a budget, or you can build a lift-up platform with gas struts like a truck bed cover. Either way, cutting an access door through the rear emergency exit means you can store bikes, paddleboards, or camping gear without dragging them through your living space.
L-Shaped Kitchen Configurations for Optimal Counter Space

An L-shaped kitchen uses two walls that meet at a corner, giving you 8 to 12 feet of continuous counter space instead of the cramped 4 to 6 feet you’d get in a straight line. That’s genuinely 20 to 30 percent more workspace, which matters when you’re trying to cook real meals instead of just reheating things.
Your sink, stove, and prep area form a natural triangle that makes cooking less awkward. The center of the bus stays open for your living area instead of being consumed by cabinetry.
Retractable Dining Tables and Drop-Down Work Surfaces

Mounting a dining table on heavy-duty folding brackets lets it drop flush against the wall when you’re done eating. Get brackets rated for at least 400 pounds, and secure them directly to the bus frame studs rather than just the wall panels.
A table that seats 8 or 10 people for dinner becomes a countertop for meal prep, a desk for working, or just empty floor space for stretching. The transformation takes about five seconds and doesn’t require moving or storing anything.
Overhead Shelving for Vertical Storage Solutions

Those curved roof ribs that gave you headaches during insulation actually create perfect spots for overhead cabinets. Standard square cabinets won’t fit, so trace your roof curve onto the cabinet ends and connect those marks with straight lines to create angled cuts.
Make cardboard templates first so you don’t waste plywood on cuts that don’t fit. Thin luan plywood backing flexes enough to follow curves without cracking, which helps in those sections where the roof really bends.
Under-Couch and Under-Booth Hidden Storage
Couches and booth benches sit there taking up floor space anyway, so they might as well hold your stuff. Hinged lids that lift up work great for accessing larger items like bedding or winter clothes. Drawer slides mounted underneath let you build pullout boxes for things you need to grab frequently.
Just make sure everything latches closed before you hit the road, or you’ll spend your first drive listening to your belongings slide around like you’re living in a giant maraca.
Built-In Closets Around Bed Perimeters
The perimeter around your bed is dead space unless you build it into closets and shelving. Floor-to-ceiling cabinets in the corners and along the walls give you hanging space for clothes plus shelves for everything else.
These built-ins don’t intrude into your living area, and you can integrate access panels for your electrical or plumbing right into the same cabinetry. Everything stays contained in one zone instead of scattered in random cubbies throughout the bus.
Dedicated Functional Zones With Closing Doors
Living in one long room sounds fine until someone’s trying to sleep while someone else is cooking breakfast. Lightweight doors between your bedroom, bathroom, and living spaces let each area function independently.
Sliding or pocket doors work better than hinged ones because they don’t claim floor space. The bedroom door keeps light and noise out when you’re sleeping, the bathroom door is self-explanatory, and even a simple curtain separating the kitchen from the living area helps contain cooking smells.
Monochromatic Color Palettes for Enhanced Spaciousness
Dark wood and bold accent walls might look dramatic in photos, but they make a narrow bus feel like a cave. White or light gray walls, ceiling, and flooring create visual continuity that tricks your eye into seeing more space than actually exists.
A monochromatic scheme in whites, grays, and black keeps things calm and lets natural light bounce around instead of getting absorbed. This minimalist approach also makes small spaces feel less cluttered, even when you’ve got stuff out.
Strategic Skylight Placement for Natural Light Flooding
Skylights solve the fundamental problem of bus conversions: they’re dark inside. Position them over your hallway and kitchen where you spend the most time moving around and working.
Bigger skylights in the living area make the ceiling feel higher without actually raising it. Angle them slightly and face them south so they catch sunlight for longer stretches during the day instead of just at noon.
Reclaimed Wood and Neutral Schemes for Cabin-Like Aesthetics
Reclaimed barn wood or pallet boards bring texture and warmth without the cost of new materials. The weathered look creates that cabin vibe people love, and using salvaged materials keeps stuff out of landfills.
Pair that wood with white or light gray walls to get the cozy atmosphere without the darkness that comes with wood everywhere. The contrast between textured wood accents and smooth neutral surfaces makes the space feel intentional instead of cobbled together.