What this is: The complete guide to the classic fall porch trio — mums, pumpkins, and hay bales — and exactly how to arrange them so they look styled instead of like a roadside stand.
Who it’s for: Anyone reaching for the three most iconic fall porch pieces who wants them to look intentional and last the whole season.
Why read it: You’ll learn how to arrange the trio like a pro, keep your mums alive for weeks, pick the prettiest heirloom pumpkins, and add cornstalks and gourds without tipping into clutter.
Mums, pumpkins, and hay bales. If fall had an official starter pack, this would be it — and for good reason!
These three pieces together create that instantly recognizable, cozy, harvest-festival feeling that says autumn has officially arrived. I love them, you love them, everyone saves them.
But here’s the thing: the exact same three ingredients can look like a magazine cover or like someone just dumped them by the front door, and the difference comes entirely down to how you arrange and care for them.
So let’s do this right! I’m going to walk you through arranging the trio like a stylist, keeping everything alive and gorgeous, and adding a few upgrades that take it from cute to chef’s kiss.
Why This Trio Works So Beautifully Together
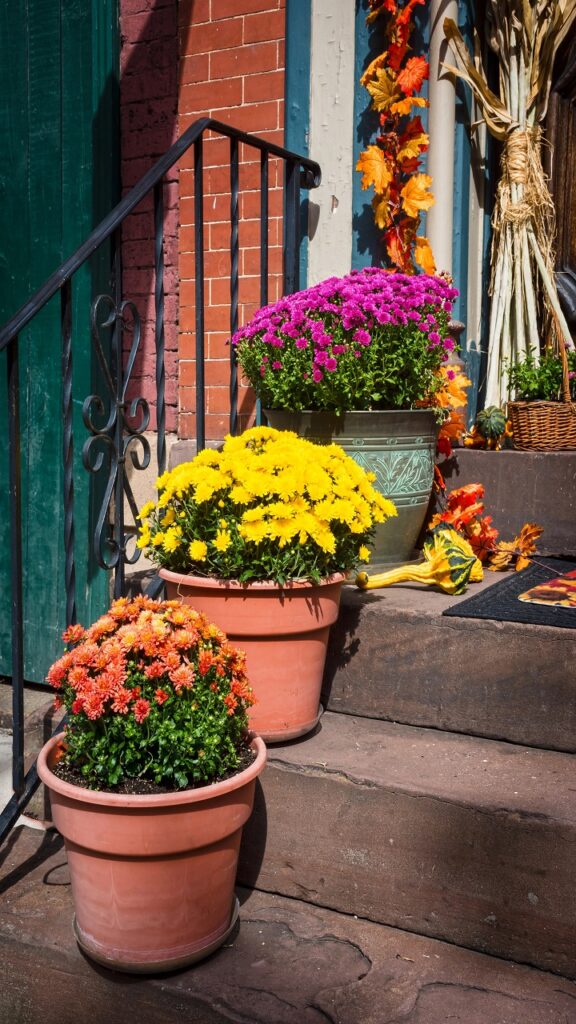
Before we arrange anything, can we just appreciate why these three are such a perfect team? It’s actually all about contrast and variety working together.
The hay bale brings structure and height, the pumpkins bring shape and color in rounded forms, and the mums bring soft texture and living, blooming movement.
Three totally different visual roles, and your eye loves the variety.
That’s the secret behind why the trio feels so complete when so many single-element displays feel flat. You’ve got height, roundness, and softness all in one grouping, which hits every note a styled arrangement needs.
Once you understand that each piece is playing a different part, arranging them stops feeling like guesswork and starts feeling obvious.
Total lightbulb moment!
How to Arrange Hay Bales and Pumpkins So It Looks Intentional
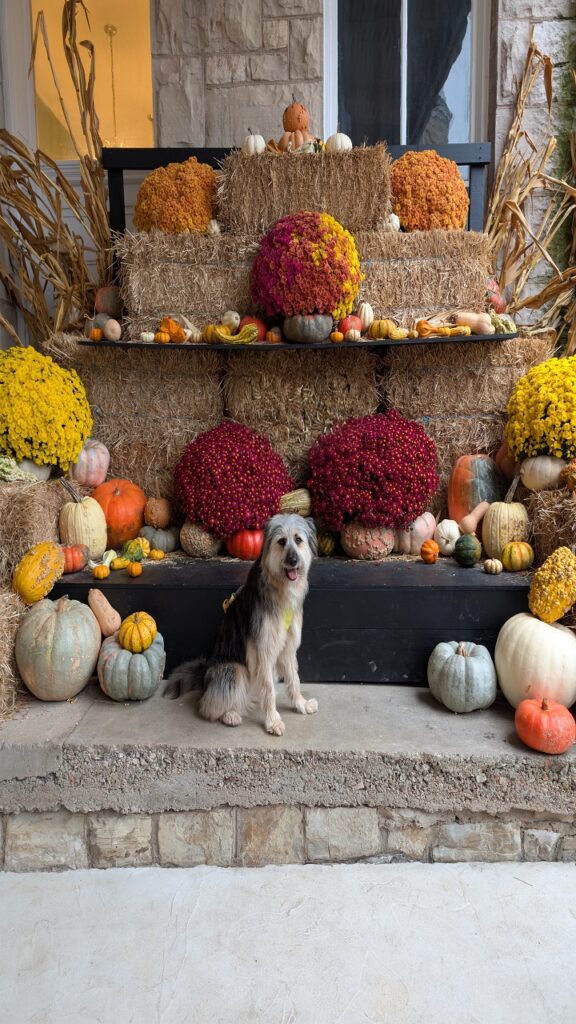
Okay, this is where the magic happens, and it’s easier than you think. The number one rule: build in layers with the hay bale as your foundation.
Place your hay bale (or stack two for more height) to one side of your door, not dead center — asymmetry always looks more designed than perfect symmetry. This becomes your base layer and your riser, giving everything else different heights to sit on.
Now add pumpkins in odd numbers and varied sizes. A big one on the ground, a medium one on top of the bale, a couple of small ones tucked around the base.
Odd-numbered groupings just look more natural and collected to the eye, every stylist swears by it. Then nestle your mums into the arrangement at different levels, letting them soften the hard edges of the bale.
The whole trick is varying heights so your eye travels up and around instead of scanning a flat line. For a small porch or narrow stoop, one small bale, one mum, and three pumpkins is all you need. So satisfying!
Keeping Your Mums Alive All Season Long
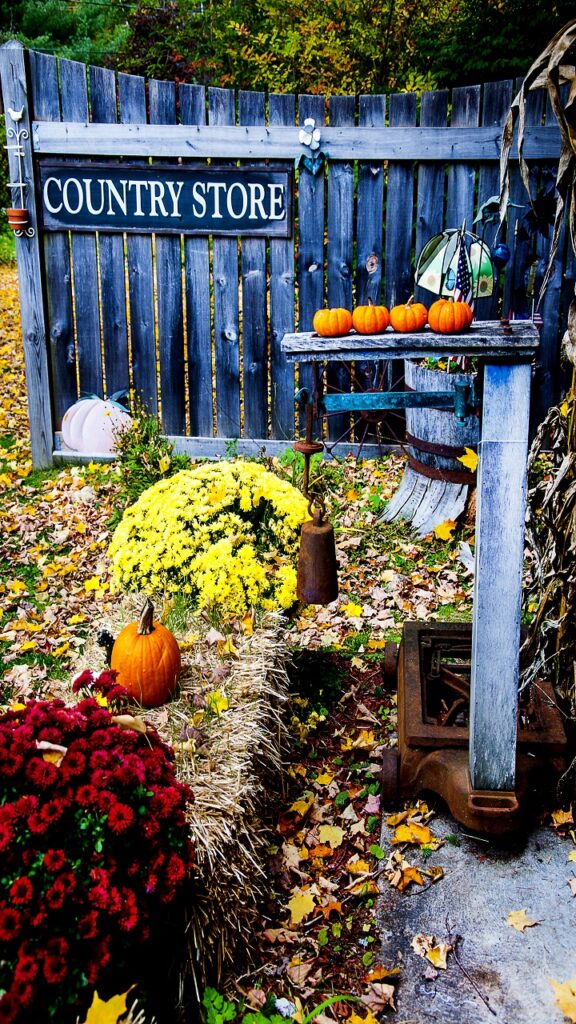
Let’s talk about the heartbreak of watching a gorgeous ten-dollar mum turn crispy and brown in a week, because it does NOT have to happen! The single biggest secret is buying and watering them right.
The University of Kentucky’s extension service recommends choosing mums with tight buds that haven’t opened yet — this gives you weeks of blooming once you get them home, instead of catching them already halfway done.
Watering is where most people go wrong, so here’s the deal: check the soil every other day by sticking your finger in up to the first knuckle, and water when it’s dry.
But water at the soil level, not over the top of the flowers, because wetting the blooms and leaves makes them deteriorate way faster.
The extension experts also suggest popping your mum into a larger pot when you get home so it retains more moisture, and deadheading the faded blooms to encourage new growth. Do these few things and your mums will genuinely last a month or more.
Total game-changer!
A Guide to Heirloom and Specialty Pumpkins and Gourds
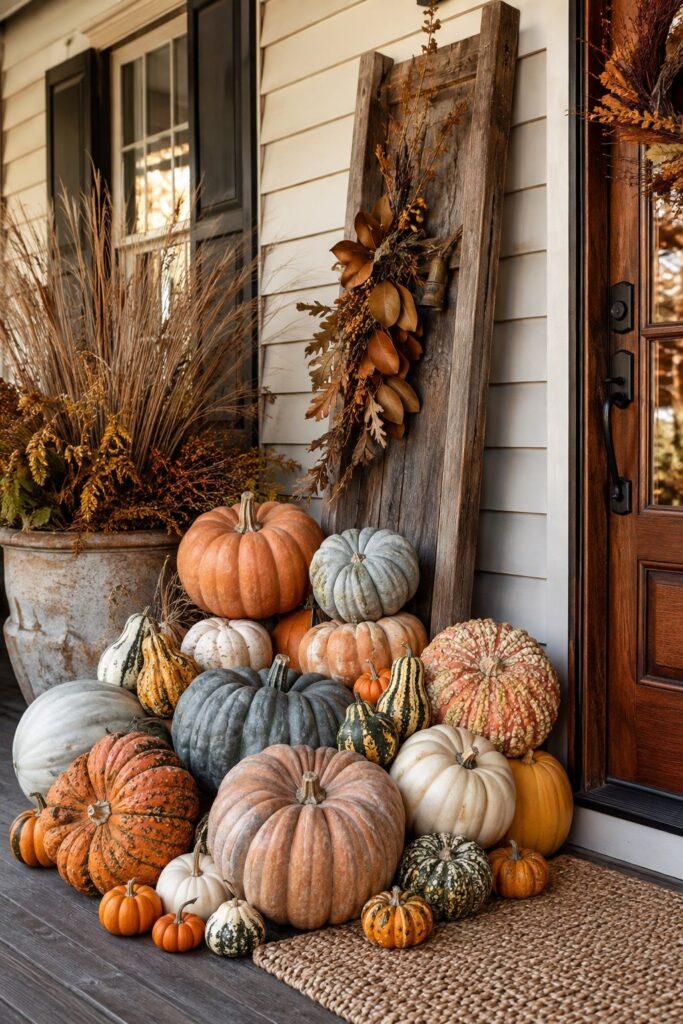
Here’s a fun way to instantly upgrade your trio: skip the standard orange and grab some heirloom and specialty pumpkins! These beauties come in the dreamiest colors and textures, and they make even the simplest arrangement look editorial.
My absolute favorites: Cinderella pumpkins (those flat, deeply ribbed, romantic ones), Jarrahdale (a gorgeous blue-gray), Fairytale (deep tan and elegantly ribbed), and Knucklehead or warty pumpkins for amazing texture.
Then add in the little guys — mini white Baby Boo pumpkins, orange Jack Be Little, and a mix of bumpy, speckled, and striped gourds for variety.
The trick is to pick a loose color story and stick with it: all warm tones (orange, tan, rust) for a classic look, or all cool tones (white, cream, blue-gray, sage) for something more modern.
Mixing in a few velvet pumpkins or terracotta-painted ones adds even more richness.
So many gorgeous options, honestly!
Make Your Real Pumpkins Last for Weeks
Nothing’s sadder than a pumpkin that caves in after ten days, so let me save yours! The secret that professional stylists swear by is a simple cleaning-and-sealing routine.
First, wipe your pumpkins down and give them a bath or spritz with a diluted bleach solution to kill the mold and bacteria that cause rotting. Let them dry completely.
Then here’s the pro move: seal them with a coat of clear acrylic spray or a thin layer of petroleum jelly to lock in moisture and slow down the drying-out process, which keeps them firm and fresh much longer.
Keep them in a shaded spot out of direct sun — a covered porch is ideal — since heat and sun soften them fast. Do this and uncarved pumpkins can genuinely last from September all the way to Thanksgiving. Pure genius!
Styling Cornstalks and Gourds Without the Clutter
Cornstalks are the trio’s best friend because they add dramatic height, but they’re also where things can go sideways into “haunted corn maze” territory fast.
The key to keeping them chic is restraint and placement. Bundle three or four cornstalks together, tie them neatly with twine or a burlap ribbon, and stand them up by flanking your door or securing them to a porch column — one clean bundle on each side, not a scattered forest.
For gourds, the rule is the same as pumpkins: group them in odd numbers, vary the sizes, and stick to your color story so they read as curated rather than random.
Tuck them into the gaps of your arrangement to fill empty spaces, but resist the urge to add ALL the gourds — a few well-placed ones look intentional, while a big pile just looks messy.
If you want more texture, a few stems of dried grasses or a pretty citrus garland add movement without the mess. Total vibe!
Classic Versus Modern Takes on the Fall Trio
The beauty of the mums-pumpkins-hay bales trio is that it flexes to fit any aesthetic — you just adjust the palette and the styling!
The classic take leans into everything warm and traditional: orange pumpkins, golden and burgundy mums, natural straw bales, and rustic wooden crates. It’s cozy, familiar, and instantly says harvest festival. Add a layered doormat and a lantern for that warm amber glow and you’re golden.
The modern take keeps the same three elements but swaps the palette entirely: white and blue-gray heirloom pumpkins, cream or white mums, and hay bales wrapped in neutral fabric or paired with sleek black planters and ombré-painted pumpkins.
Same trio, completely different vibe — clean, minimal, and editorial. Whichever direction you go, the arranging principles stay exactly the same.
And because the base pieces are so neutral, the whole thing transitions beautifully into cozy Thanksgiving decorations with just a few swaps. Genius, right?!
Go Build Your Perfect Fall Trio
The mums-pumpkins-hay bales combo became the classic fall porch look for a reason — it’s cozy, it’s iconic, and it works every single time when you arrange it with a little intention.
Layer your heights, group in odd numbers, keep your mums watered and your pumpkins sealed, and pick a color story you love. That’s genuinely the whole formula.
Whether you go full traditional harvest or modern-neutral, whether you’re on a grand porch or a tiny renter-friendly stoop, this trio is your fastest path to a porch that looks like fall itself showed up and moved in.
Now go grab a hay bale — your coziest fall season yet is waiting, and your front door is about to be the best on the block!