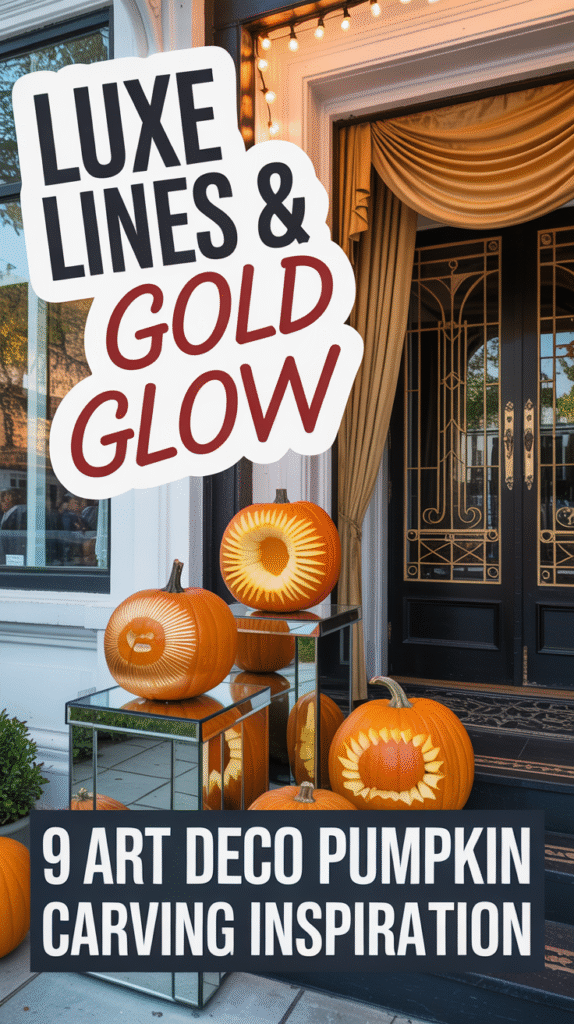
Art Deco pumpkin carving isn’t nearly as intimidating as it looks. The whole appeal of this style is that it relies on clean geometry and repetition instead of freehand sketching or perfect artistic proportions.
You’re working with straight lines, measured angles, and patterns that repeat themselves across the surface. Once you understand the basic visual language of the 1920s, you can turn any pumpkin into something that looks like it belongs in a Gatsby mansion rather than a suburban front porch. The designs ahead will show you exactly how.
Contents
- 1 Understanding the Art Deco Aesthetic for Pumpkin Design
- 2 Essential Tools and Materials for Precision Carving
- 3 Geometric Patterns and Symmetrical Designs
- 4 Sunburst and Radiating Line Motifs
- 5 Stylized Animal and Floral Carvings
- 6 Layered Carving Techniques for Depth and Dimension
- 7 Adding Metallic Finishes and Glamorous Touches
- 8 Lighting Strategies to Showcase Your Carved Designs
- 9 Creating a Cohesive Art Deco Halloween Display
Understanding the Art Deco Aesthetic for Pumpkin Design
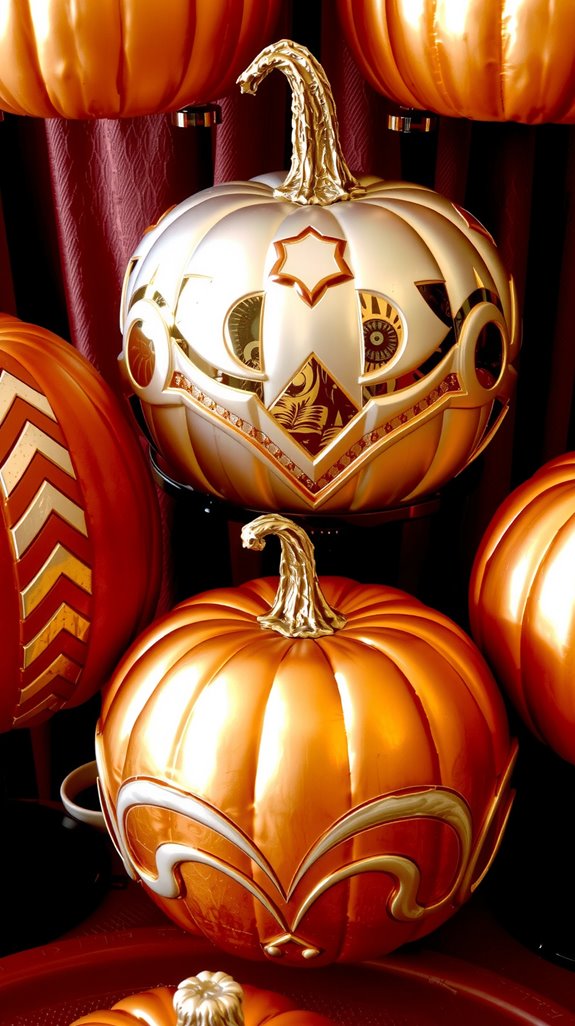
The Art Deco movement was obsessed with modernity, glamour, and the clean efficiency of machines. Designers in the 1920s and 30s took inspiration from Cubism and applied it to everything from skyscrapers to jewelry boxes.
Your pumpkin becomes a canvas for those same bold triangles, chevrons, zigzags, and sunburst patterns that defined the era. The key is balance: every element needs a mirror image, and every pattern should feel deliberate rather than random.
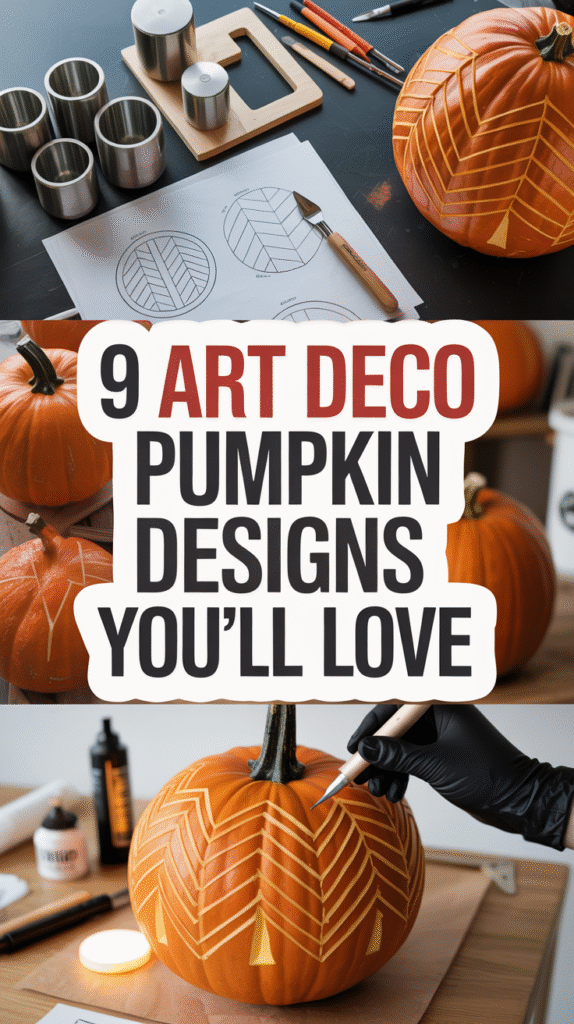
Essential Tools and Materials for Precision Carving
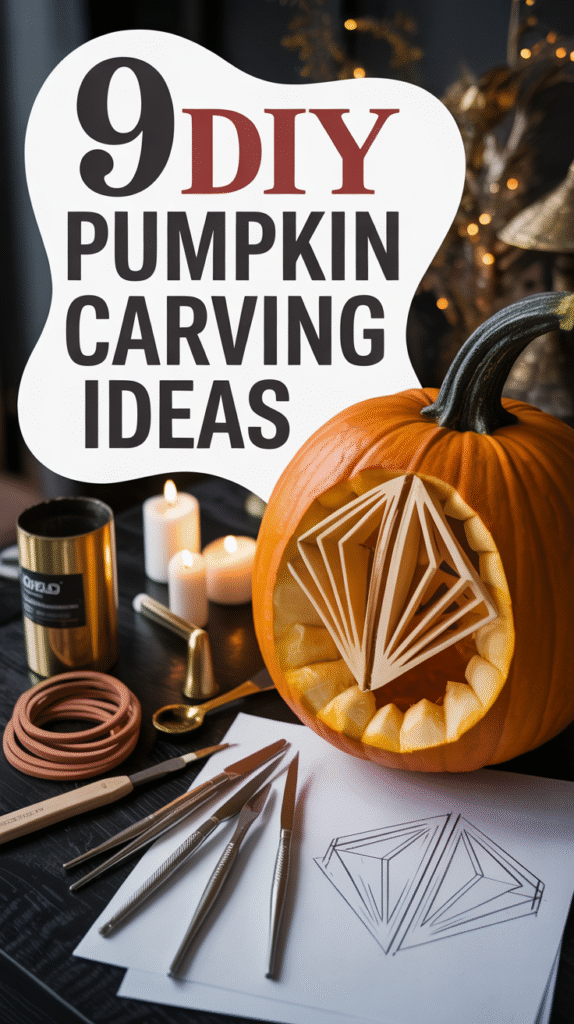
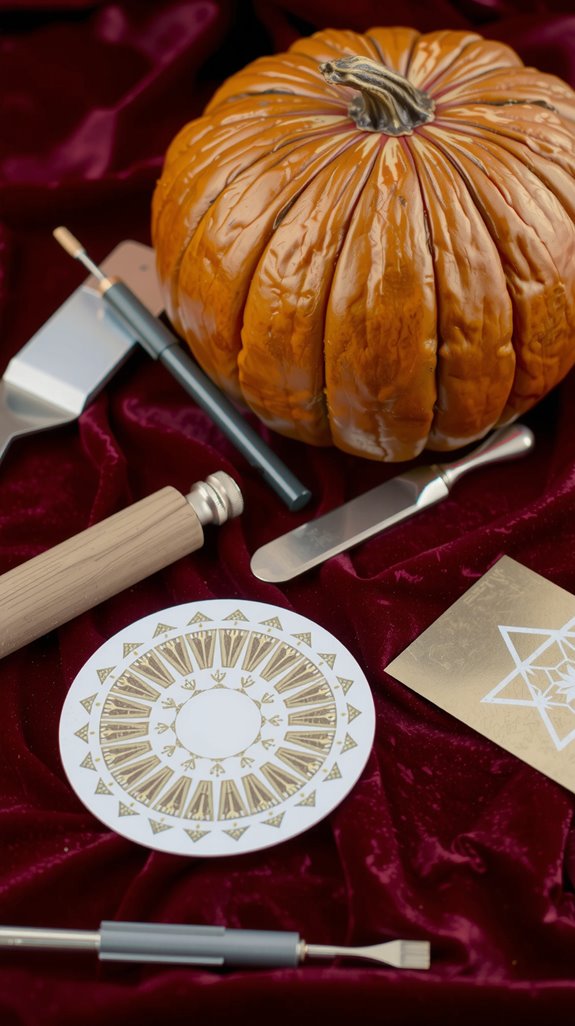
You’ll want to upgrade from the flimsy saws that come in drugstore kits. Fine detail saws with double-sided teeth let you navigate tight corners without tearing the flesh.
Curved blades help you create those subtle relief effects where you’re scraping away layers instead of cutting all the way through. A pounce wheel transfers your stenciled designs by pricking tiny holes through the paper, giving you a dotted guideline to follow.
Geometric Patterns and Symmetrical Designs

Start by selecting pumpkins with the smoothest possible surfaces since bumps and ridges will interrupt your lines. Space your shapes about an eighth of an inch apart to let each element breathe without crowding.
Work from a central axis or radial point outward, keeping your triangles, diamonds, and polygons uniform in size. Metallic paint pens can save you hours of intricate carving while still delivering that signature Art Deco shine.
Sunburst and Radiating Line Motifs
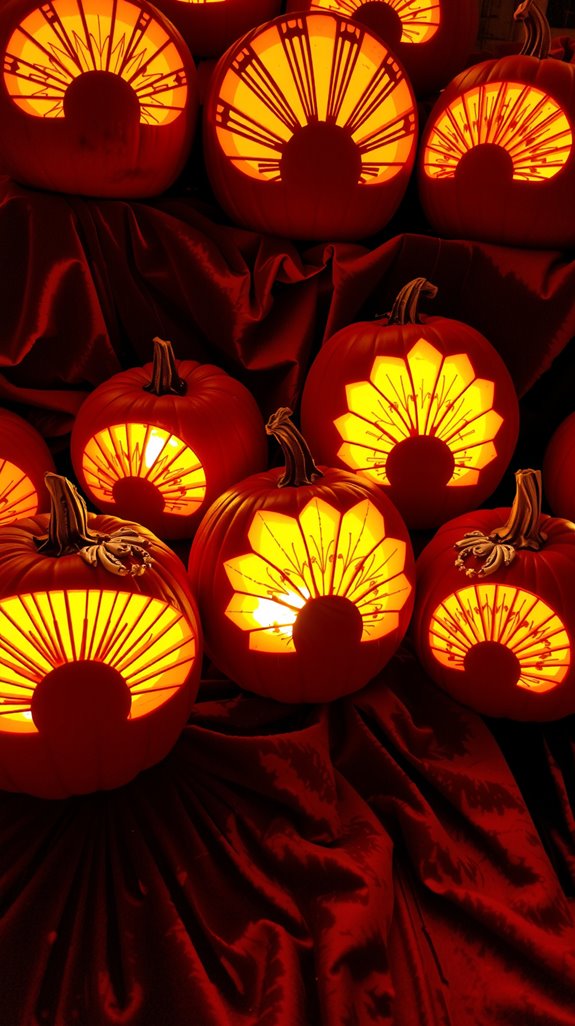
Nothing says Art Deco quite like a sunburst pattern exploding from a central point. These radiating lines capture the era’s fixation on progress, energy, and drama.
Carve from the center outward, tapering each line as it extends to create that sense of movement. Mix shallow etching with full cutouts so different depths catch the light differently when you illuminate the pumpkin from inside.
Stylized Animal and Floral Carvings
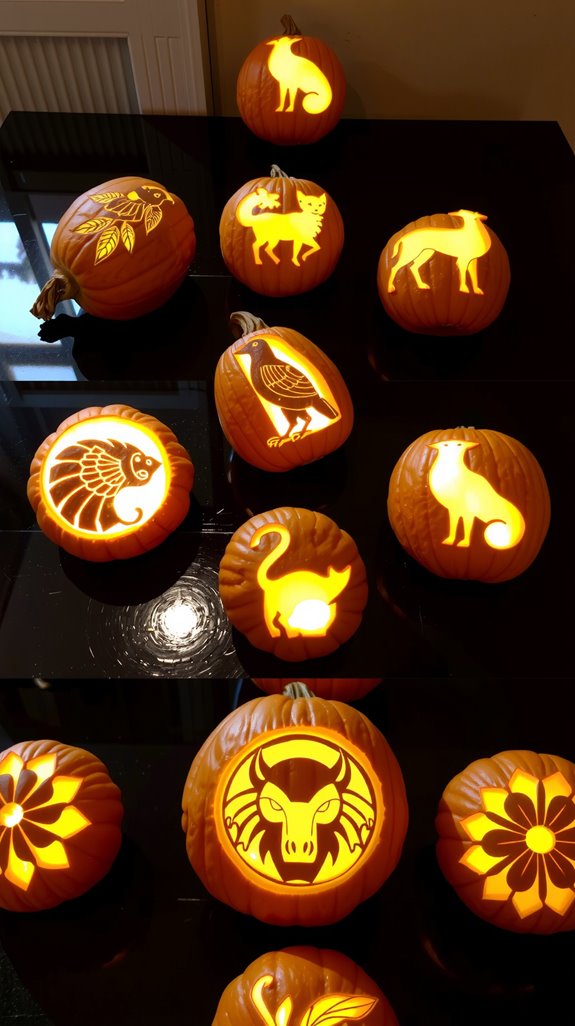
Art Deco designers took organic forms and sharpened them into geometric abstractions. Peacocks work beautifully because you can transform their tail feathers into perfect fan shapes. Gazelles become collections of elegant angles and curves.
Sketch your design on paper first, making sure everything balances symmetrically before you transfer it to the pumpkin. Carve the most intricate details like feathers and petals before tackling the larger surrounding areas.
Layered Carving Techniques for Depth and Dimension
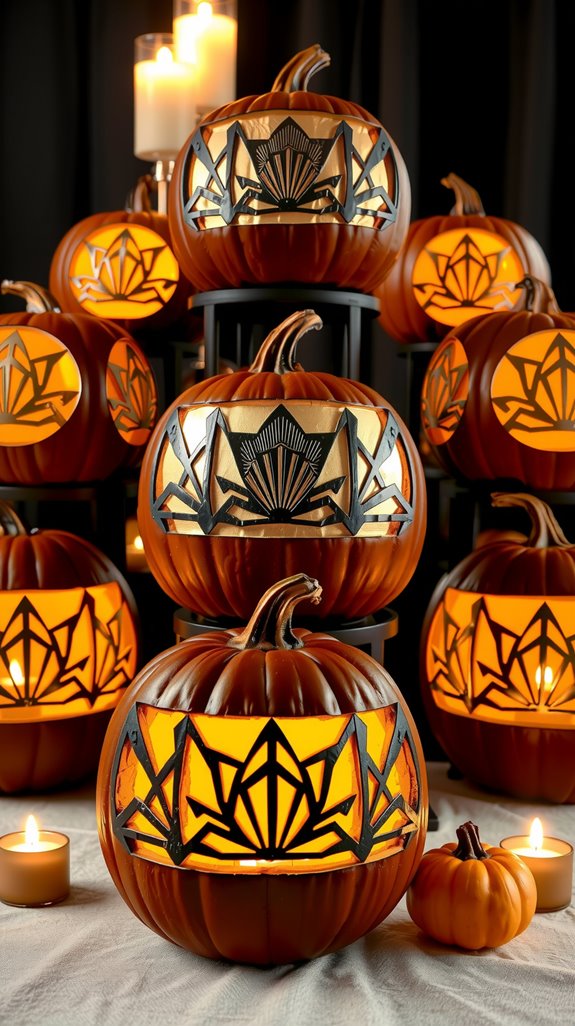
Traditional jack-o’-lanterns are either cut through or left solid, which gives you only two tones to work with. Layered carving introduces gradations by removing the flesh to different depths across your design.
Scrape away just the outer skin in some areas, carve halfway through in others, and cut all the way through for your brightest highlights. Clay loops and sharp chisels give you the control you need, and you should test your progress frequently by holding a light source inside the pumpkin.
Adding Metallic Finishes and Glamorous Touches
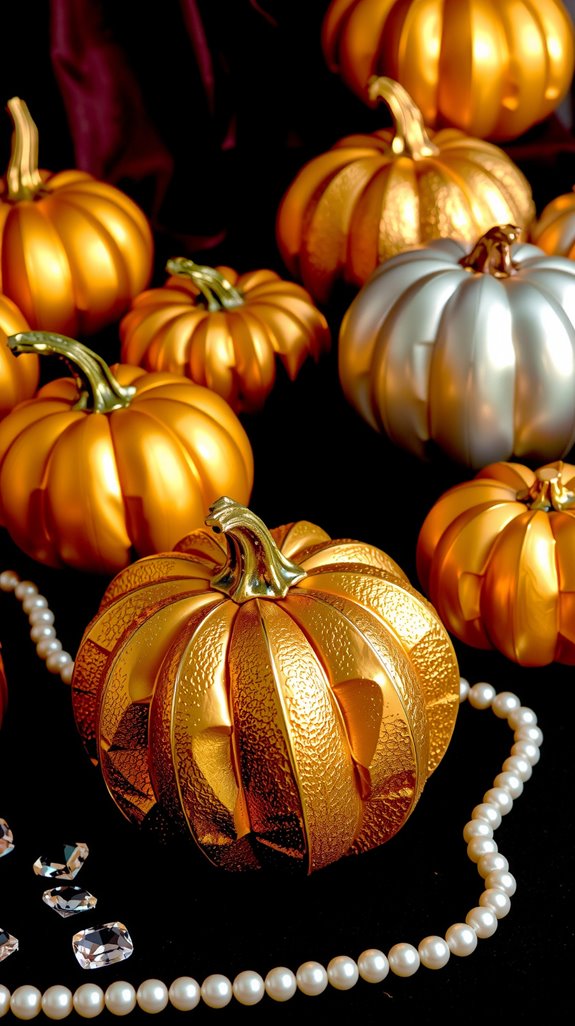
Metallic paint transforms a carved pumpkin from a handmade craft into a genuine art object. DecoArt Dazzling Metallics and Plaid’s Liquid Leaf both deliver convincing shine with two or three coats.
Brush in one direction to avoid streaks, and consider layering gold over copper or silver over bronze for more complex depth. A tinted glaze rubbed on and then selectively wiped away creates an antiqued effect that makes your geometric patterns look like architectural details.
Lighting Strategies to Showcase Your Carved Designs
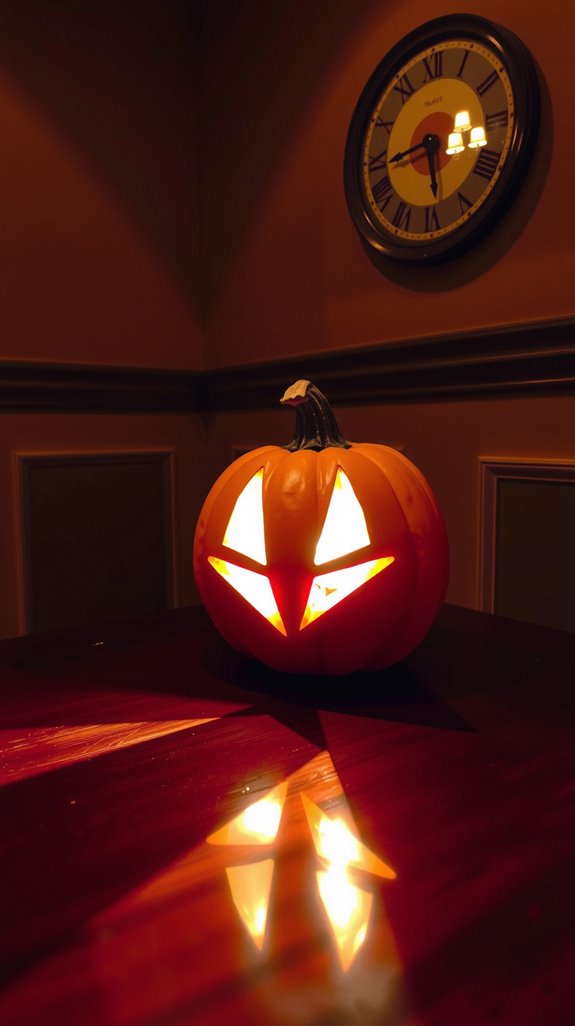
White LED lights emphasize metallic finishes better than the warm glow of traditional bulbs. Thread string lights through the bottom opening and push individual bulbs halfway through small drilled holes to create points of light within your design.
The varying depths you carved earlier will produce different shadow intensities depending on how close the light source sits to each section. Move your light around inside the pumpkin until you find the position that creates the most dramatic dimensional effect.
Creating a Cohesive Art Deco Halloween Display
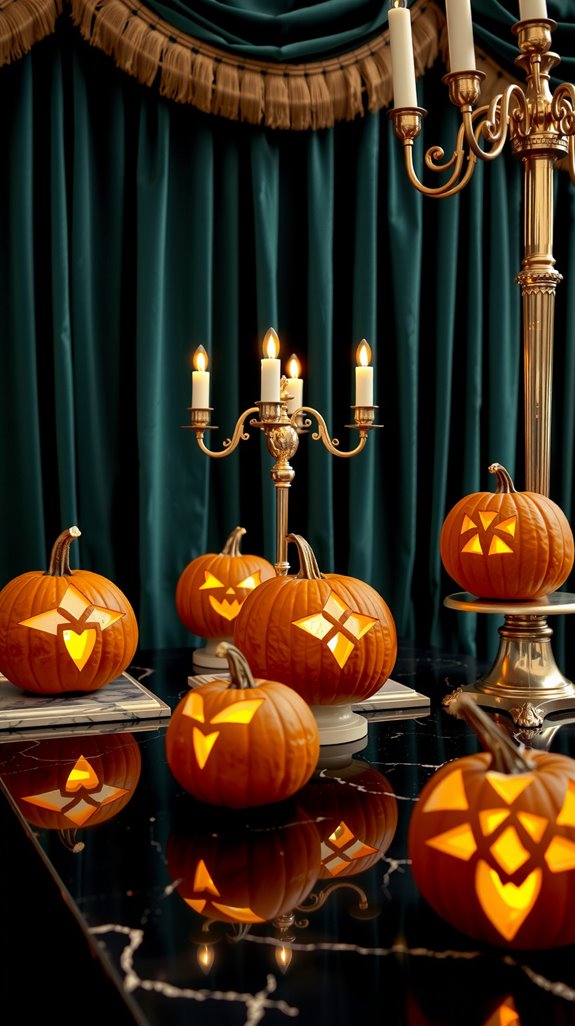
Individual pumpkins look impressive, but a coordinated grouping tells a complete visual story. Arrange them at different heights using cake stands, candlesticks, or even overturned bowls.
Choose one or two signature motifs and repeat them across your entire display rather than giving every pumpkin a completely different pattern. Vintage glassware, metallic fabric runners, and geometric picture frames help reinforce the 1920s atmosphere. Keep your arrangement edited and intentional since Art Deco was never about excess or clutter.
Conclusion
These techniques will give you pumpkins that look like they were carved by someone who studied at a design academy in Paris in 1925. The geometric precision creates visual impact even from a distance, while the metallic finishes and strategic lighting reveal new details as guests move closer.
Your Halloween display becomes a conversation piece rather than just a seasonal decoration. Neighbors will slow down when they pass your house, trying to figure out how you achieved something that looks simultaneously vintage and completely original.