A vintage caravan is a time capsule on wheels, and cracking it open reveals decades of potential. If you’re over 55 and eyeing that dusty 1960s Viscount in the driveway, you’re already halfway there.
These 12 makeovers show exactly how women like you are stripping back tired interiors, choosing 3mm ply walls and V-groove ceilings and rebuilding something worth driving.
The details ahead might change your whole approach.
Why Vintage Caravan Makeovers Reward the Effort
Buying a vintage caravan for a few thousand dollars and selling it for notably more isn’t a fantasy, it’s a documented outcome for renovators who choose their project van carefully.
One restorer picked up a caravan on Gumtree for $3,300. New flooring, fresh cabinetry, and a coat of paint later, it was worth substantially more than the parts cost.
Rarity helps. Older vans with genuine character outperform mass-produced models at resale.
You also control the timeline, spreading costs across stages rather than funding everything upfront. The math works if the work does. A well-chosen project, like a 1966 Millard Florida, can have great bones and no rust, making it a strong foundation before a single dollar is spent on renovation.
Retro Color Palettes That Set the Mood Before Anything Else
Color is the cheapest decision you’ll make, and it sets every other decision that follows. Pick your palette before you touch upholstery, curtains, or cabinet hardware.
A single object already in the caravan, like a vintage cake tin or original Formica strip, can anchor your whole scheme.
Fifties interiors leaned hard on pastels: pink, turquoise, mint green, and pale yellow. Cream and muted teal are period-correct starting points.
The 1940s introduced Formica alongside Art Deco-inspired designs, making laminate surfaces a historically grounded choice for interior color anchoring.
Muted tones read more authentically than saturated modern versions. White ceilings reflect light and make tight spaces feel less like a shoebox.
Choose your colors first, then let everything else follow.
The 1960s Viscount Turned Into a Green and Gold Gem
Some caravans earn their second chance. This 1960s Viscount was in terrible shape before its owners decided it deserved better.
The concept driving the whole project was “where the coast meets the forest,” which sounds poetic but actually meant something specific: a calming green palette, gold trims, and marble accents.
Michael Duffy built the joinery from scratch, so nothing inside was a quick fix. The floorplan got completely redone.
What came out the other side wasn’t a cosmetic refresh, it was a fully rebuilt interior with a retro-inspired finish that held onto the van’s vintage character without apologizing for it.
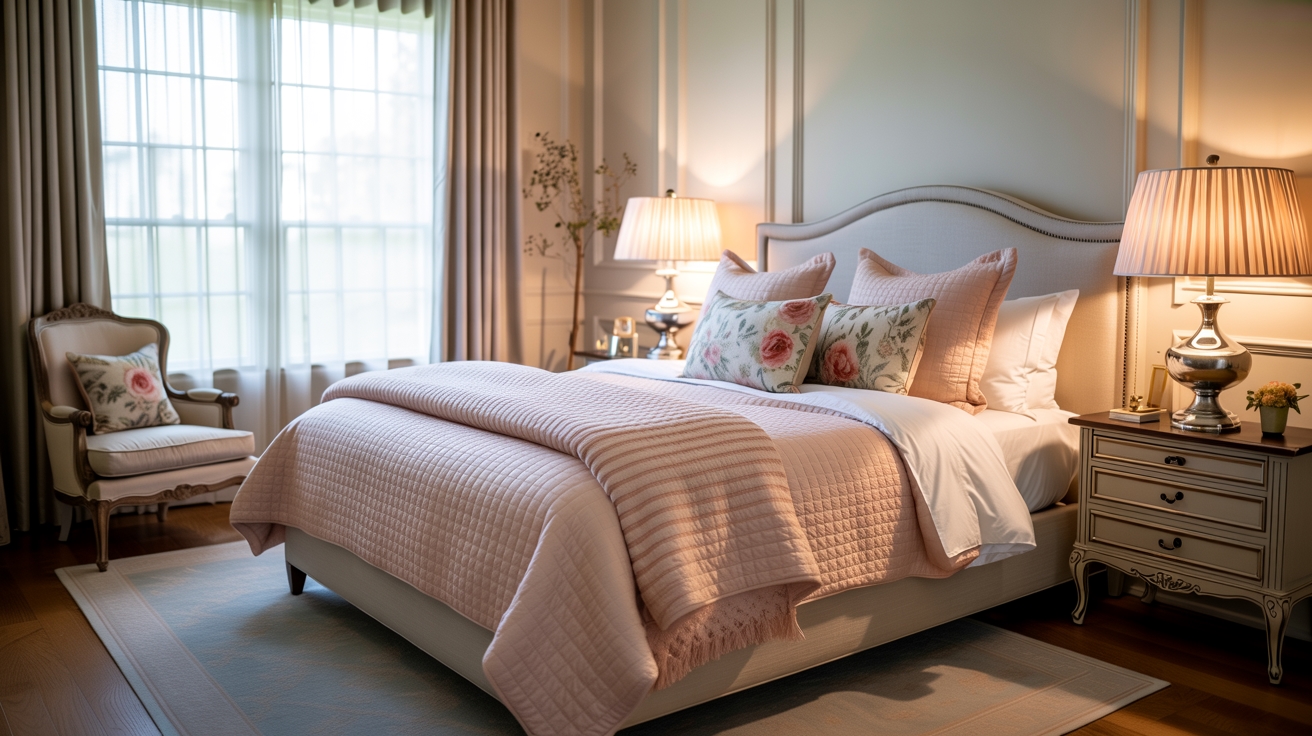
Berry Tones and Florals Inside “Goldie” by Cedar and Suede
Not every caravan makeover leans into cool greens and gold trim. “Goldie,” styled by Cedar and Suede, went the opposite direction entirely.
Berry tones, dusty rose, mauve, plum, and berry red cover the soft furnishings throughout. Cream and whitewashed cabinets keep the space from feeling like the inside of a jam jar.
Floral cushions, lace curtains, and layered throws do the heavy lifting here. Pattern mixing is intentional, pairing florals with vintage-inspired prints, and warm metallic accents and aged finishes tie everything together.
It’s a small space that photographs beautifully and feels genuinely lived-in rather than staged.
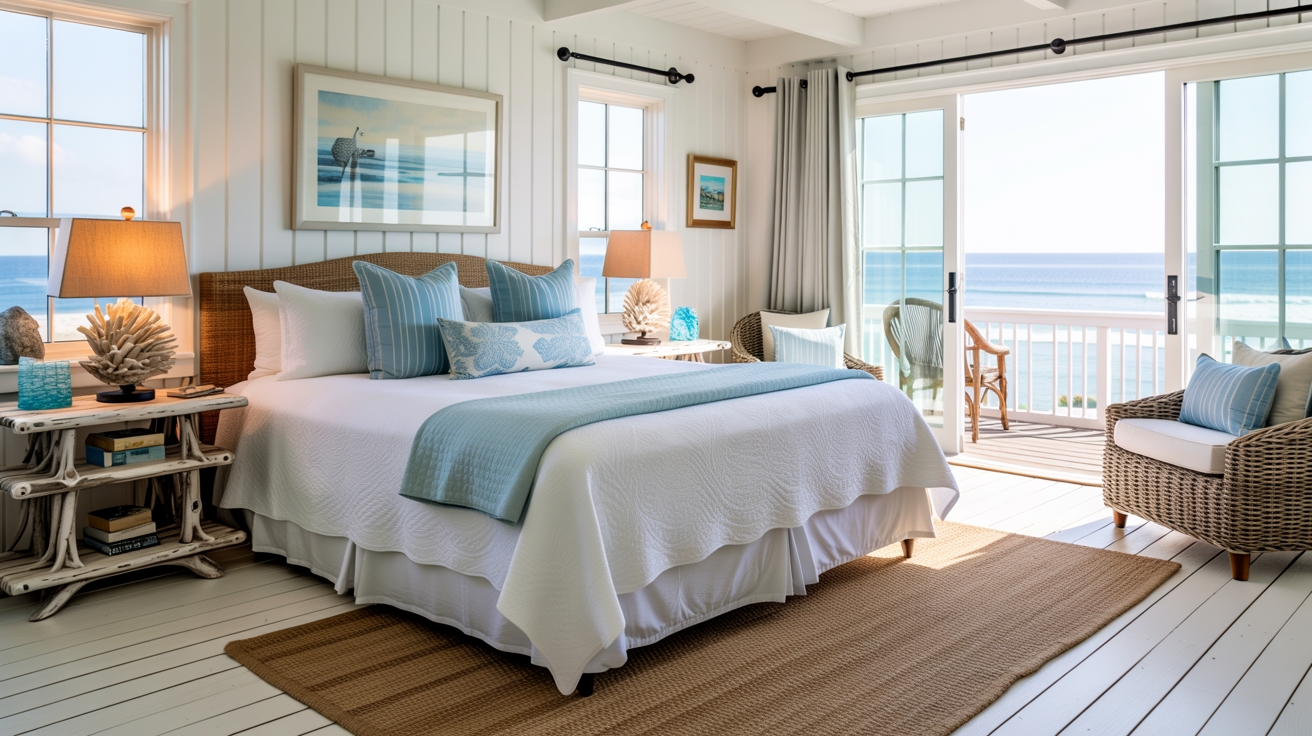
Nautical Retro-Glam in a Compact Classic Caravan
Where “Goldie” leaned into berries and florals, nautical retro-glam pulls in the opposite direction entirely.
Think navy, white, and cream with weathered timber and brushed brass hardware. Porthole-style windows, beadboard wall panels, and rope accents do the heavy lifting here. You’re chasing a coastal cabin feel, not a superyacht.
Compact layouts suit this theme well.
Fold-away dinettes, under-bench storage, and a narrow galley keep things tight without feeling cramped. Light colors and reflective surfaces make a small caravan read bigger than it is.
Vintage profile, modern build, that’s the whole point. Many classic caravans can be fitted with solar power features to keep things eco-friendly while preserving every bit of that vintage charm.
Pink, Black, and Gold Instead of the Expected Coastal Look
Pink, black, and gold sounds bold until you see how deliberately it works. Most caravans get styled in light blues and whites, the standard coastal palette that’s practically a uniform.
This combination goes the other direction entirely, pulling from art deco and vintage glamour instead of beach-house relaxed. Pink carries the nostalgia, black sharpens it, and gold finishes add warmth without going fussy.
Black stops the pink from reading as a child’s bedroom. Gold hardware, like pop locks or brass cabinet trim, replaces old chrome and makes the whole interior feel curated rather than accidental.
Moving the Bedroom Forward Changed Everything
Color choices only get you so far. At some point, the layout either works or it doesn’t.
Moving the bedroom from the rear to the front is one of the biggest changes you can make in a vintage caravan. It resets how you move through the whole space. The rear opens up for a larger bathroom or better lounge seating.
You can also build a raised bed platform with gas struts underneath for storage. It’s basically a blank-canvas rebuild once the original fittings come out. Uncomfortable but worth it.
The 1992 Windsor renovation replaced two single beds with a double bed and a slide-out sofa to better serve the whole family.
Sketch a Masking Tape Floor Plan Before Touching Any Tools
Before you touch a single tool, roll out a length of masking tape and sketch your entire floor plan directly on the van’s subfloor.
Tape out the bed, shower, toilet, kitchen bench, and dining nook at actual size. This full-scale mockup shows whether your bathroom will swallow the living area or whether a 600mm aisle actually feels walkable.
It exposes conflicts between furniture depth and curved caravan walls before you’ve cut a single batten. Tape is cheap; rerouting a structural frame mid-build isn’t.
Test two or three competing layouts, then commit once the floor tells you what works. For example, relocating the bedroom from the back to the front of the van can dramatically improve the overall flow and unlock smarter storage opportunities throughout the rest of the build.
Lining Vintage Caravan Walls With 3mm Ply
Once you’ve locked in your floor plan, it’s time to think about what goes on the walls, and in most vintage caravans, that means 3mm plywood.
It’s thin, light, and flexible enough to follow gentle curves without complaining. Standard BC ply works, but purpose-made caravan ply comes poly-coated or paper-coated, giving you a cleaner factory finish straight off the sheet.
White gloss and matt white are popular choices for that bright, period-correct look. Sheets typically run $12 to $20 each.
Measure and template each wall section before cutting; 3mm forgives curves, not miscalculations.
V-Groove Ceilings That Give Old Caravans a Beach-House Soul
V-groove cladding is tongue-and-groove timber boarding with a small recessed “V” cut along each joint, and it turns a tired caravan ceiling into something that looks lifted straight from a beach cottage.
Paint it matte white and narrow boards, around 65,85mm wide, read as period-correct rather than a hardware store afterthought. The linear lines visually lift low ceilings and suit pale blues, sandy neutrals, and whitewashed trims well.
Plan your wiring and light fittings before you fix a single board, because nobody enjoys dismantling a fresh ceiling two weeks later.
Moisture-resistant board and flexible fixings handle road flex without cracking.
Fitting a Bathroom Without Losing Your Whole Kitchen
Squeezing a bathroom into a caravan without gutting your kitchen comes down to one decision made early: where the bathroom wall lands.
Push it toward one end of the van and your kitchen bench stays continuous, split the middle and you’ll lose pantry space fast.
Corner shower units take less floor space than standard boxes, and bi-fold doors won’t swing into the aisle.
Wall-mounted sinks free up floor area. Seal every edge with PVC panels and vinyl flooring; water migrating into kitchen cabinetry is a slow, expensive problem.
Get the layout right first, then pick the pretty stuff.
Custom Joinery Built From Scratch Inside a Tight Footprint
Before you cut a single panel, measure the actual interior, not what the specs say it should be.
Older caravans have curved walls, tapered ends, and floors that slope in directions nobody planned for. Your square cabinet won’t survive contact with reality.
Build your carcasses from 12mm plywood using dado joinery, where you cut a channel in one panel so another slots directly in.
It’s faster than nailing and far stronger. Set back panels into a rabbet to lock the box square during glue-up.
Modular carcasses beat one oversized unit every time. Smaller boxes install easier, adjust better, and won’t trap you when something needs fixing.