
Your hall has two fans and zero visual logic, and that’s a fixable problem.
A POP ceiling gives you a framework to make both fans look intentional instead of randomly bolted up. Most awkward halls share the same three layout mistakes and this guide covers all of them.
Stick around, because the fix for off-center fans alone is worth knowing.
Why Two-Fan Halls Feel Awkward Without a POP Plan
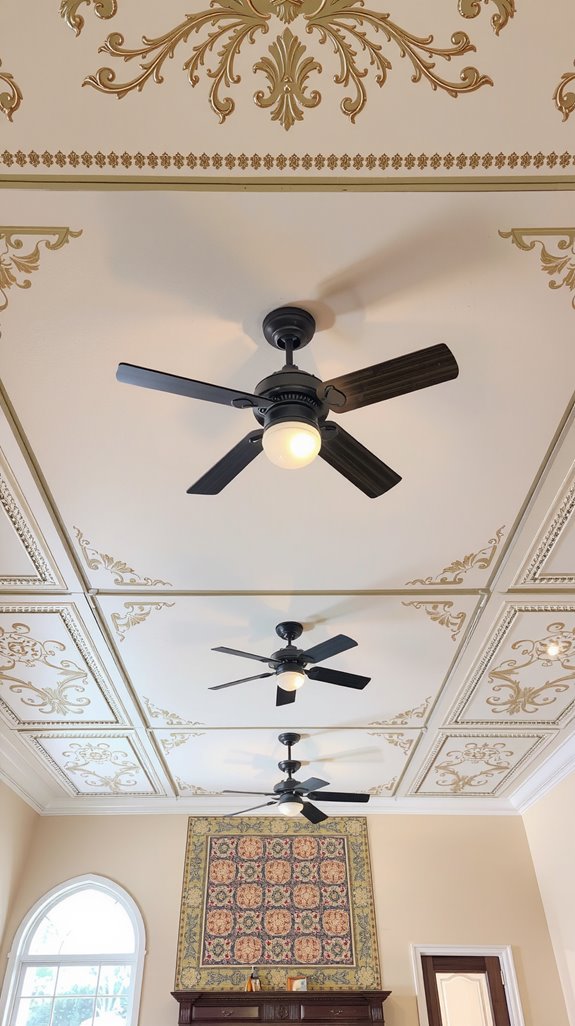
When a hall has two ceiling fans and no POP plan, POP stands for Plaster of Paris, the false ceiling framework that ties a room’s design together. The ceiling tends to look like two appliances sharing a slab rather than one composed space.
Your eye bounces between both fans, finding no anchor. In a rectangular hall, that doubling actually stretches the room visually, pushing the tunnel effect harder.
Seating, lighting, and decor start feeling disconnected because nothing above them creates a unified zone. Two fans without a ceiling plan basically turns your hall into a corridor with better airflow. A shallow gypsum spine running lengthwise can anchor both fans and conceal wiring while restoring visual order to the ceiling.
Space Both Fans Correctly Before Designing Any POP Layout
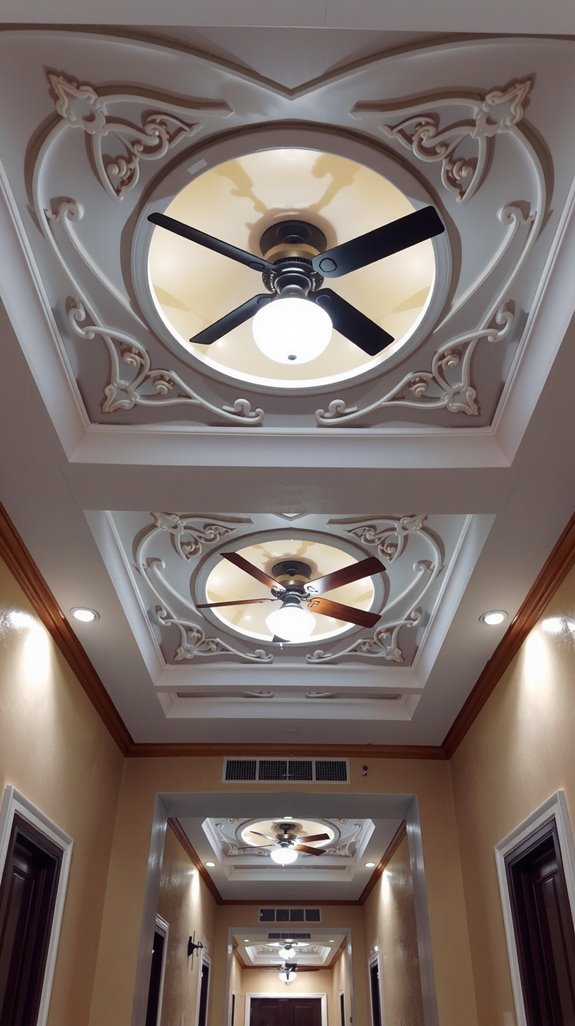
The awkward two-fan ceiling doesn’t start with the POP design; it starts with where you put the fans. Space fan centers at least 2.4, 3 meters apart in a standard hall.
Keep blade tips 60 cm clear of walls, beams, or any POP drop. That’s not decoration; that’s airflow physics.
Once you’ve locked those two center points, you’ve fundamentally drawn your POP zones for free. The ceiling layout follows the fans, not the other way around.
Fix the fan positions first on paper, then let your POP channels, coffers, and lighting grids organize themselves around those two points. For most halls, 44–48 inch compact fans running together at low speeds will move air more comfortably than one oversized unit trying to cover the entire span.
POP Profiles That Preserve Height in Low-Ceiling Two-Fan Halls
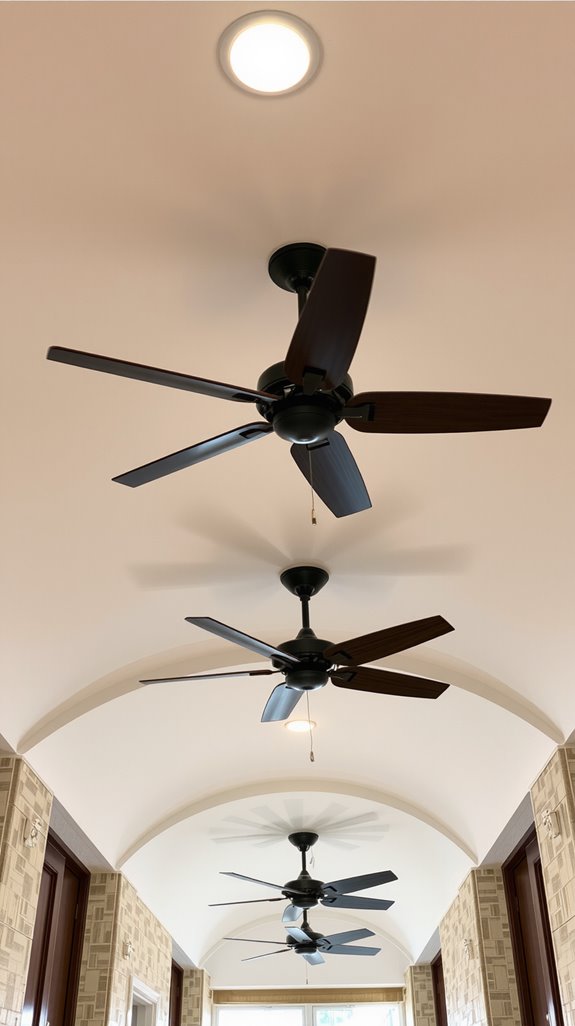
Low ceilings punish bad POP decisions fast.
Keep your perimeter tray shallow, 2 to 3 inches deep, 12 to 18 inches wide, so the central field stays open above both fans.
Run a continuous L-shaped molding at the tray edge to pull your eye outward instead of downward.
Around each fan, keep the flat POP panel at zero to one inch of drop, cutting clean openings for concealed metal fan boxes.
Skip heavy beams between fans.
Instead, run a single narrow band, 4 to 8 inches wide, with a knife-edge profile that floats without stealing clearance. Gypsum boards are lightweight and easy to install, making them ideal for achieving this slim profile without adding unnecessary load to a low ceiling.
Parallel POP Coffers That Kill the Tunnel Effect
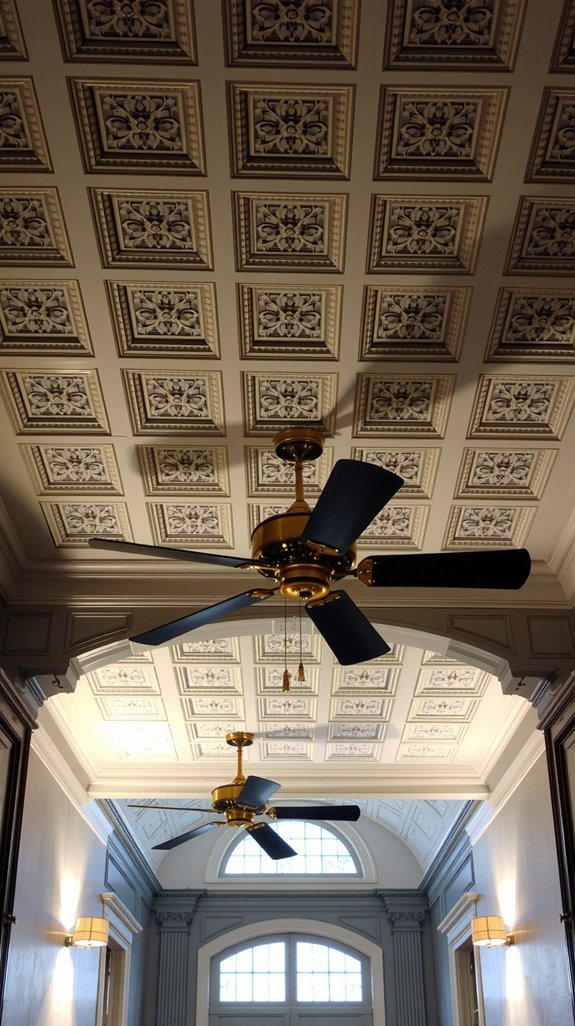
Solving low-ceiling fan clearance is only half the job. Once your fans have breathing room, you still need to stop the hall from looking like a hallway to nowhere.
Parallel POP coffers running crosswise, short side along the hall’s length, break that locked-in vanishing point your walls and floor keep creating.
Keep each coffer band 400,600 mm wide with flat ceiling strips between them. Place each fan centered inside its own coffer bay, visually splitting the hall into two zones. Much like Cooper pairs exhibit a zero bias conductance peak, the visual energy of your layout concentrates at center points when elements are symmetrically anchored within defined zones.
That one move alone kills the tunnel read without touching a single wall.
Mask Off-Center Beams With a Continuous POP Spine
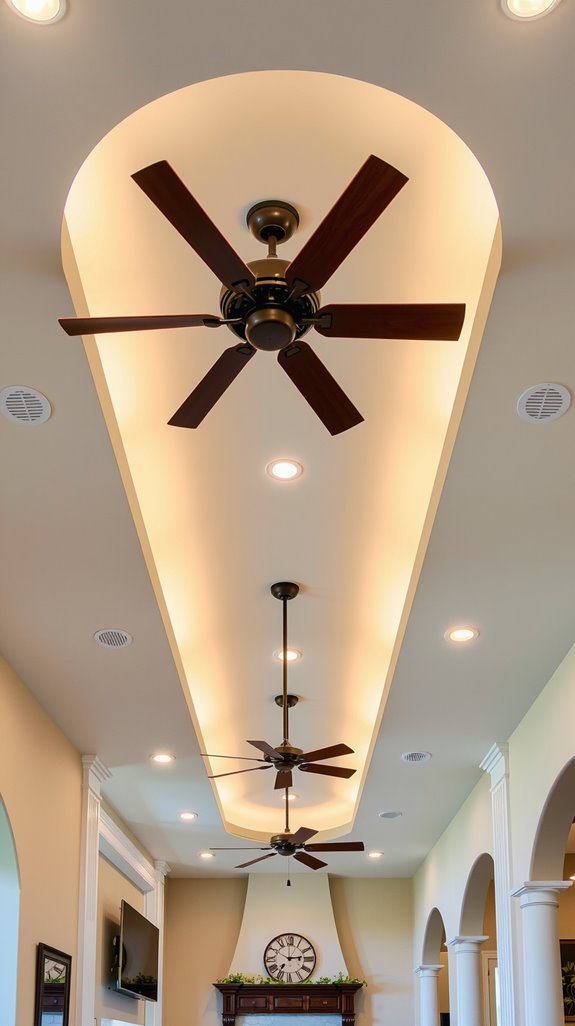
When a structural beam refuses to sit where you’d actually want it, a continuous POP spine turns that problem into a deliberate design move. You align the spine to the actual beam line instead of the room’s center.
Box the beam inside a 600–900 mm wide POP band, and suddenly it looks intentional. Build the spine 50–125 mm deep.
Add continuous grooves along both edges to pull the eye along the length rather than toward the offset. Your brain reads symmetry. The beam reads like a design choice.
Nobody notices the awkward truth hiding underneath.
How Stepped POP Levels Handle Uneven Ceiling Heights
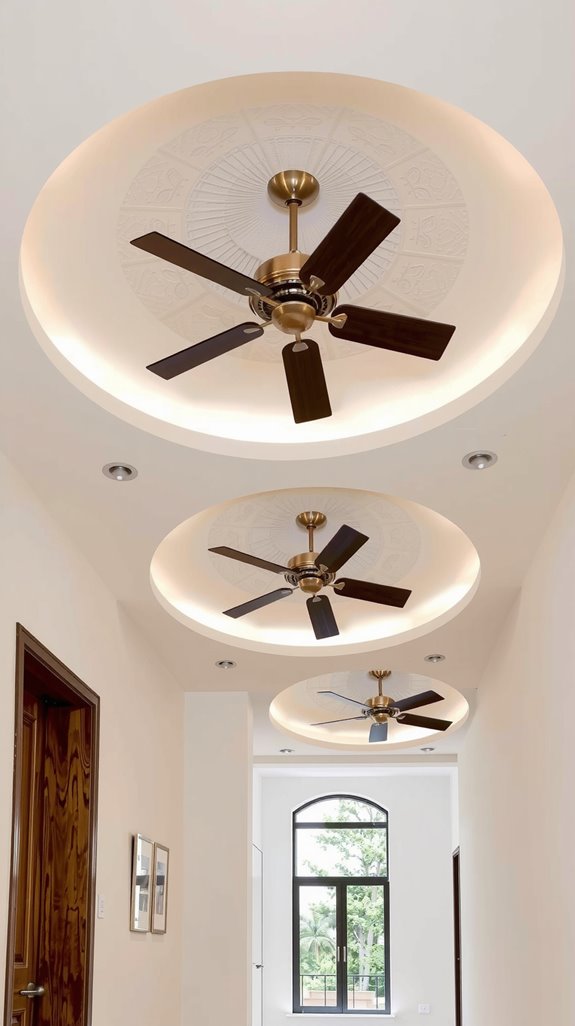
Uneven RCC slab levels in a hall aren’t a flaw you hide, they’re a geometry problem you solve with stepped POP ceilings. Each step, typically 100–200 mm deep, creates a controlled drop that aligns with existing beams or lintels instead of fighting them.
You’re fundamentally building a reference datum around the perimeter, then stepping up or down in measured increments across the plan. Symmetrically spaced steps distribute height changes gradually so no single corner announces the slab’s awkwardness loudly.
The result reads as deliberate design articulation, not a contractor’s apology rendered in plaster. Incorporating a geometric wood ceiling style within one of the stepped levels adds visual texture that reinforces the intentionality of each height transition.
L-Shaped Halls Need Two Separate POP Fields, Not One
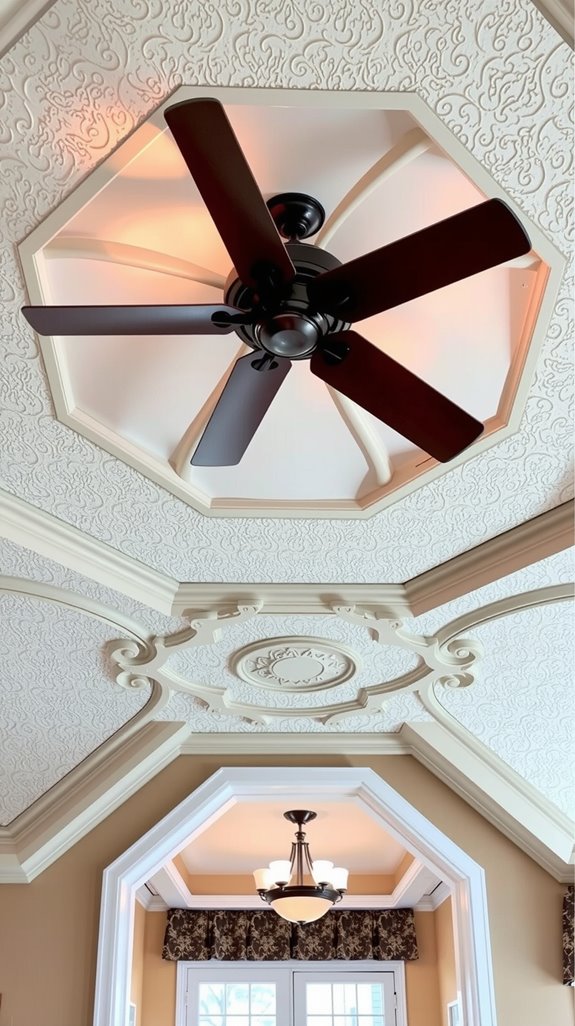
An L-shaped hall is really two rooms pretending to share a ceiling, and treating it like one continuous POP plane is where most ceiling layouts go wrong.
One big tray forces a single fan to serve both legs, which creates dead airflow zones and puts the fan off-center in at least one direction.
Two separate POP fields fix this immediately. Each field gets its own fan, centered properly over its seating cluster or activity zone.
Match the field size to each leg’s actual dimensions, keep the edge profiles consistent, and both sides still read as one connected space.
Light Each Fan Zone for Aging Eyes, Not Just Aesthetics
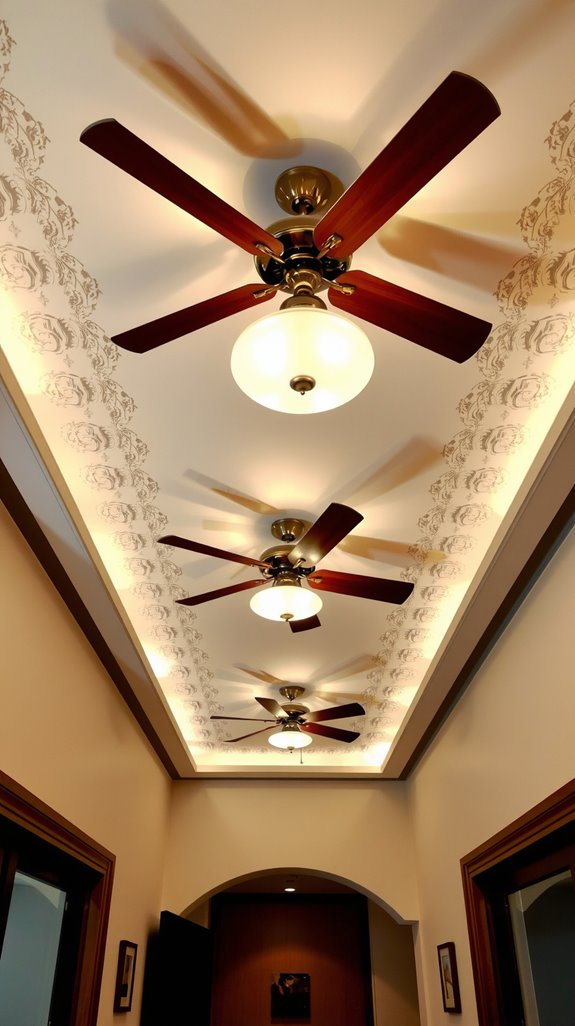
Most residential ceiling lighting is designed for people with 30-year-old eyes, and your aging relatives aren’t getting that deal.
Standard rooms run 200,300 lux. Senior spaces need 600,800 lux at floor level, roughly three times that. Each fan zone gets two layers: ambient light filling the whole field, plus task lighting at 1,000,1,500 lux over the reading chair or puzzle table.
Skip bare bulbs and shiny trim. Use frosted lenses or matte diffusers. Hallways between fans need at least 300 lux minimum.
Sharp brightness jumps between zones cause disorientation so keep shifts gradual.
Airflow-Friendly POP Designs That Don’t Choke Your Fans
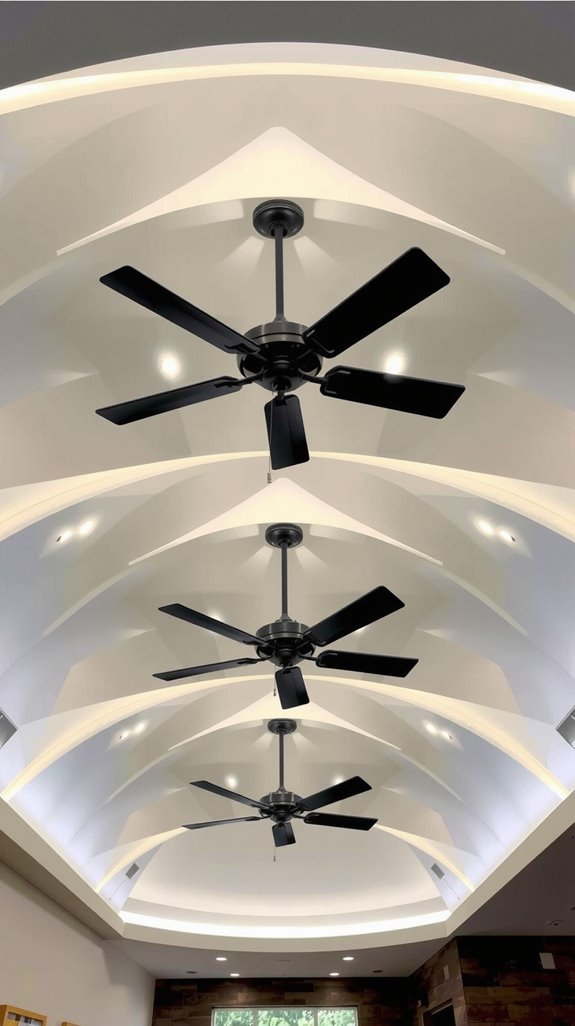
Decorative POP ceilings and ceiling fans don’t always get along, but the fix is mostly geometry. Keep your POP drop under 150 mm in the fan zone, or you’re practically giving your fan a hat that’s two sizes too small.
Deep coffers over 200 mm belong between fans, not directly above them. Run step-down borders around the room perimeter only leaving the center flat so both fans pull air evenly.
Route wiring channels outside the blade sweep circle entirely. A continuous POP tray sloping gently toward walls actually guides airflow downward, turning decoration into function.
POP Paint and Finish Choices for Narrow Two-Fan Halls
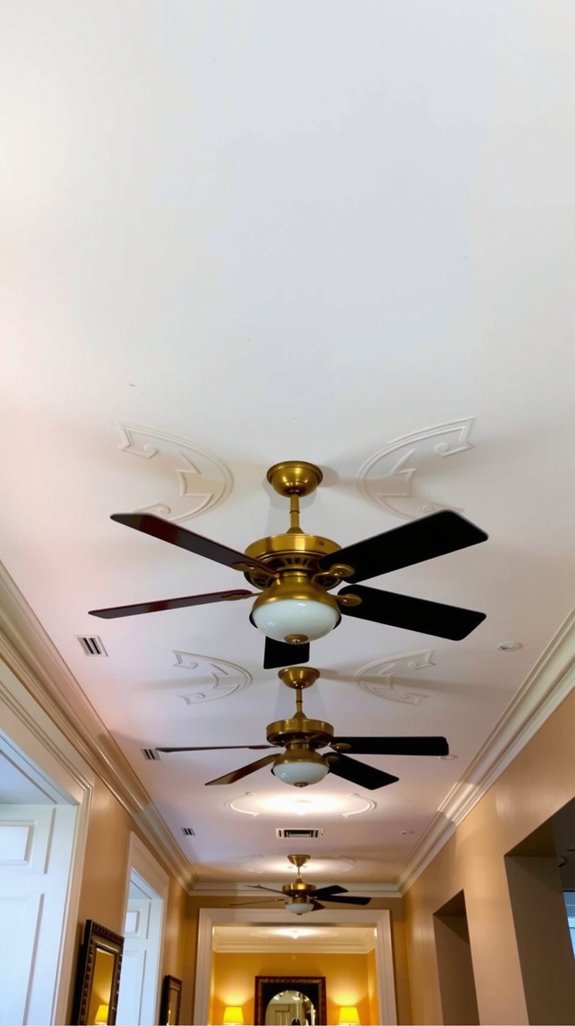
Once you’ve sorted the fan clearances and layout geometry, paint becomes the easiest lever you still have to pull.
Stick with white, off-white, or pale greige; light colors bounce illumination around and shrink that corridor feeling. Use matte or eggshell sheen on POP surfaces; flat hides hairline cracks better than satin, and gloss highlights every patch like a spotlight on bad decisions.
Keep the ceiling color consistent across both fan zones so the layout reads clean. A slightly warm white also prevents that clinical, dentist-waiting-room effect under cool LED downlights.
Plan Access Panels Now or Regret Fan Repairs Later
Seal that POP ceiling without an access panel and you’ve basically gift-wrapped a future demolition job for yourself.
Fan junction boxes, capacitor units, and brace hardware all hide inside ceiling voids once POP mouldings close up. A 12″×12″ recessed ABS panel sits nearly flush, paints to match gypsum finish, and costs almost nothing now.
Place it 12, 18 inches off each fan canopy, aligned with the joist bay. Magnetic friction-fit versions need zero tools to open.
Local codes often require accessible junction boxes anyway, so skipping panels risks violations. Plan two panels per hall and future-you will be grateful.
Align Furniture With POP Fan Zones to Maximize Airflow
Where you drop the sofa matters as much as where you hang the fan. Fans should center over seating, not over the geometric middle of the room. That distinction saves you from cooling empty floor space while grandma sweats on the couch.
In elongated halls, arrange furniture in parallel groupings that mirror the fan layout. Each seating cluster gets its own fan zone.
Keep tall chair backs and heavy cabinetry outside a 24, 30 inch radius around each fan. Open spacing underneath moves air efficiently.
Temporary placement testing before final installation confirms your furniture, lighting, and fan zones actually cooperate.