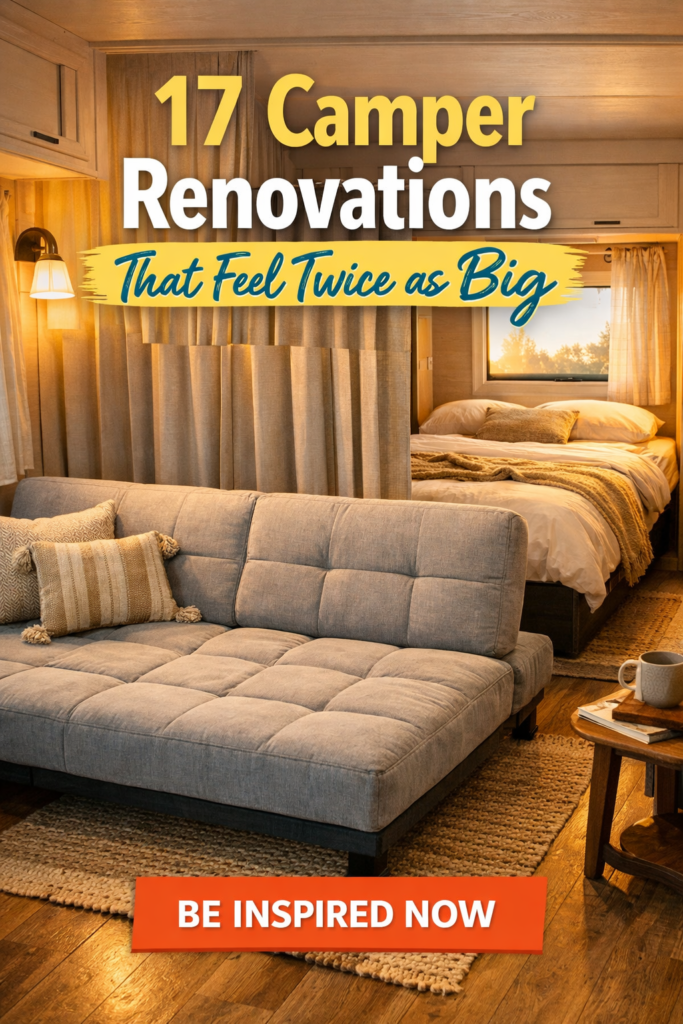
When I first started looking at camper renovations, I kept noticing the same thing over and over again: people weren’t adding square footage — they were rethinking how their space worked.
Some of the most impressive before-and-after camper makeovers I’ve seen didn’t involve major construction at all. Instead, they focused on layout changes, lighter visual choices, and smarter use of what was already there.
What amazed me most was how much bigger these campers felt once unnecessary elements were removed and the layout was allowed to breathe.
These transformations are proof that a small space doesn’t have to feel cramped — sometimes it just needs a more thoughtful approach.
What made these transformations possible wasn’t just creativity—it was understanding the specific principles that turn tight spaces into functional homes.
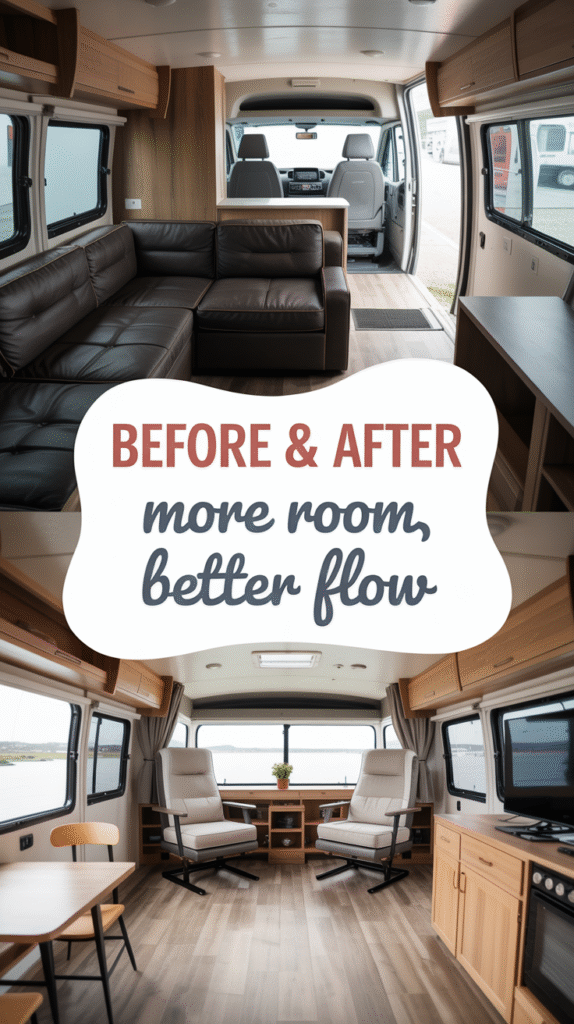
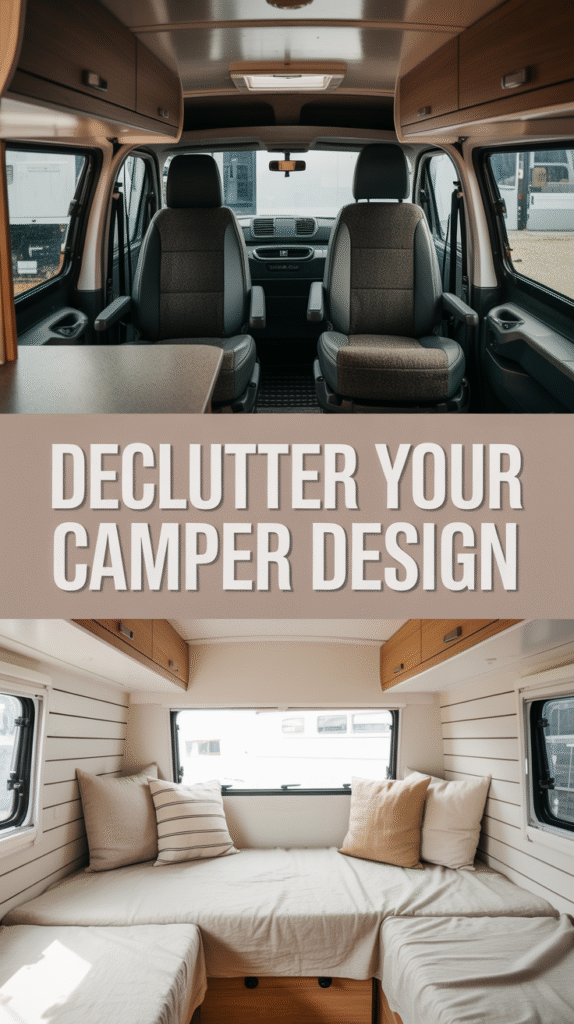
Removing the Bulky Sofa to Improve Room Flow
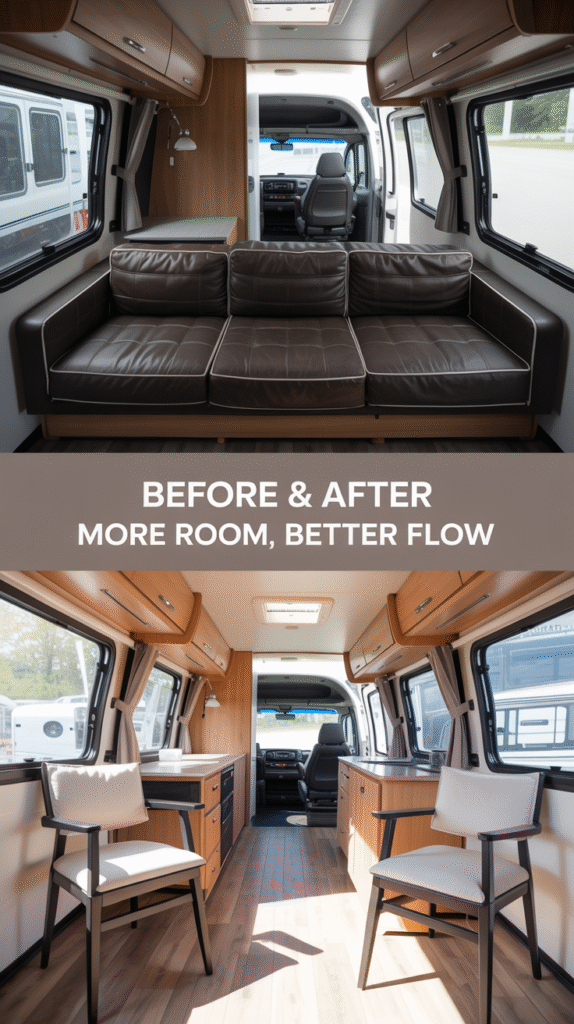
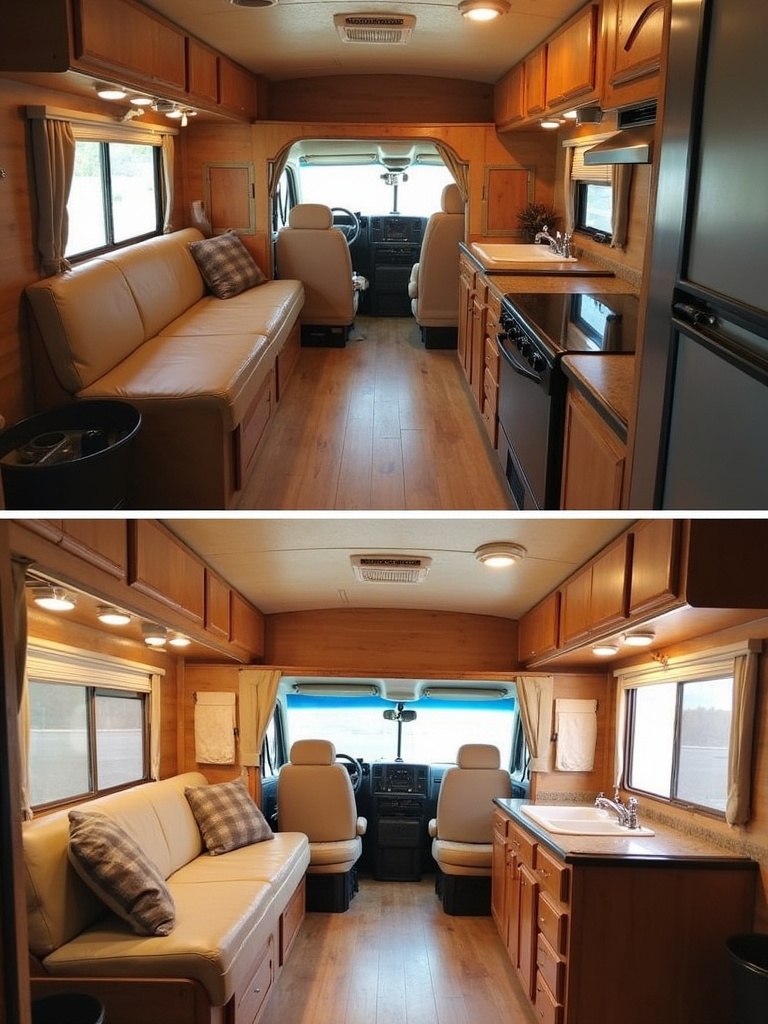
One of the most common changes I noticed in these camper renovations was the decision to remove the oversized factory sofa.
I used to assume that couch was essential, but seeing so many owners let it go completely changed my perspective. Once it was gone, the entire camper felt more open and flexible, almost like the room finally had permission to function differently.
Without that bulky piece dominating the layout, the space suddenly worked harder — whether that meant room for a small workspace, flexible seating, or simply a clearer walking path.
It’s a great example of how subtracting one element can make everything else feel more intentional and spacious.
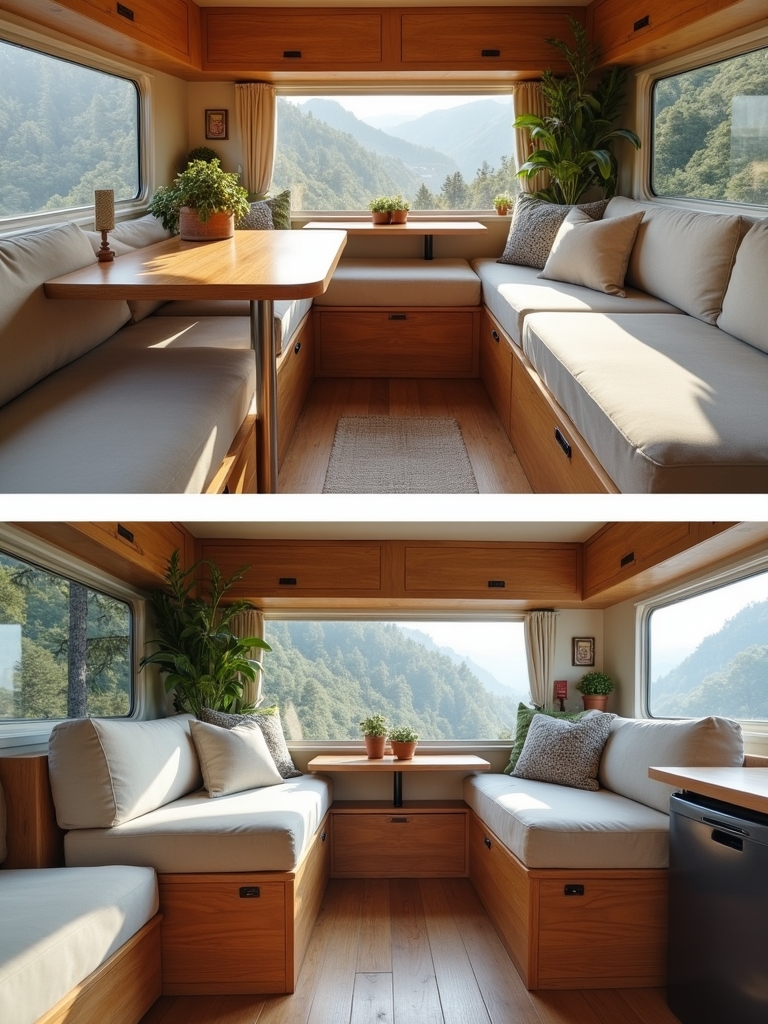
Relocating Banquette Seating to Open Up the Layout
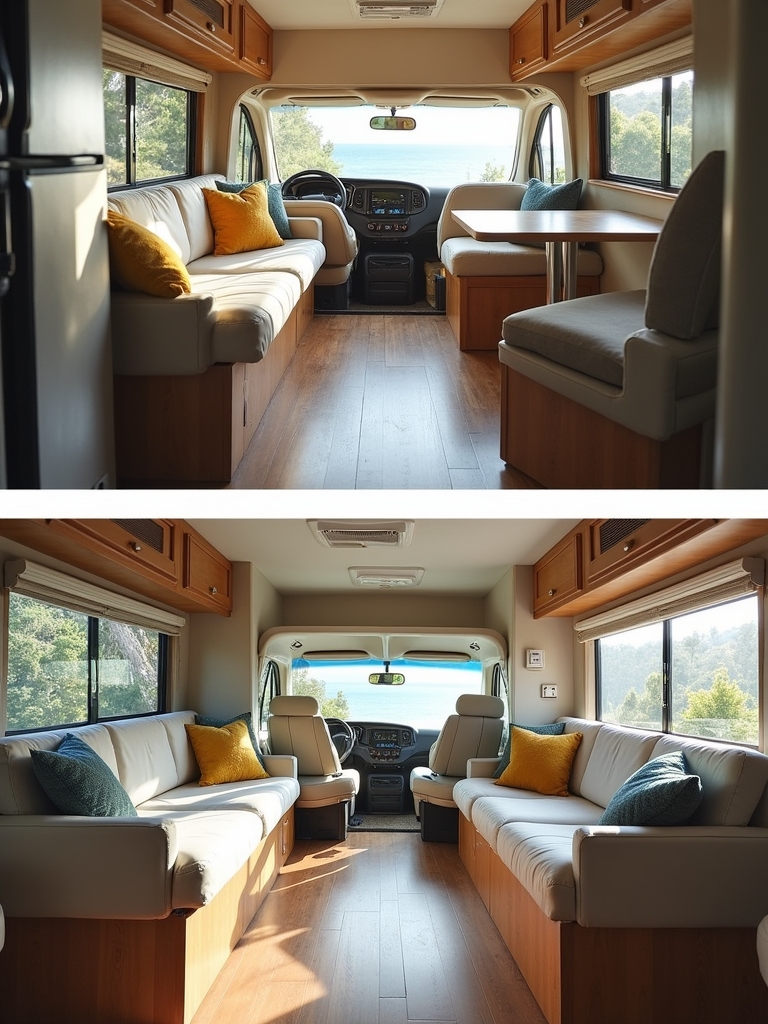
Another change I kept seeing in these camper makeovers was a shift in where the banquette seating lived.
In so many original layouts, it felt tucked into an awkward corner or pushed into a space that interrupted the natural flow of the room.
Once it was repositioned, the entire camper instantly felt more balanced and intentional.
What surprised me most was how something as simple as moving seating along a main wall made the space feel less like a narrow hallway and more like an actual room.
The walking path became clearer, the layout felt calmer, and the camper suddenly worked with the space instead of against it.
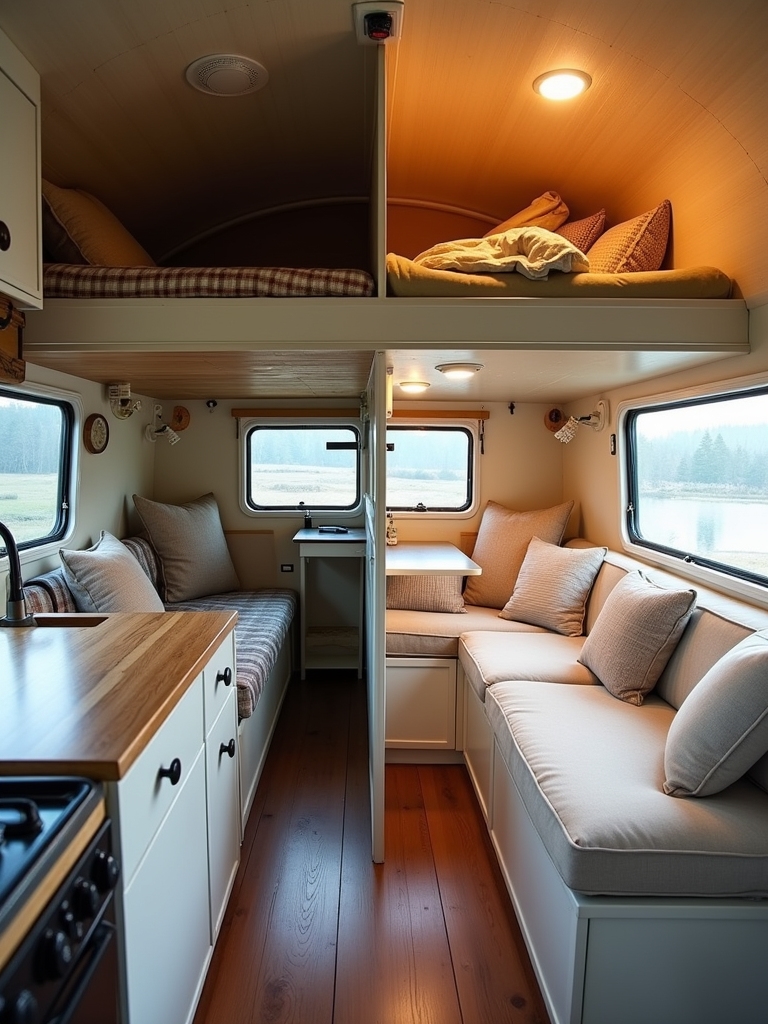
Using Flexible Screens to Create Privacy Without Closing In the Space
Privacy is always tricky in a camper, especially when you’re sharing the space with family or guests.
One solution I kept noticing — and honestly fell in love with — was the use of flexible screens instead of permanent walls or heavy dividers. They offered separation when it was needed without making the camper feel boxed in.
What I love about this approach is how adaptable it feels. The space can shift throughout the day, opening up when everyone’s together and gently dividing when quiet or rest is needed.
It’s one of those ideas that proves you don’t need solid walls to create comfort — just thoughtful design that respects how people and family actually live in small spaces.
Swapping Fixed Seating for Multi-Purpose Sleeping Solutions
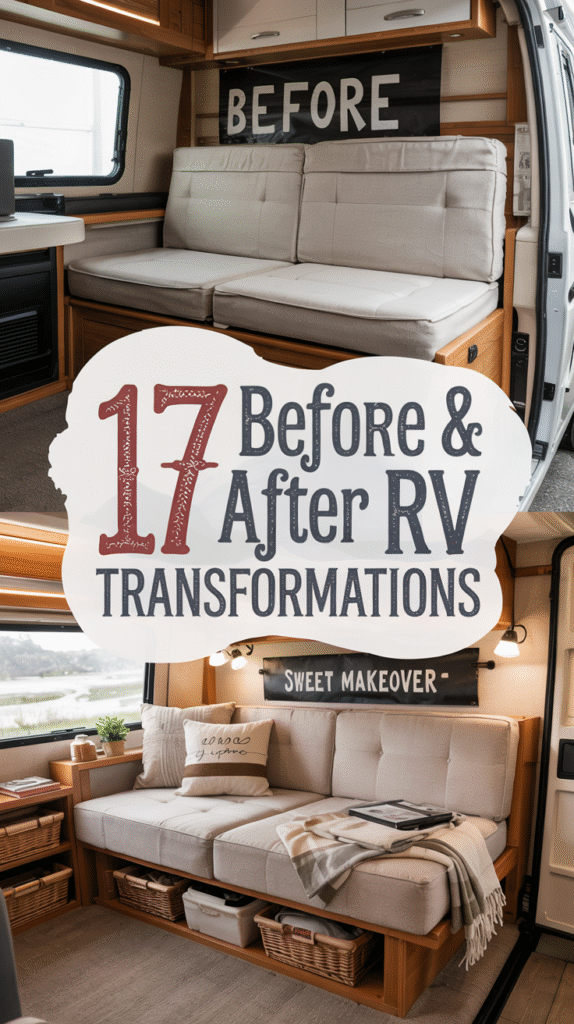
One trend that really stood out to me in these camper transformations was the move away from fixed seating in favor of pieces that could serve more than one purpose.
Instead of dedicating precious space to furniture that only worked one way, many owners chose flexible sleeping options that adapted to different parts of the day.
What I loved about this approach was how effortlessly the space changed depending on what was happening — lounging during the day, resting at night, and opening back up again when needed.
It made the camper feel far more livable and far less locked into a single layout, which is exactly what small spaces need.
Adding Slide-Away Tables to Keep the Floor Area Clear
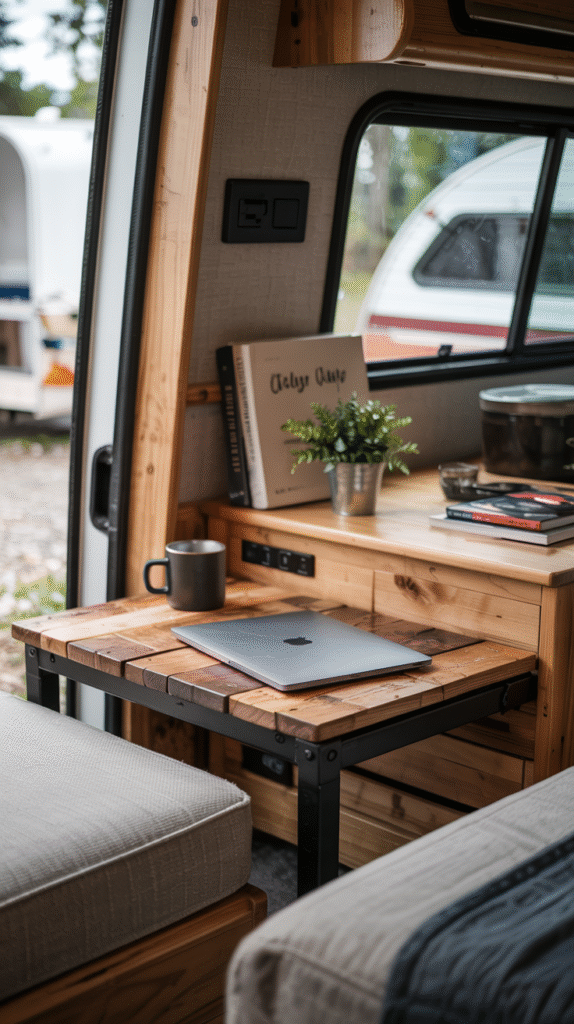
Another clever idea I kept noticing was the use of slide-away tables that stayed tucked out of sight until they were actually needed. Instead of permanent surfaces taking up room around the clock, these tables appeared only when it made sense — for meals, work, or quick prep — and then disappeared again.
That kind of flexibility completely changed how open the camper felt. With fewer obstacles at floor level, the space felt lighter and easier to move through. It’s a great reminder that in a small camper, surfaces don’t have to be visible all the time to be useful.
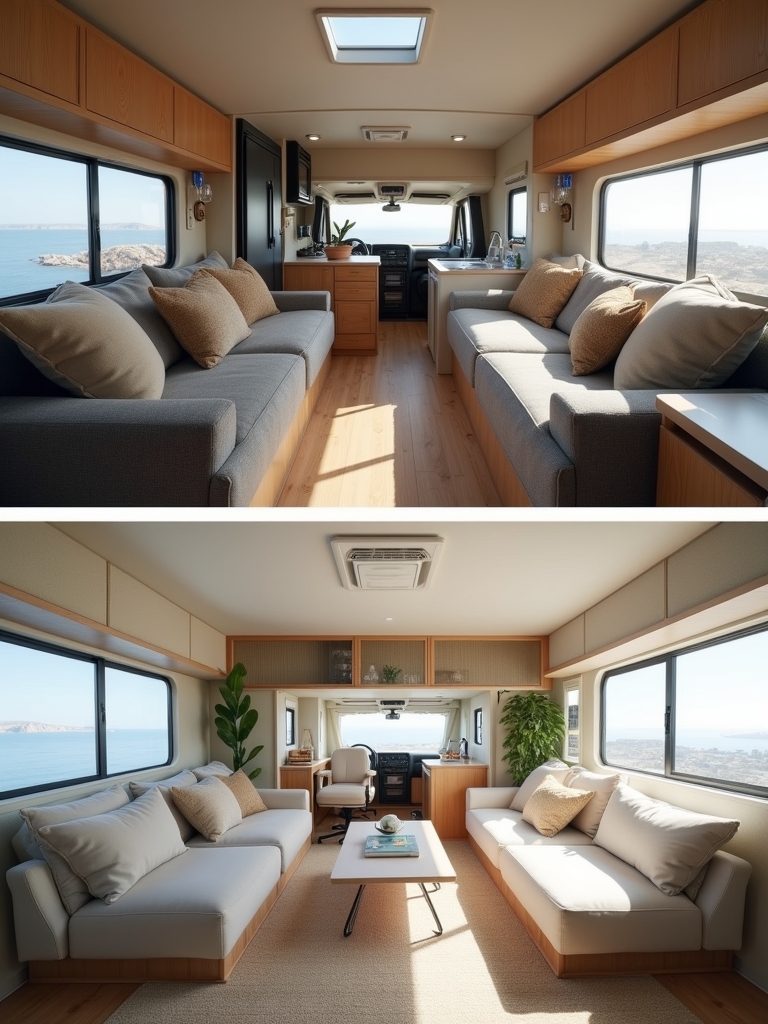
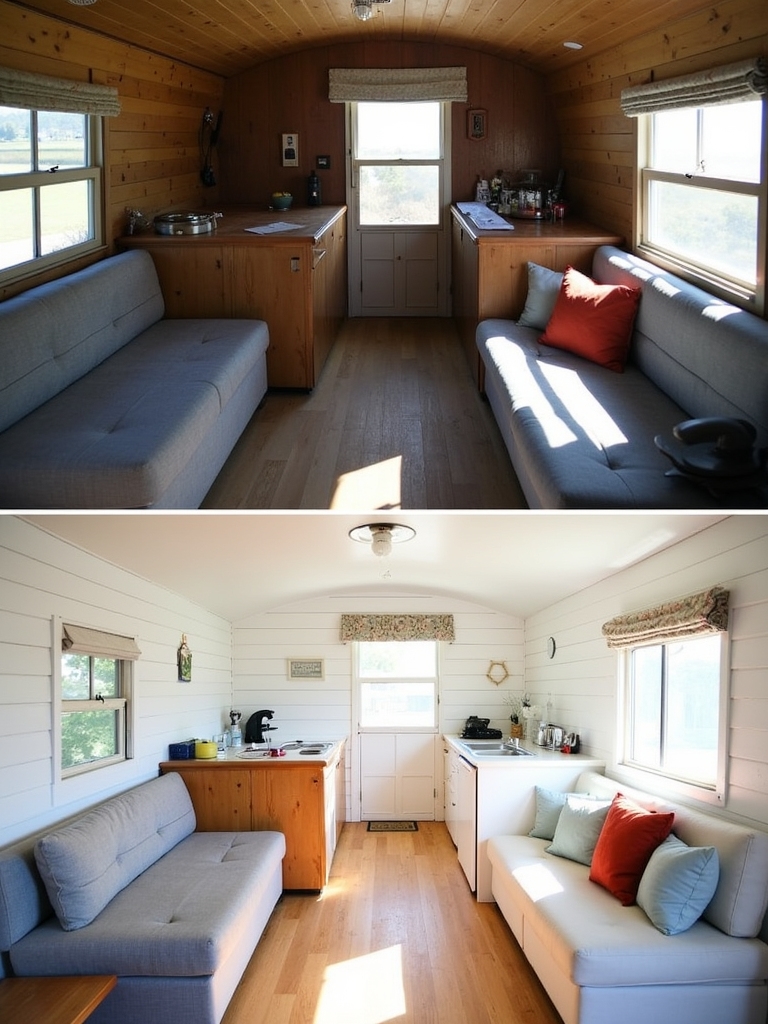
Simplifying Upholstery for a Lighter, More Open Feel
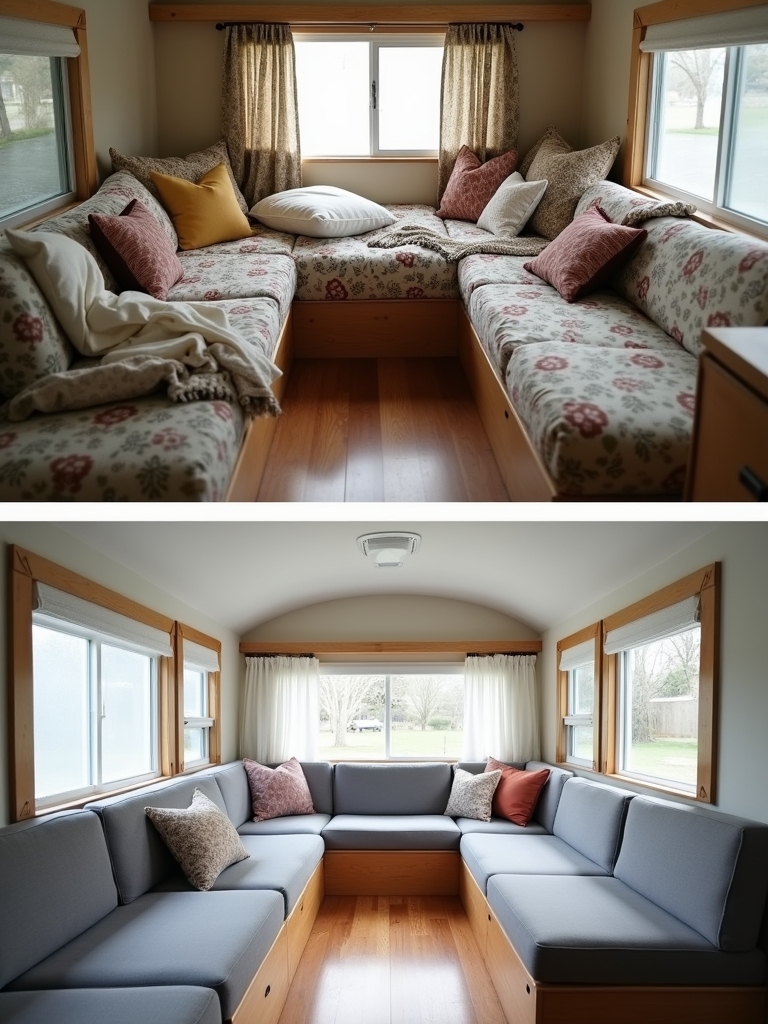
As I kept scrolling through these camper before-and-after photos, one thing became really clear: less upholstery made a huge difference.
Thick cushions, padded walls, and heavy fabrics may feel cozy at first, but in a small space they can visually weigh everything down. When those extra layers were pared back, the entire camper instantly felt calmer and more breathable.
What I loved most was how this shift allowed the remaining textures to stand out more.
I followed the minimalist design principles – fewer bulky elements competing for attention, the space felt cleaner, brighter, and far more intentional — proof that simplifying can be just as impactful as adding something new.
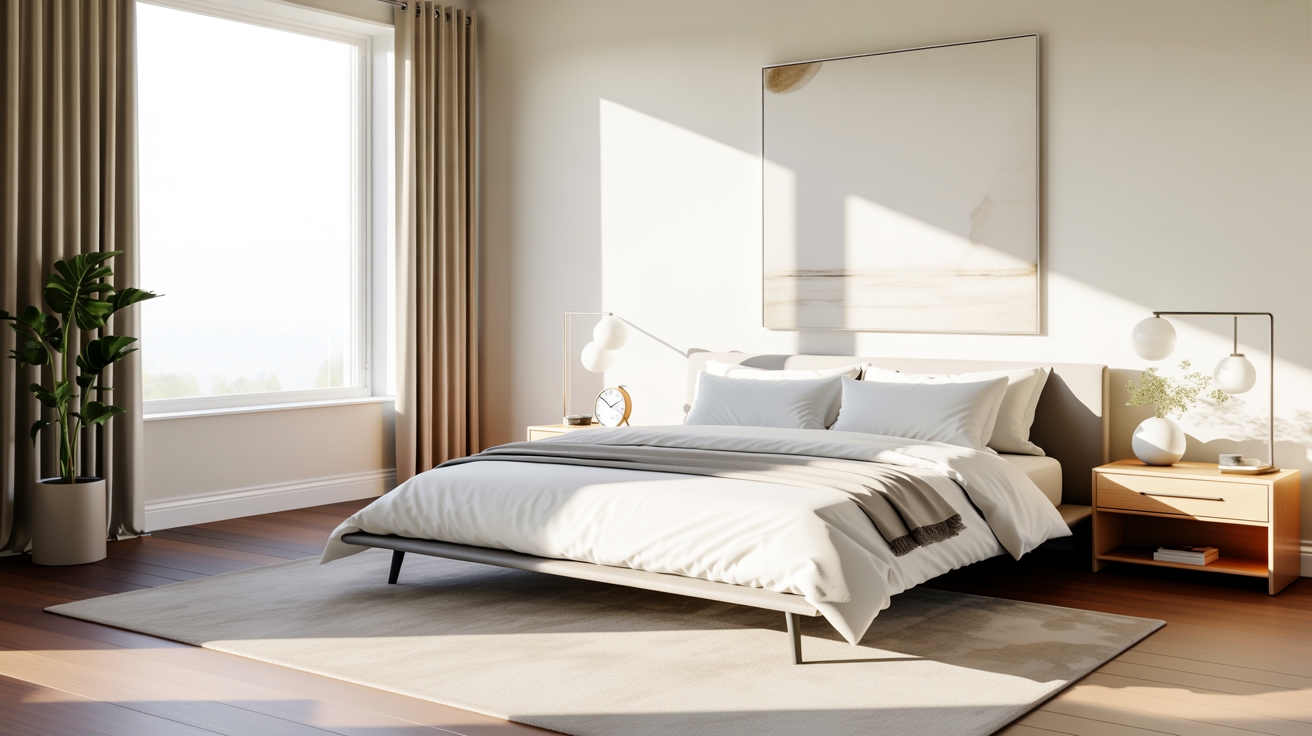
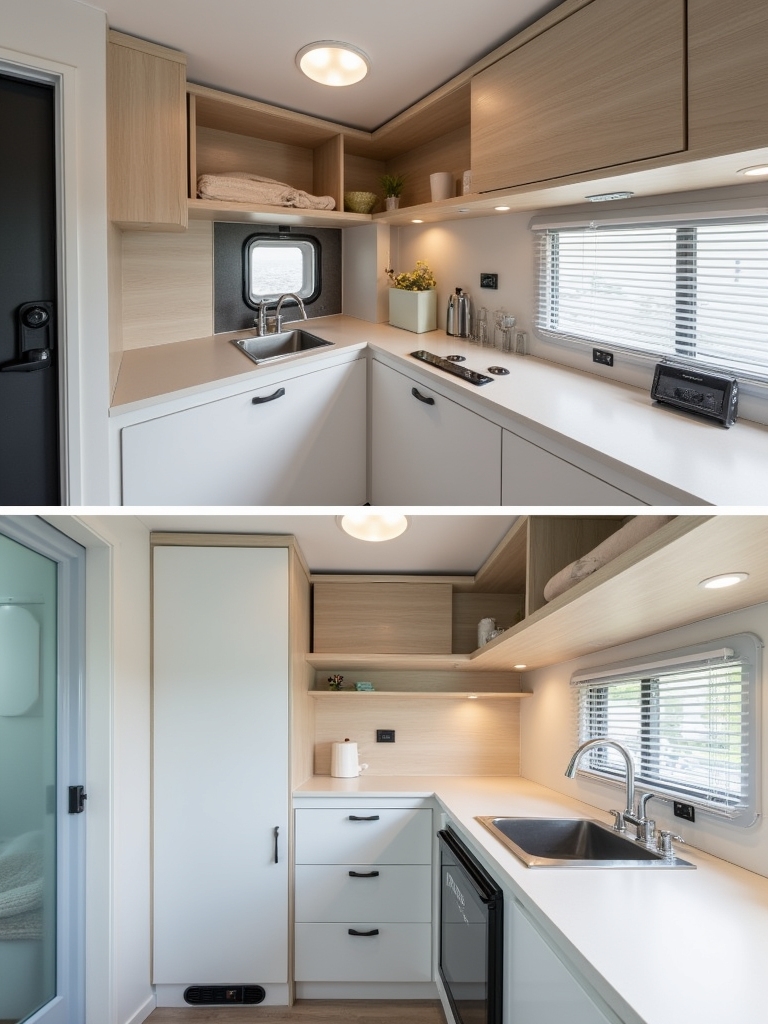
Using Bright, Light-Colored Surfaces to Reflect More Light

Another consistent theme I noticed was how much brighter these campers felt once light-colored surfaces took center stage. Soft whites and pale neutrals showed up again and again, and it was easy to see why.
They helped bounce light around the space, making everything feel more open and airy without changing the footprint at all.
What really worked was how these lighter tones created a sense of continuity. Instead of chopping the camper into visual sections, the color palette allowed the eye to move freely from one area to the next, which made the entire interior feel larger and more cohesive.
Refreshing Small Details for a More Updated Look
Some of the most satisfying transformations came from changes that were surprisingly subtle.
Updating small details — like fixtures, finishes, and surface accents — gave these campers a noticeably fresher feel without overwhelming the space. It was less about dramatic changes and more about thoughtful refinements.
What stood out to me was how these small updates helped the camper feel more current and cared for. When everything worked together visually, the space felt intentional rather than patched together, which made the overall renovation feel polished and complete.
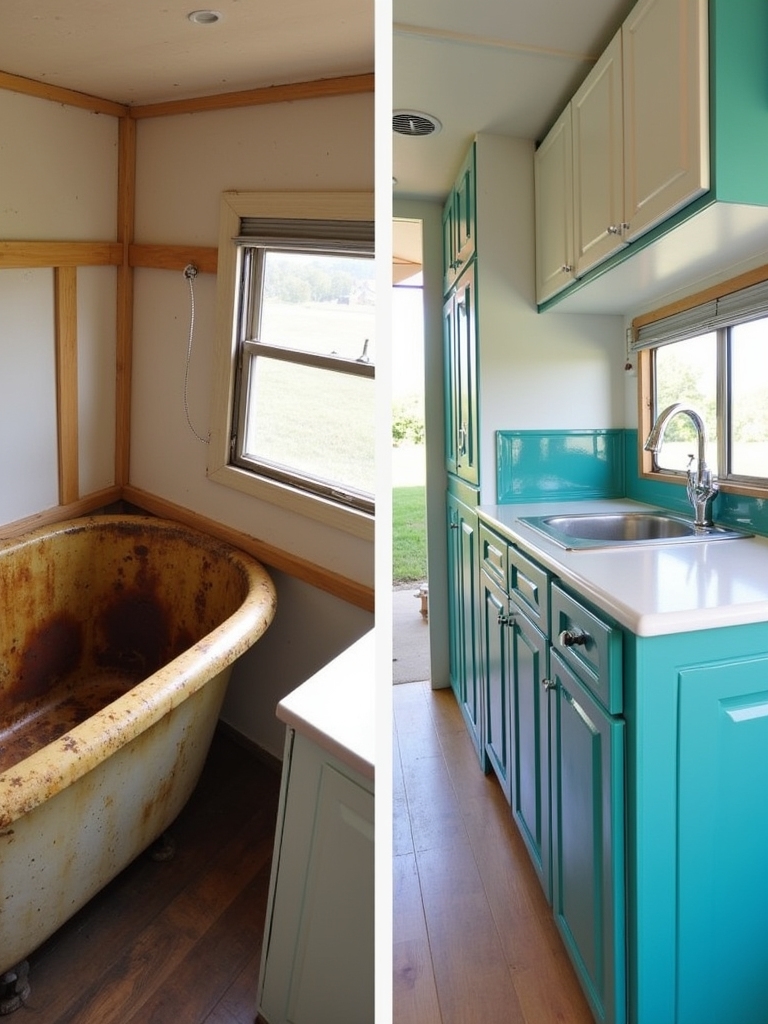
Adding Easy-Install Tile Looks for Instant Style

One of my favorite things to notice in these camper makeovers was how much personality came from simple surface updates.
Tile-inspired backsplashes, especially in kitchens and bathrooms, showed up again and again — and they made such a difference visually. Even a small section added contrast and structure without overwhelming the space.
What worked so well was how these tile looks added polish while still feeling lightweight and approachable, and perfect for a DIY weekend project. They helped define certain areas, like cooking or washing zones, while keeping the overall feel clean and bright.
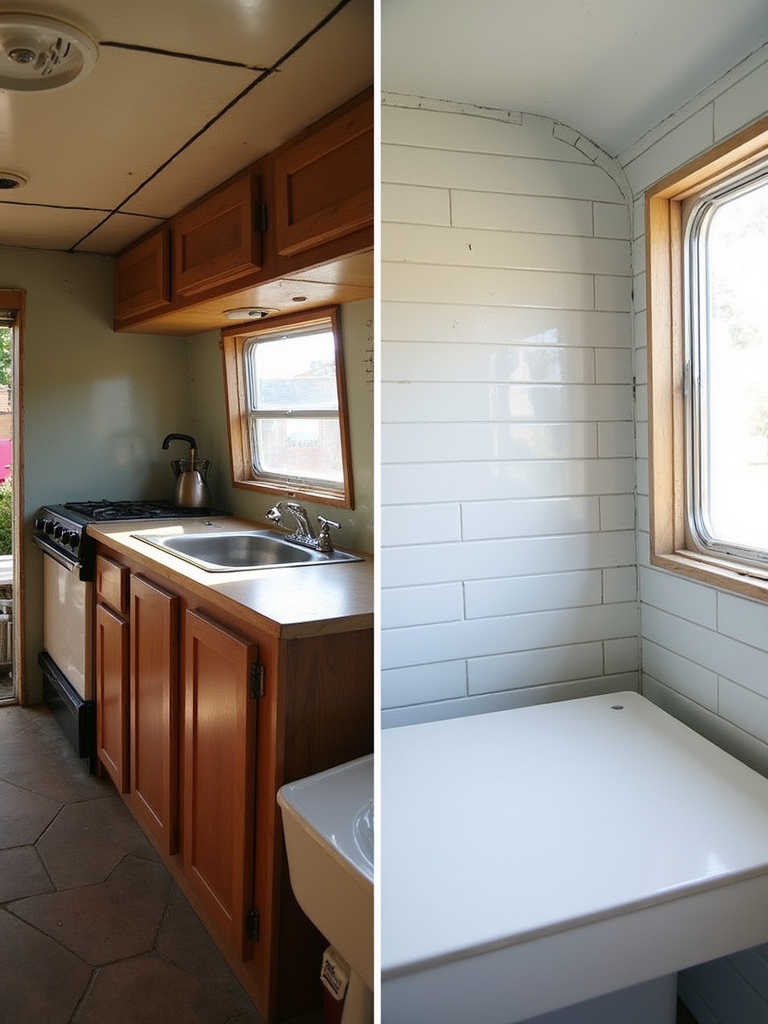
Bringing in Subtle, Shiplap Wall Texture for Character
While light colors helped open things up, texture was what made these campers feel lived-in and warm. I noticed many owners added subtle wall details that gave the space personality without making it feel busy. Thin paneling or soft linear patterns created visual interest while still keeping things calm.
What I loved about this approach was how it struck a balance. The walls felt intentional and styled, but never heavy. It’s a great reminder that texture doesn’t have to be bold to make an impact — sometimes quiet details are what elevate a small space the most.
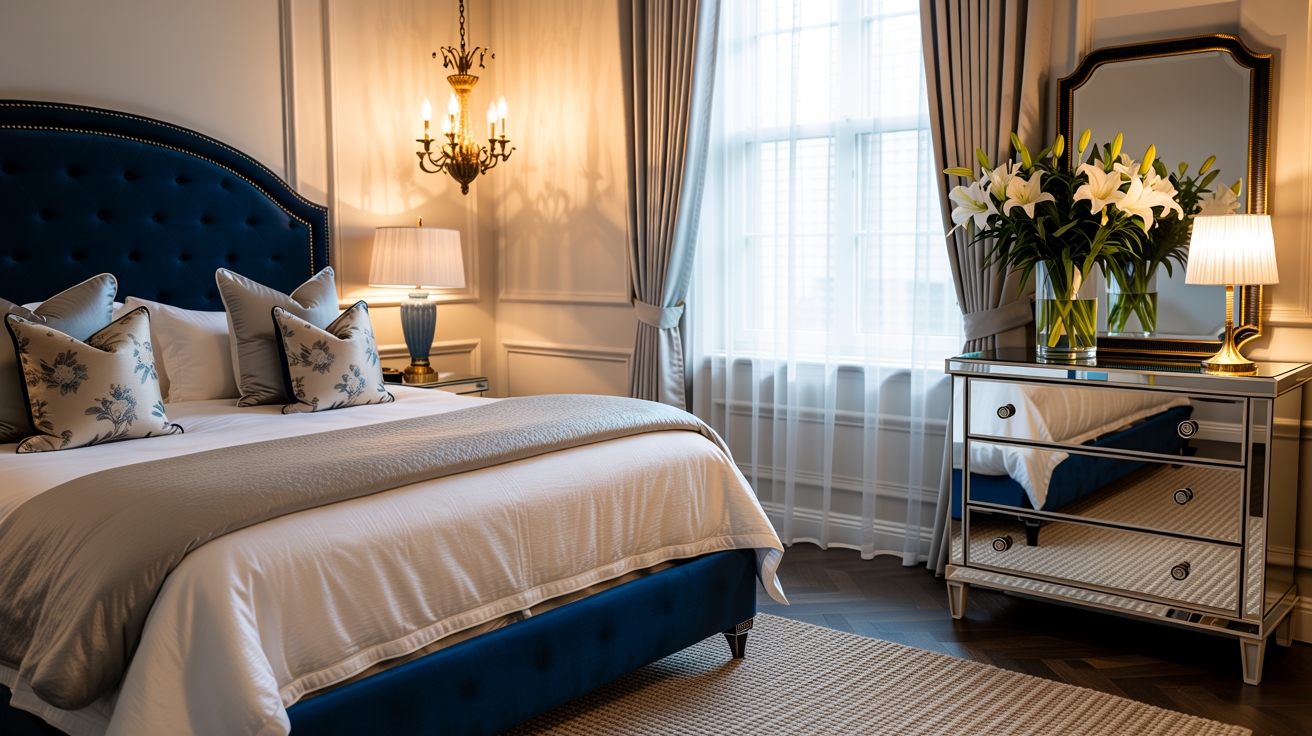
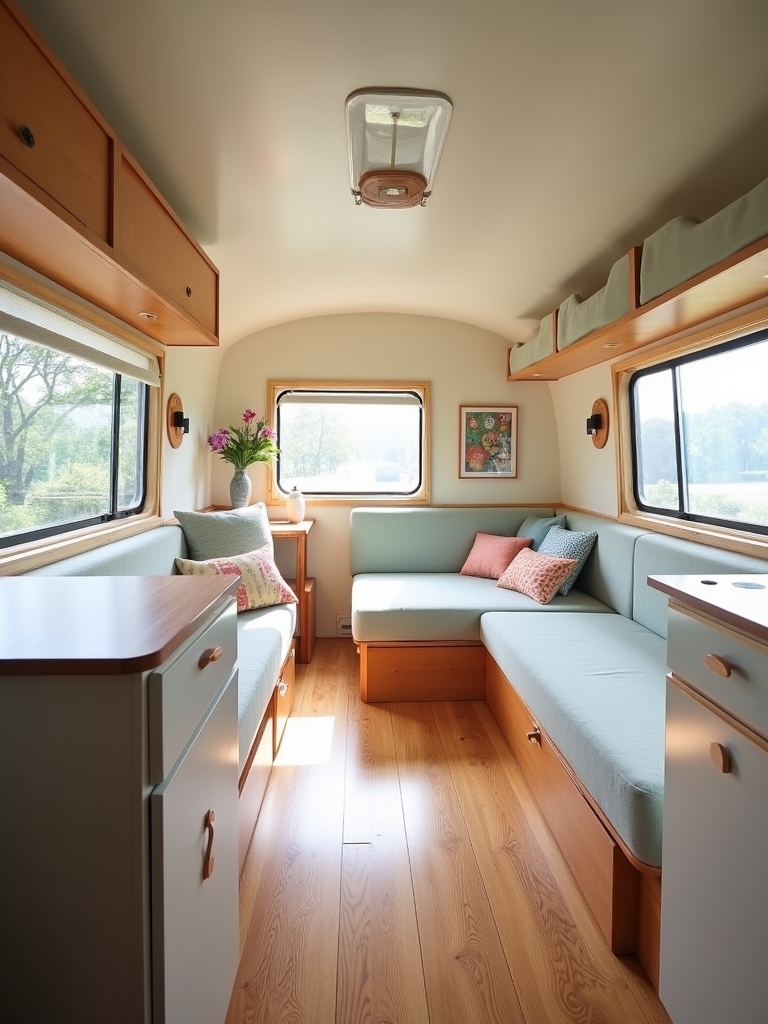
Mixing Light Neutrals to Keep the Space Feeling Airy
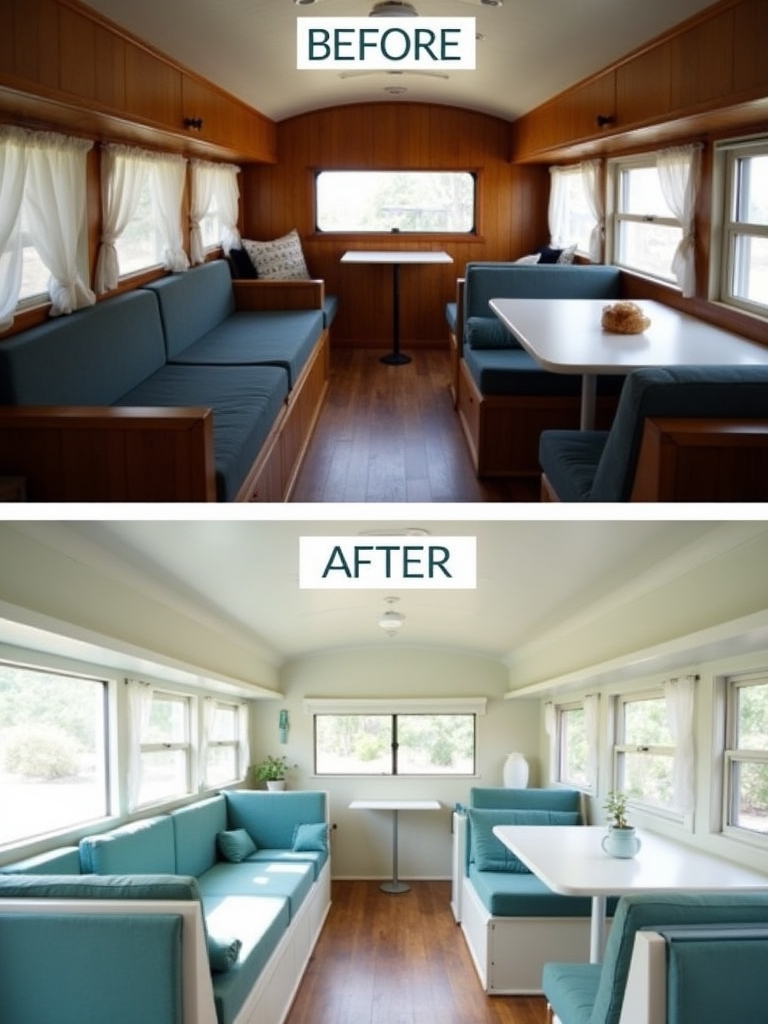
Even with added texture and accents, the most successful renovations stayed grounded in light, neutral tones. Instead of sticking to a single shade, many campers blended soft whites, warm creams, and pale grays to keep things interesting without darkening the space.
This mix made the interiors feel layered rather than flat, while still allowing light to move freely throughout the camper. It created a relaxed, cohesive look that felt both spacious and welcoming — exactly what you want in a small home on wheels.
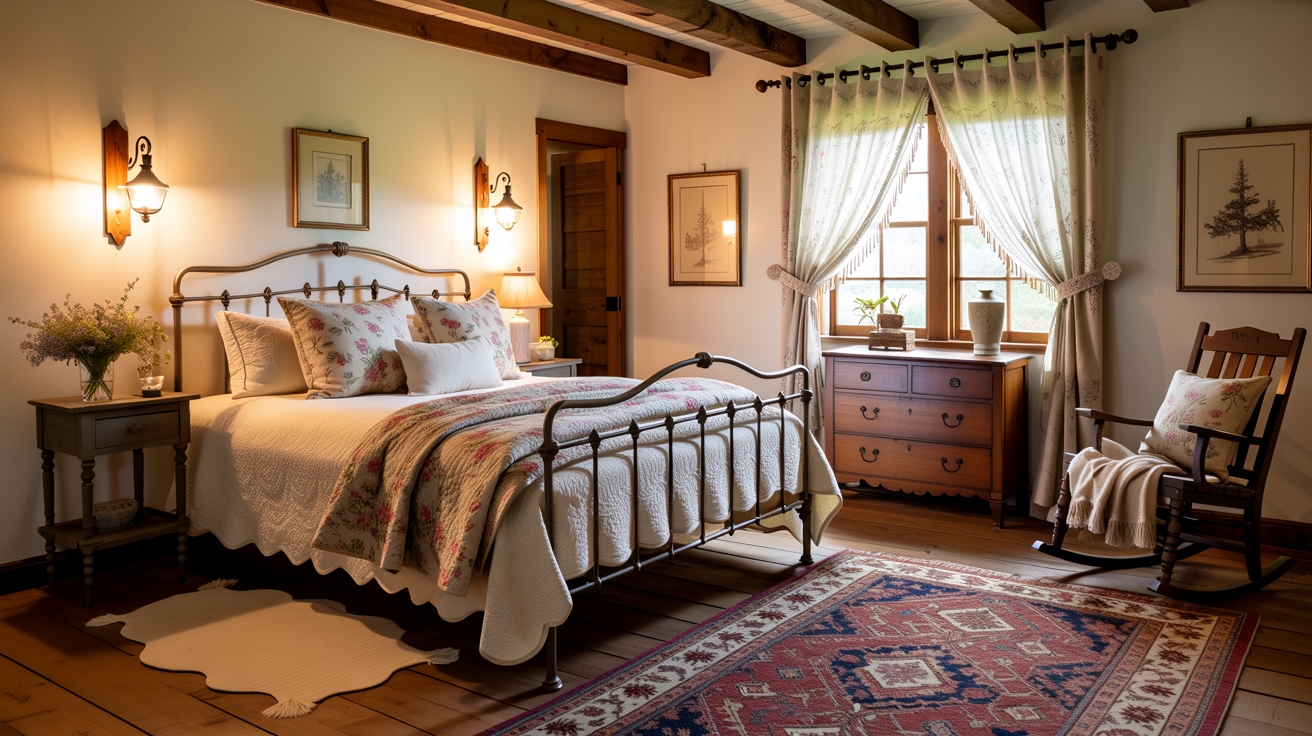
Adding Warm or Rustic Wood Accents to Balance Bright Interiors
After seeing so many bright, light-filled camper interiors, I noticed how often warm wood accents were used to keep the space from feeling too stark. Even small touches of wood completely changed the mood, adding warmth and depth without taking away from that open, airy feeling.
What worked especially well was using wood as a focal point rather than everywhere at once. It grounded the space visually and helped different areas feel defined, making the camper feel cozy without ever feeling crowded.
Updating Counter Surfaces for a More Polished Look
Another change that made a big impact in these renovations was refreshing the counter surfaces. Even when the layout stayed the same, updated countertops instantly made the kitchen and dining areas feel more modern and intentional.
I loved how these new surfaces brought in contrast — pairing lighter walls with slightly richer tones added visual interest without overpowering the space. It was a simple shift that made the camper feel more finished and thoughtfully designed – even a functional, beautiful workspace.
Choosing Durable Flooring That Still Feels Light

Flooring played a huge role in how spacious these campers felt after renovation. Lighter floor tones showed up again and again, helping the interiors feel more continuous from front to back. Without dark breaks or heavy patterns, the space felt calmer and easier on the eyes.
What stood out to me was how a clean, consistent floor visually stretched the camper, making it feel longer and more open. It’s one of those foundational elements that quietly supports everything else.
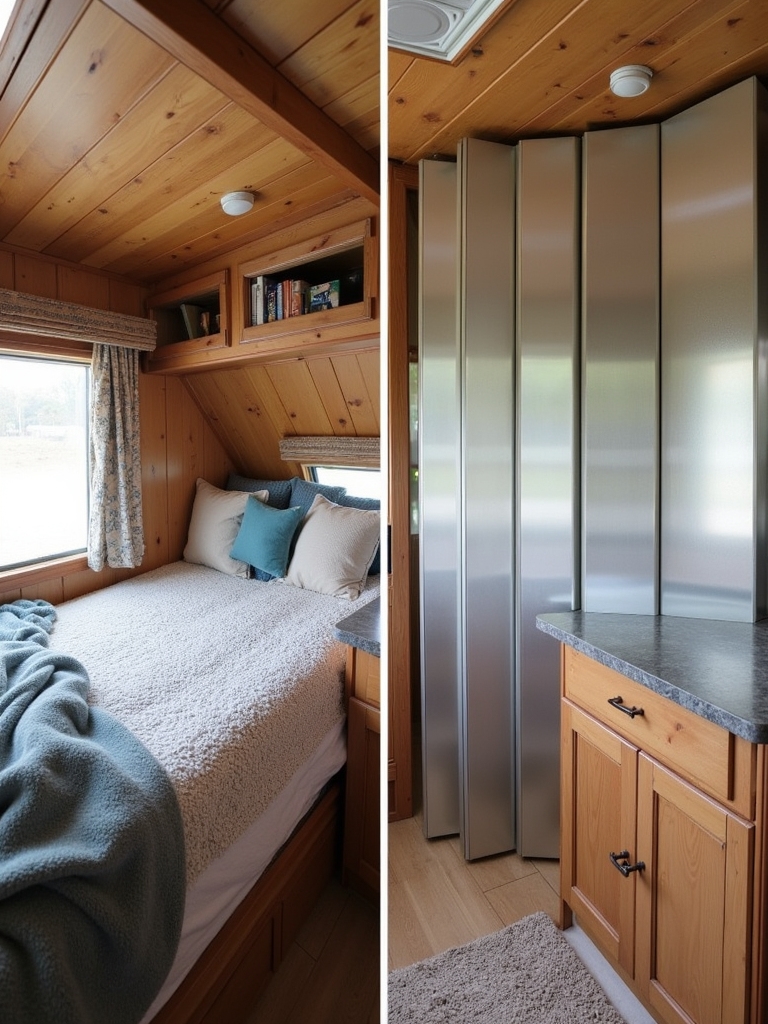
Making Better Use of Vertical Space for Sleeping Areas
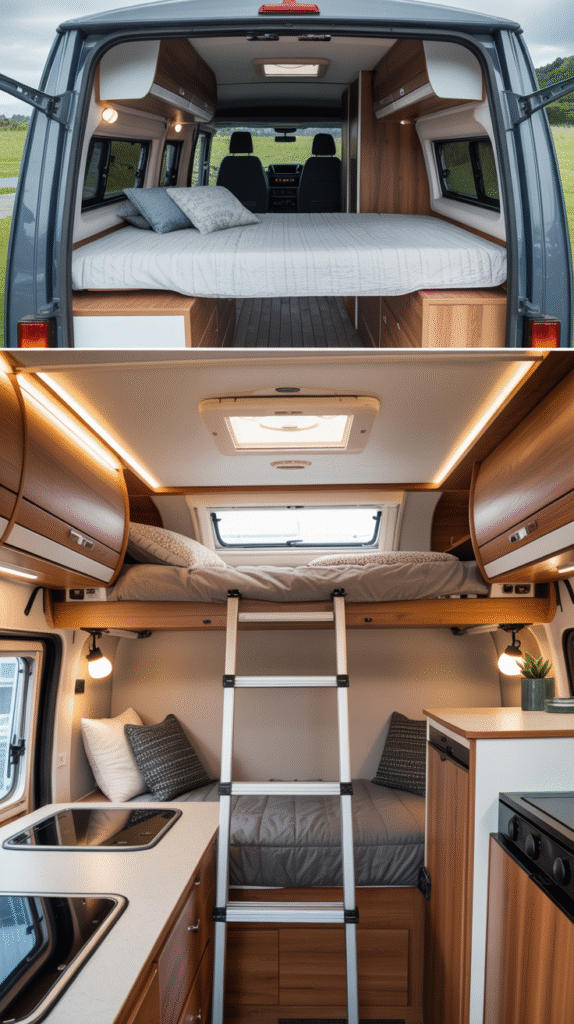
Some of the most impressive transformations came from rethinking how vertical space was used. By shifting attention upward, these campers were able to free up valuable floor space and create layouts that felt far more flexible.
What I found inspiring was how this approach changed the entire flow of the camper. With sleeping areas elevated or visually separated, the main living space felt more functional during the day — a smart way to make a small space work harder without feeling crowded.
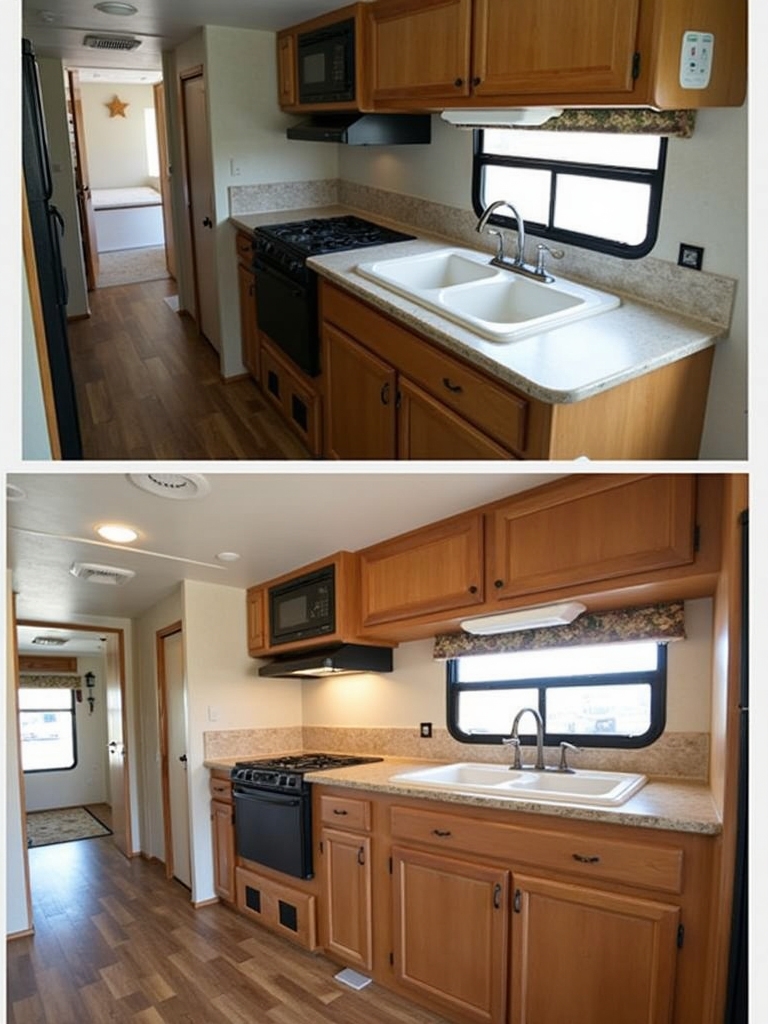
Designing Compact Kitchens That Feel Easy to Use
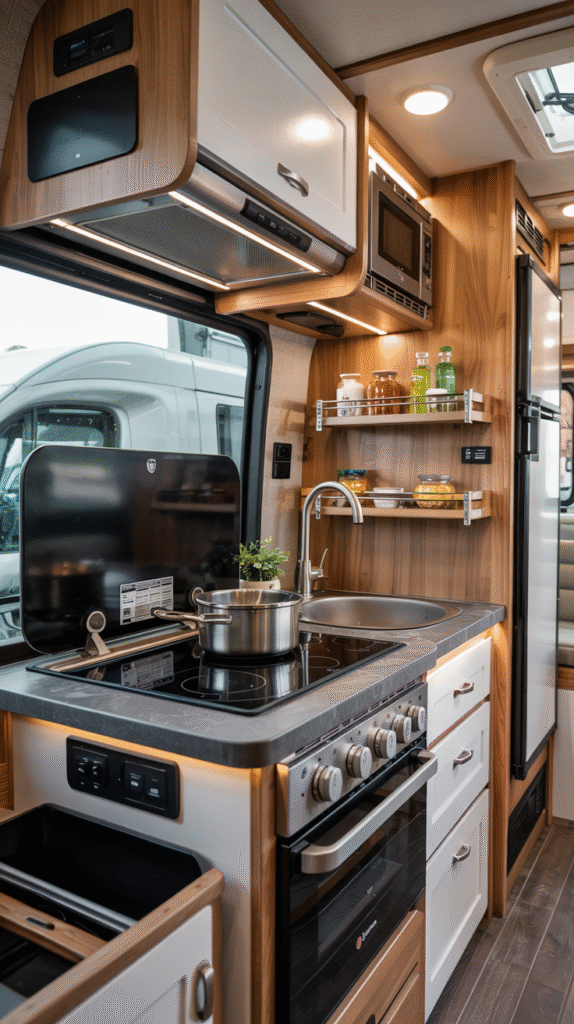
As I looked through these camper transformations, the kitchens really stood out to me. The most successful ones didn’t try to squeeze in everything — instead, they focused on layouts that felt intuitive and uncluttered. Even in very small spaces, thoughtful design choices made cooking areas feel surprisingly comfortable.
What I loved was how these kitchens felt open without losing function. Clear surfaces, smart spacing, and a sense of flow made them feel welcoming rather than cramped, proving that a compact kitchen can still feel like the heart of the camper.
Using Color on Cabinetry to Add Personality
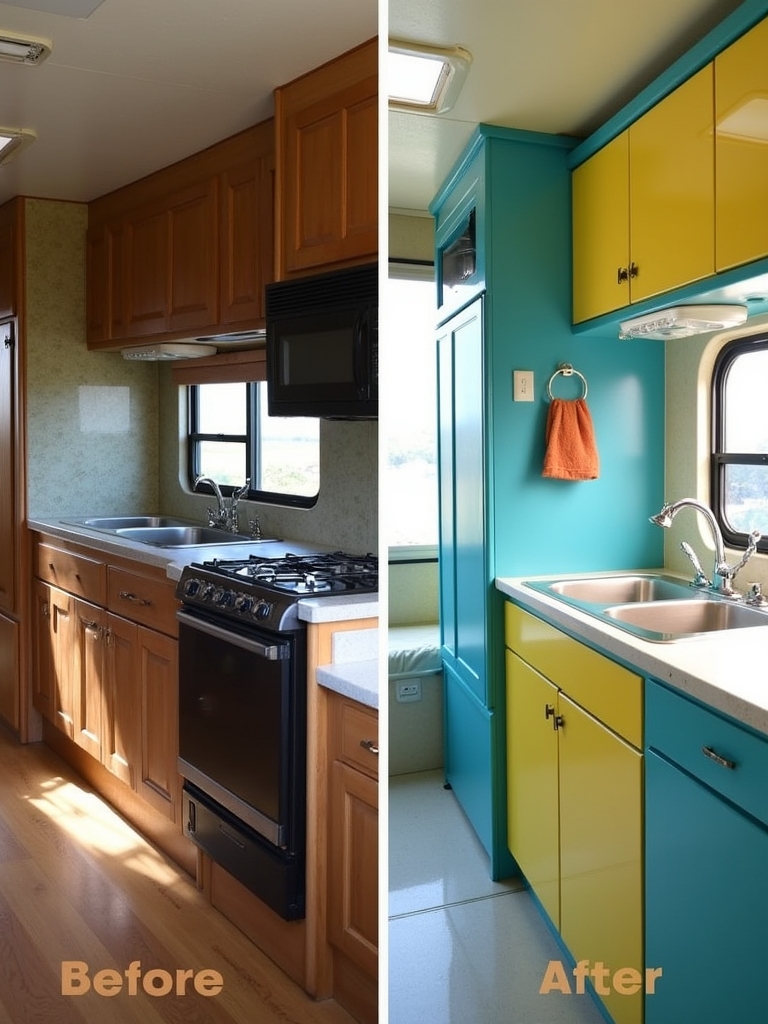
While light walls helped keep things airy, cabinetry was often where personality really came through. I noticed many owners chose deeper or more saturated colors here, which added contrast without overwhelming the space. It was a great way to introduce character while still keeping the overall look balanced.
What worked especially well was pairing these bolder cabinet colors with simpler surroundings. The result felt layered and intentional — lively, but still calm enough for everyday living in a small space.
Bringing the Entire Space Together With Thoughtful Styling
What really tied all of these renovations together wasn’t one specific change, but how everything worked as a whole. Once the layout, colors, and materials felt aligned, the camper suddenly felt cohesive and complete.
The styling choices were subtle but meaningful — nothing felt overdone, and every piece seemed to have a purpose. It reminded me that in a small space, harmony matters more than excess. When everything works together, even the tiniest camper can feel comfortable, personal, and surprisingly spacious.