Imagine spending just $47 and one weekend to completely transform a dull, cluttered bedroom into a cozy retreat you actually look forward to entering.
That’s entirely possible when you know which changes deliver the biggest visual impact for the least money.
You don’t need a designer’s budget or endless free time to pull this off, these 13 practical ideas will show you exactly where to start and what’s worth every penny.
Key Takeaways
- Declutter surfaces like dressers and nightstands first, sorting items into keep, donate, toss, or relocate piles for a quick, impactful refresh.
- Shop thrift stores for solid-wood furniture at 30–80% below retail, bringing room measurements to ensure proper fit before purchasing.
- Paint one accent wall behind the bed in deep colors like navy or charcoal to create a cozy, dramatic focal point affordably.
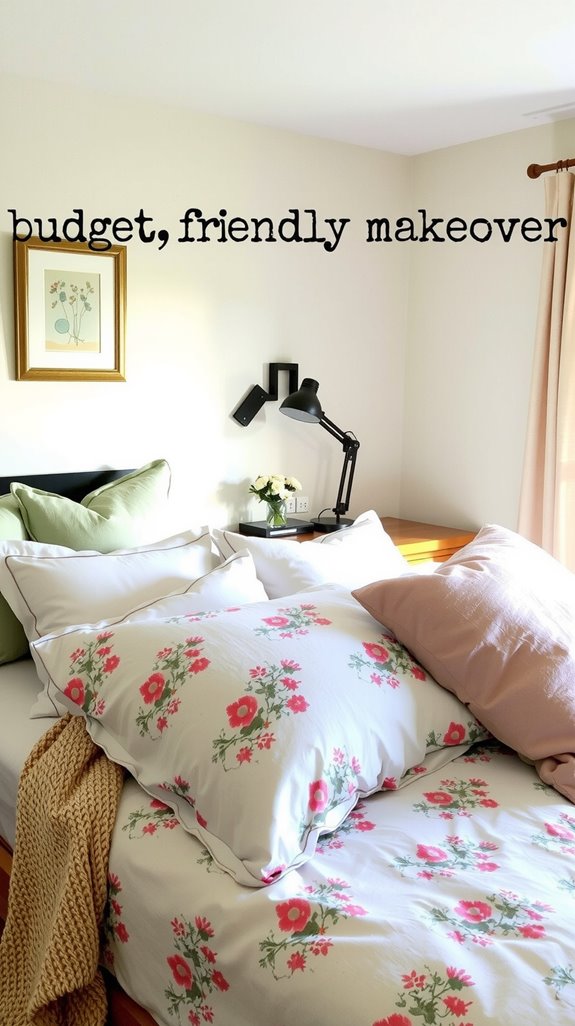
- Layer neutral sheets with colorful duvets and mixed-texture pillows to elevate bedding appearance without overspending on entirely new sets.
- Upgrade cabinet hardware, add warm-toned bulbs, and position mirrors opposite windows to instantly modernize and brighten the bedroom space.
Start With Your Biggest Bedroom Eyesore First
When you walk into your bedroom, your eyes immediately lock onto whatever bothers you most — and that’s exactly where you should start.
Your eyes always find the worst spot first — trust that instinct and start there.
That one big eyesore creates more visual chaos than a dozen smaller problems combined. It’s usually a cluttered dresser, a stuffed nightstand, or a flat surface buried under random items.
Take everything off that surface completely, then sort it into four piles: keep, donate, toss, and relocate.
Remove anything that doesn’t belong in a bedroom at all. Tackling just one surface gives you a fast, visible win that actually motivates you to keep going. Keep your nightstand simple by limiting it to only the essentials, like a glass of water and a lamp.
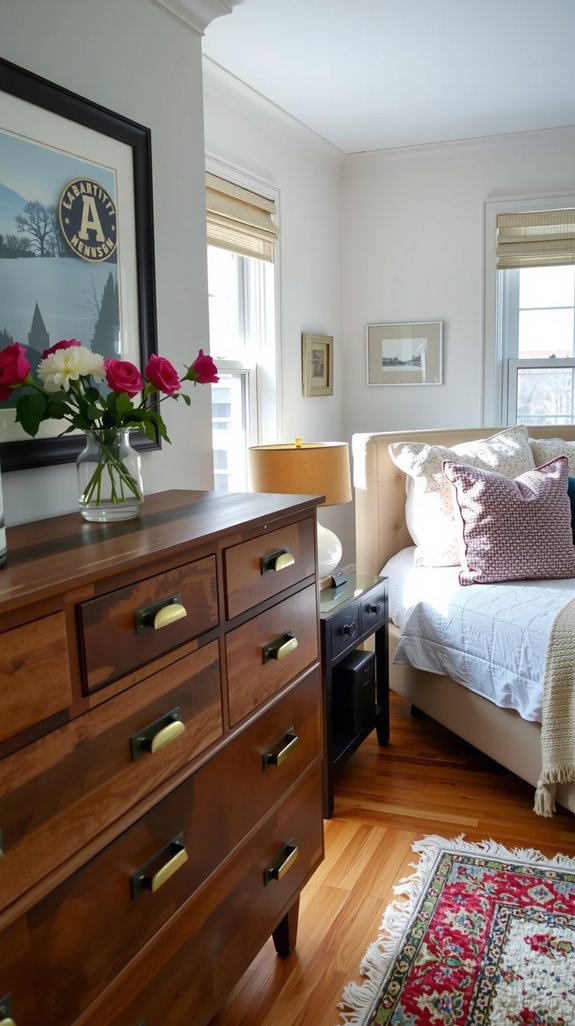
Shop Thrift Stores Before You Buy Anything New
Before you spend a single dollar on something new, hit your local thrift stores first — because that’s where your budget actually stretches.
You’ll often find solid-wood dressers, nightstands, lamps, and mirrors at 30–80% below retail. Bring your room measurements so nothing goes home only to not fit.
Check drawers, inspect frames, and look past ugly finishes — paint and new hardware transform almost anything.
Visit multiple locations on different days since inventory shifts constantly. Thrift store finds can also lead to unique decor pieces that add personal touch to your bedroom.
Prioritizing thrifted pieces frees up your budget for things that truly matter, like quality bedding or a fresh coat of paint on the walls.
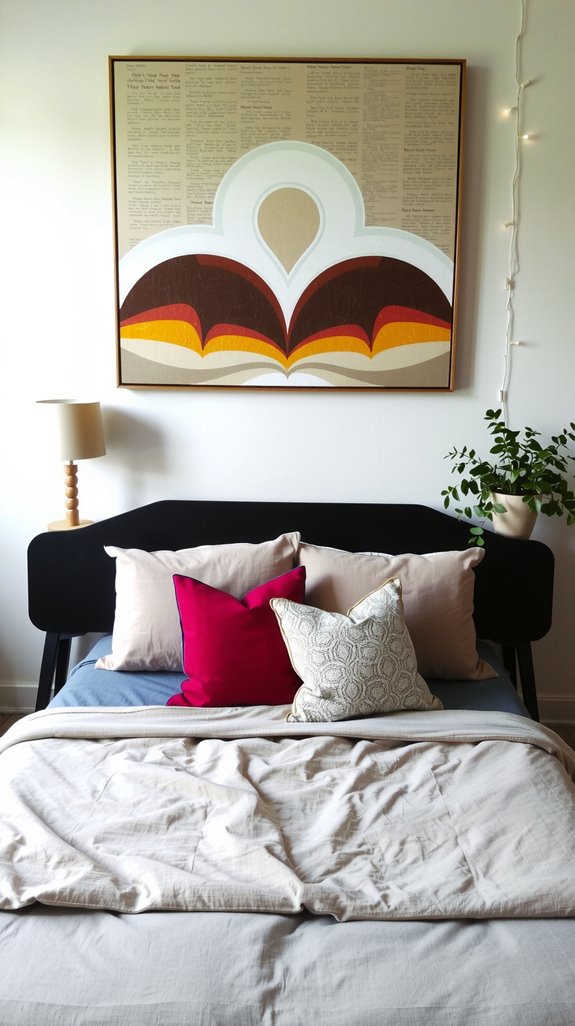
Paint One Accent Wall This Weekend
One well-chosen accent wall can completely transform how your bedroom feels — and you can pull it off in a single weekend without blowing your budget.
One bold accent wall is all it takes to completely change the feel of your bedroom — no big budget required.
Pick the wall behind your bed for maximum impact. Here’s your simple game plan:
- Choose a deep green, navy, or charcoal for a modern, cozy feel.
- Grab a roller, angled brush, painter’s tape, and drop cloth.
- Fill nail holes with spackle, sand smooth, then cut in your edges first.
- Apply two coats, letting each dry completely.
Paint outlet covers to match for a seamless, polished finish. A painted accent wall requires minimal tools and can be combined with other treatments later for added depth.
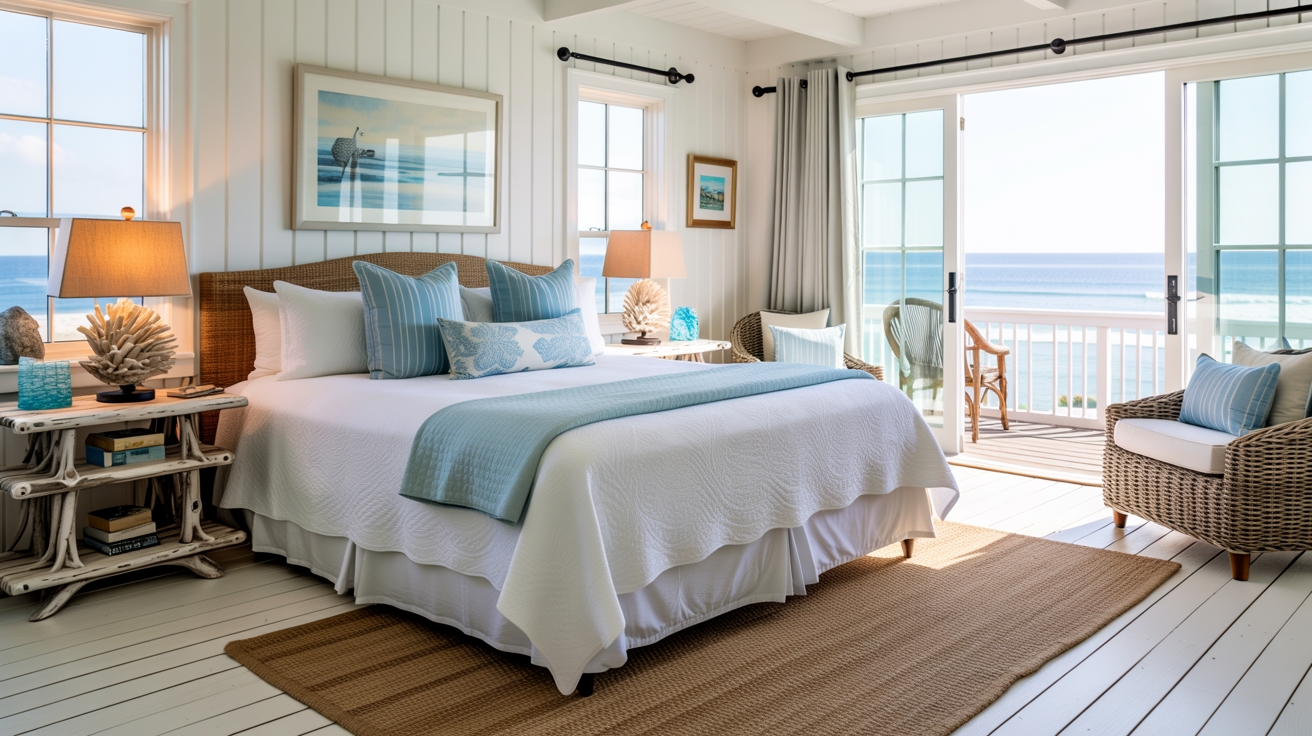
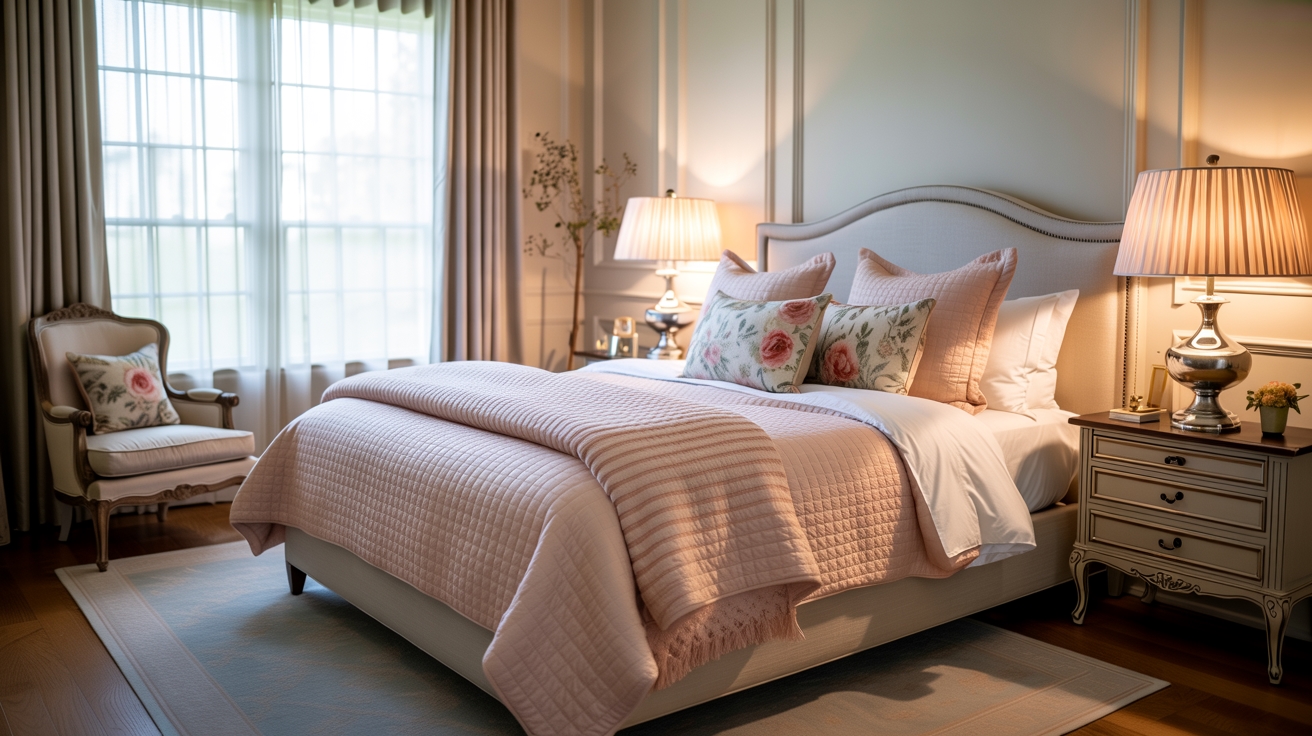
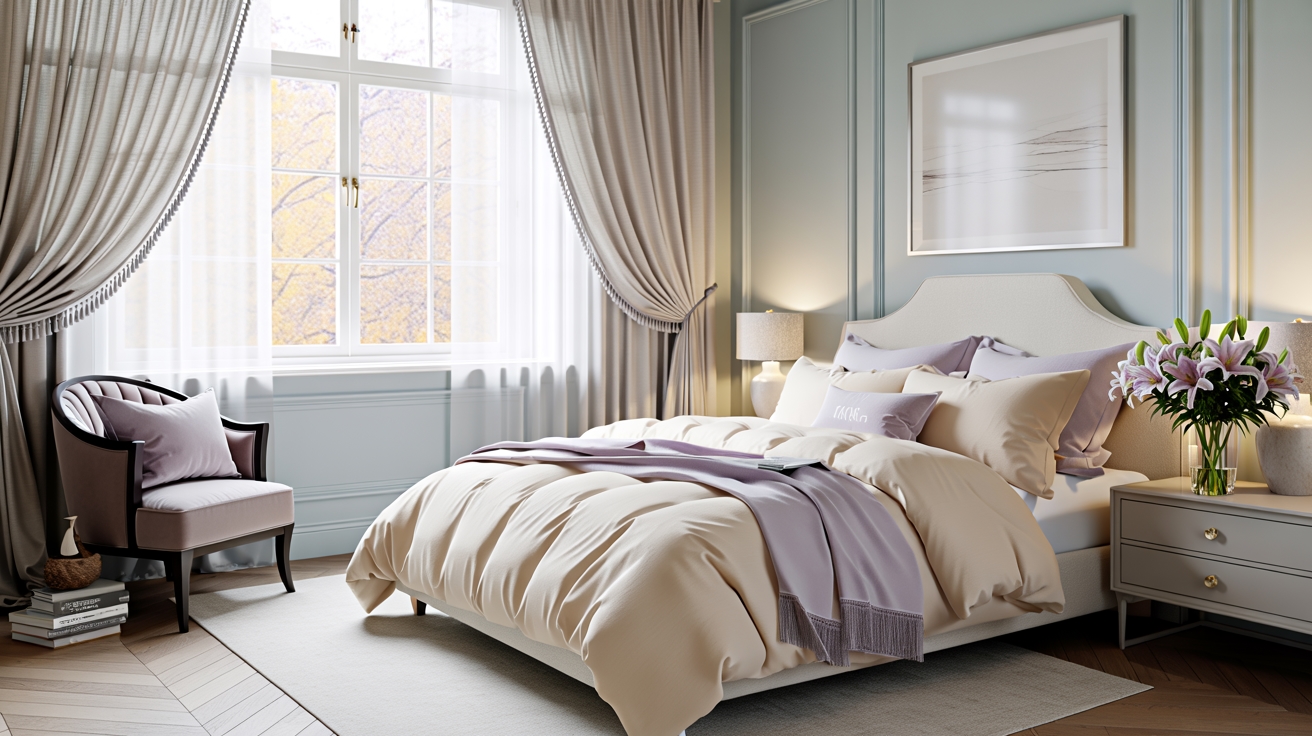
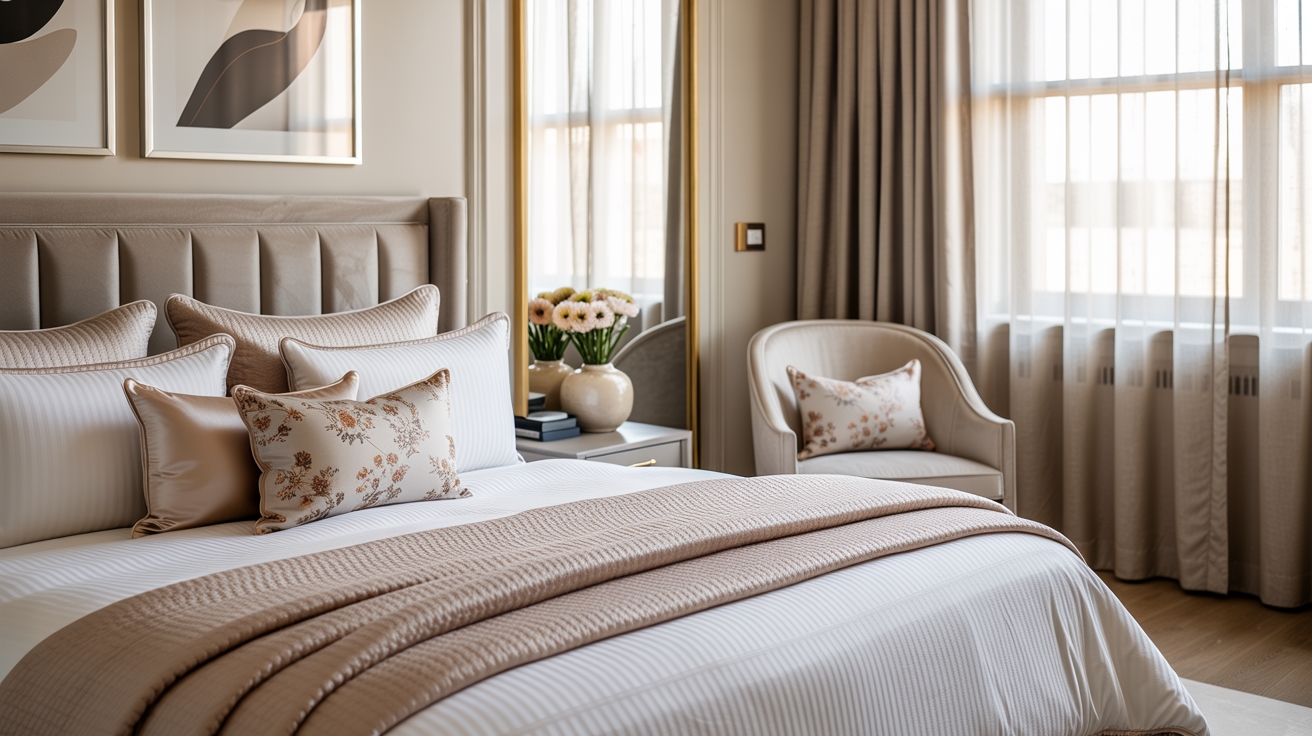
Pick Bedding That Sets the Whole Room’s Mood
Your freshly painted accent wall now needs a partner — and your bedding is the one piece that’ll either pull the whole room together or throw it off completely.
Start with a neutral sheet base, like soft white or light grey, then layer in deeper tones through your duvet and pillows. Blues and lavenders promote calm; warm terracotta accents energize without overwhelming.
Stick to one main color, one accent, and one neutral. Mixing textures — washed cotton sheets, a linen duvet, a knit throw — adds depth without extra cost.
Changing just your duvet cover transforms the entire room instantly. Keep in mind that color perception shifts depending on the lighting in your room, so test your bedding choices in both natural and artificial light before committing.
Layer Pillows and Throws for Under $20
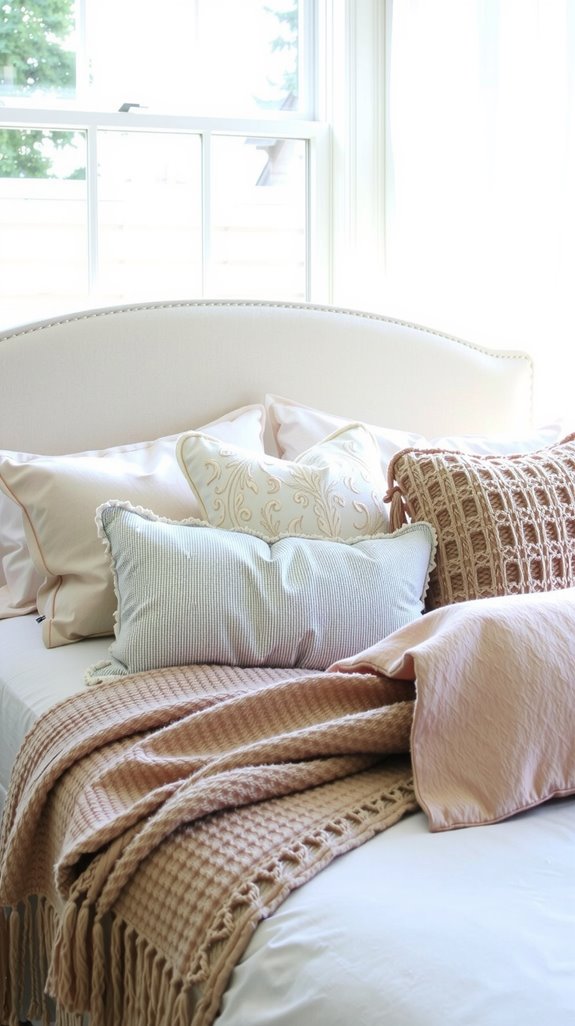
Once your bedding layers are set, pillows and throws are what really make a bed look finished — and you don’t need to spend much to get there.
Here’s how to layer smart:
- Shop cover-only pillows at IKEA or Amazon for $15–$25 and reuse your existing inserts.
- Mix sizes — combine one large pillow with two smaller accents for a fuller look.
- Choose texture over embellishment — simple woven or ribbed fabrics add depth without the price tag.
- Add a throw blanket to pull everything together affordably.
Clearance sections at Target, HomeGoods, and TJ Maxx make this even easier.
Make a Headboard From Scratch for Under $30
You don’t need a carpentry background or a big budget to build a headboard that looks like it came from a furniture store.
All you need is a foam insulation board or a sheet of thin plywood ($10–$15), some batting, a fabric remnant or drop cloth ($5–$10), and basic hardware like L-brackets or screws ($2–$5).
To put it together, cut your backer to match your bed’s width. Layer the foam and batting on top, then wrap your fabric tightly around the back and secure it with a staple gun or hot glue, smoothing out any wrinkles as you go.
Once it’s assembled, mount it to the wall using L-brackets or a French cleat and you’ve got a clean, upholstered headboard for well under $30. For a queen bed, aim for a finished size of 65 inches wide and 48 inches high to get the proportions just right.
Basic Assembly Steps
Building your own headboard starts with knowing your measurements, and getting this right sets the whole project up for success. Measure your mattress width, then add two to four inches for visual balance.
Mark your plywood or MDF panel carefully, measure twice, and have your home center cut it for free. Dry-fit everything on the floor before fastening anything.
Once assembled, layer your foam padding, wrap your fabric tightly, and staple from the center outward on each side. Fold corners neatly to reduce bulk.
Refresh Bedroom Furniture With a Can of Paint
You don’t need to replace dated bedroom furniture when a can of paint can completely transform it for a fraction of the cost.
Choosing the right paint matters more than most people realize. A water-based acrylic or latex formula dries fast, cleans up easily, and holds up well on high-touch pieces like dressers and nightstands.
If you’re working with glossy, laminate, or dark-stained surfaces, grab an all-in-one paint with built-in primer to save money, cut down on extra coats, and get truer, more vibrant color results.
Choose the Right Paint
One of the easiest ways to completely transform tired bedroom furniture is with a fresh coat of paint — and it costs a fraction of what new pieces would run you.
Picking the right paint matters just as much as the color itself. Keep these four tips in mind:
- Choose satin or semi-gloss finishes — they clean up easily.
- Grab an all-in-one paint-and-primer to save money.
- Pick low-VOC formulas for better bedroom air quality.
- Buy sample sizes first to test colors under your actual bedroom lighting.
Smart choices upfront save you time, money, and frustration later.
Swap Out Drawer Pulls for an Instant Upgrade
Swapping out your drawer pulls is one of the quickest and most budget-friendly upgrades you can make to a bedroom, and it’s easier than you might think.
Most pulls cost under $5 each and take minutes to install. Here’s how to do it right:
- Measure your existing center-to-center hole spacing before buying anything.
- Choose finishes like brushed nickel or matte black that coordinate with lamps and frames.
- Match pull size to drawer width for a balanced, intentional look.
- Use a screwdriver and cardboard template for fast, level installation.
You’ll transform tired furniture instantly.
Build a Budget Bedroom Gallery Wall With Thrifted Finds
Once you’ve refreshed your furniture with new hardware, it’s time to think bigger—literally.
A gallery wall transforms bare bedroom walls without a big budget. Hit thrift stores, flea markets, and yard sales for frames—you’ll typically pay 50–80% less than retail.
Mix wood, metal, and vintage styles for visual interest, then unify them with matching spray paint in black, white, or brass. Frame postcards, book pages, or magazine clippings as affordable artwork.
Before hanging anything, tape paper templates to the wall to test your layout. Keep spacing between 1–3 inches and anchor your boldest piece at eye level.
Create DIY Art That Looks Expensive
Your bedroom walls don’t need expensive art to look polished and curated—you just need the right techniques and materials.
- Mix baking soda into acrylic paint to create a stone-like, matte finish that mimics designer plaster art.
- Apply joint compound on canvas for raised, sculptural texture resembling high-end relief artwork.
- Print large-scale public domain fine-art images and mount them on foam insulation boards for a stretched-canvas illusion.
- Stretch patterned fabric or a floral shower curtain over a DIY wood frame for an oversized designer panel.
These budget-friendly tricks genuinely fool the eye.
Style Your Nightstand Like a Designer Would
The nightstand sitting beside your bed does more work than most people give it credit for—it holds your lamp, your phone, your half-finished glass of water, and somehow still needs to look put-together at the end of a long day.
Start with one functional essential like a lamp, then group items using the rule of three: one tall, one medium, one low.
Every great nightstand starts with one anchor piece—then layers in height, from tall to low, for instant visual balance.
Add a small tray to corral tiny things like lip balm or a ring dish. Tuck a personal touch—a little plant, a meaningful book—without overcrowding.
Keep negative space visible. That breathing room is what makes it feel designer.
Replace Your Light Fixture for a Styled Look
Few upgrades punch above their weight the way a new light fixture does. It instantly sets your bedroom’s mood and style without a full renovation.
Here’s what to keep in mind:
- Choose warm white bulbs (2700K–3000K) for a cozy, relaxing glow.
- Pick a dimmable fixture so you can adjust light for reading or winding down.
- Match the metal finish to your existing hardware for a cohesive look.
- Shop big-box stores for stylish flush-mount options starting around $20–$40.
Always turn off power at the breaker before installing anything.
Use Mirrors to Brighten a Small Bedroom
Mirrors are one of the smartest, most budget-friendly tools you can use to make a small bedroom feel brighter and bigger. Try positioning a large mirror directly across from your window to bounce natural light deep into the room.
You don’t have to spend a lot either, because thrifted or secondhand mirror frames can be repainted or updated with peel-and-stick trim to match your style for just a few dollars.
Once your mirrors are placed, style them intentionally by making sure they reflect something pretty, like a piece of artwork or a neatly arranged nightstand. This way, the reflection adds to your room’s charm rather than highlighting clutter.
Mirror Placement for Light
One of the easiest and most budget-friendly tricks for brightening a small bedroom is strategic mirror placement. Where you hang it truly matters:
- Place a mirror directly opposite your window to visually double incoming daylight.
- Hang it at eye level, around 57–63 inches from the floor, to keep reflected light in your main field of view.
- Position a mirror behind your bedside lamp to amplify its glow across the room.
- Choose a mirror sized similarly to your window to create the illusion of an extra one.
Small changes, big difference!
Thrifted Mirror Frame Updates
Once you’ve figured out where to hang your mirror for maximum light, the next step is making sure it actually looks good on your wall — and that’s where thrifted mirror frame updates come in.
Start by removing the glass, wiping the frame clean, and lightly sanding rough spots so paint actually sticks. Chalk paint or spray paint transforms a dated frame fast.
Want more texture? Glue on split wooden beads, decorative molding, or seashells. Wrap the frame in fabric or patterned wallpaper if the surface is scratched.
Finish with a sealant to protect your work and keep it looking polished longer.
Styling Mirrors With Decor
Hanging a mirror in the right spot does more than just show you your reflection — it can genuinely change how bright and open your bedroom feels.
Try these simple styling moves:
- Place a mirror opposite your window to bounce natural light across the room.
- Position one near your bedside lamp to double your evening lighting.
- Hang a statement mirror above your dresser as a stylish focal point.
- Add small sconces or decor on either side to visually anchor the wall.
You’ll instantly notice how much bigger and brighter your bedroom looks.