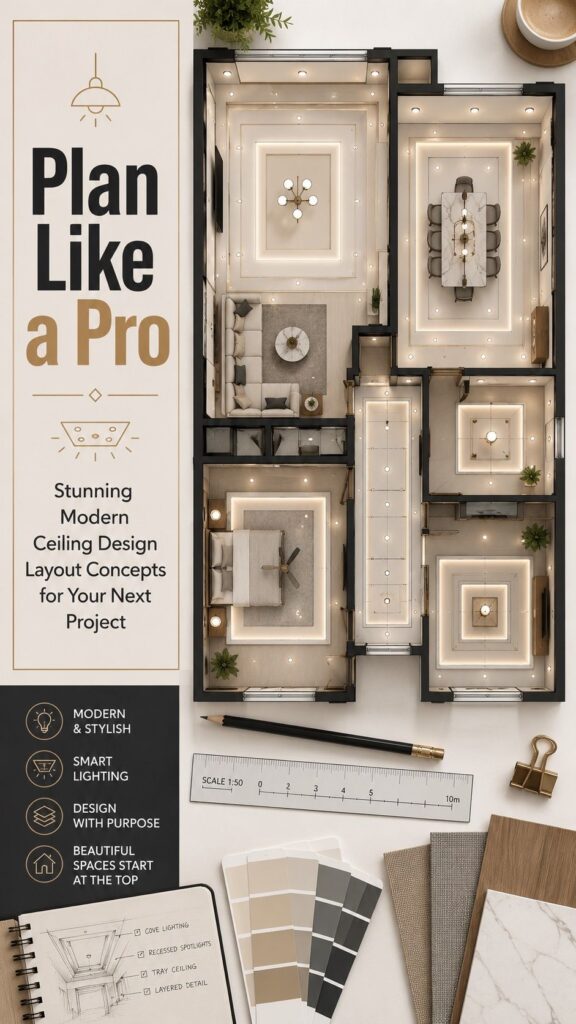
Most contractors draw false ceiling plans from the side view, which tells you almost nothing about where your lights actually land.
A top view layout, basically a bird’s-eye map of your ceiling grid, shows you spacing, symmetry, and fixture placement before a single screw goes in.
Get this wrong and you’ll end up with a cove light pointing at drywall instead of your floor, the 13 layouts ahead fix that.
What Is a False Ceiling Top View Layout?
A false ceiling top view layout is a scaled construction drawing that shows your ceiling as if you’re a bird hovering directly above it, looking straight down.
Every element gets its exact horizontal position, lights, AC grilles, level changes, material zones, and access panels. Unlike a 3D render, this drawing gives you real, measurable dimensions.
Contractors use it to cut, place, and align everything correctly. It maps where your secondary ceiling starts, stops, and drops in height relative to the original slab.
Think of it as the ceilings blueprint, not its Instagram photo. Beyond aesthetics, a false ceiling framework is also designed to conceal electrical wiring and AC ducts, keeping the finished surface clean and organized.
SEE THIS: 11 False Ceiling Designs for Girls Bedroom (Soft, Stylish & Pinterest-Worthy)!
False Ceiling Height Rules to Check Before Planning
Before your designer draws a single line, your original structural ceiling height decides everything. Your slab needs to sit at least 8.5 to 9 feet high before a false ceiling even enters the conversation.
Drop below that, and you’re engineering a cave.
Your finished ceiling can’t fall below 7.5 feet in living rooms or bedrooms. Kitchens get a slightly more forgiving 7-foot minimum, but only with ventilation cutouts built in.
Bathrooms and balconies can go as low as 7 feet. The suspension gap between your slab and the false ceiling needs at least 6 to 8 inches for basic electrical routing.
In tighter spaces, opt for slim POP or gypsum panels to minimize the drop while maintaining a clean, uncluttered overhead profile.
SEE THIS: Latest False Ceiling Designs for Bedroom (Cozy + Modern Styles)!
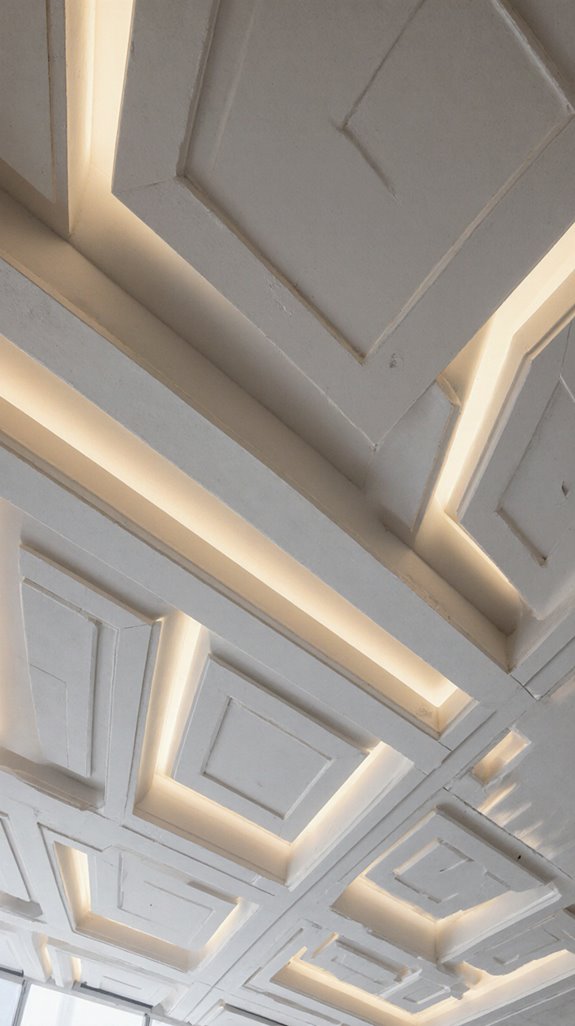
Perimeter Layout: Clean Edges, Exposed Centre
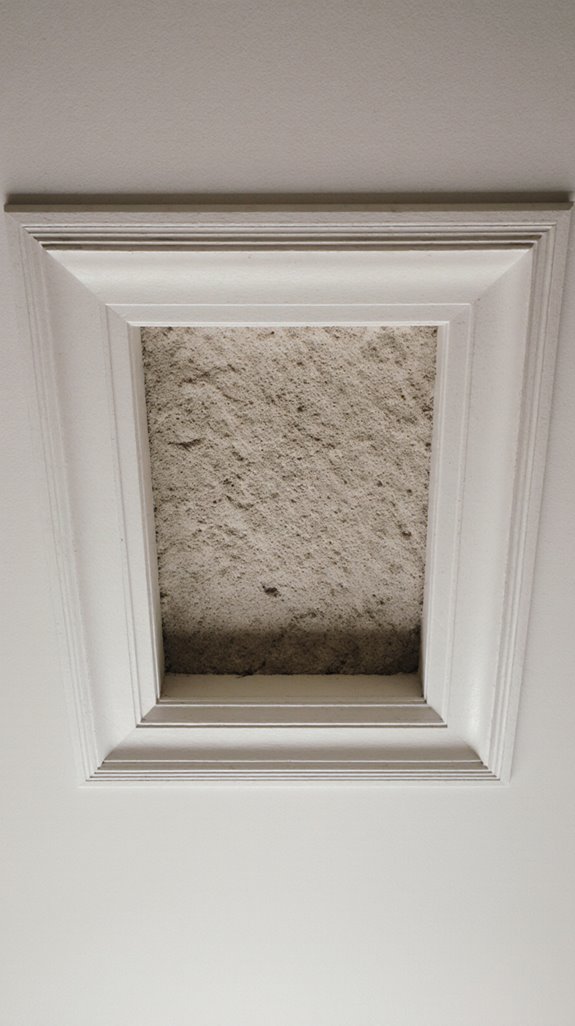
The perimeter layout drops the ceiling’s edges while leaving the centre untouched. It’s the architectural equivalent of a picture frame, but for your room.
The border typically drops 6 to 12 inches below the main slab, running along every wall edge. Your central ceiling stays at full height, which keeps smaller halls from feeling like a shoebox.
That recessed channel between the drop and the main slab is prime real estate. Tuck LED strip lights in there, and you get soft indirect ambient light bouncing off the untouched centre.
No harsh shadows, no complicated wiring cuts into your slab. Asense Interiors builds these perimeter layouts using ISI-certified materials backed by a 10-year guarantee on design and implementation.
SEE THIS: 10 Latest False Ceiling Designs for Hall with 2 Fans (Balanced Layout Ideas That Actually Work!
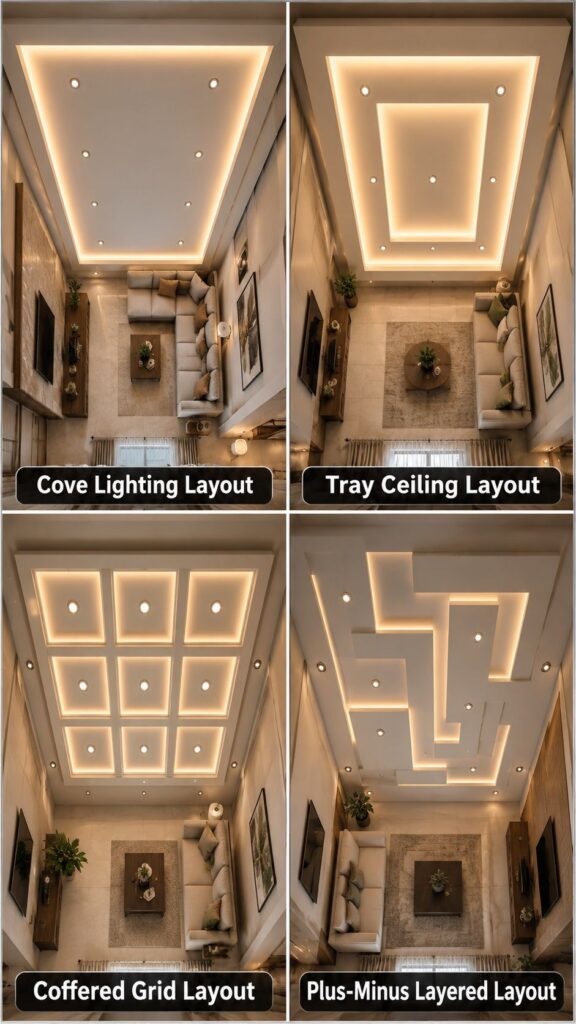
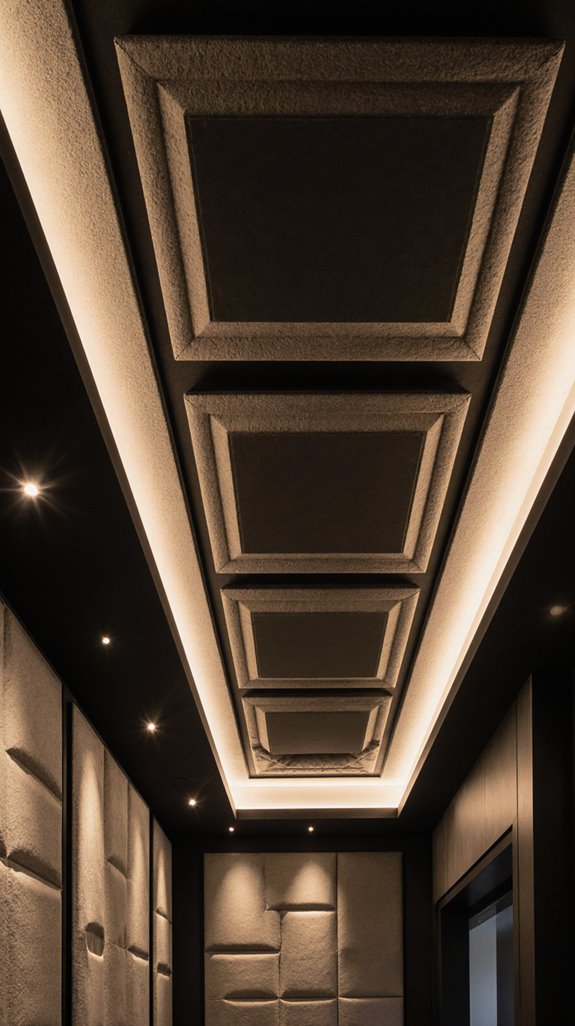
Cove Lighting Layout: The Floating Ceiling Effect
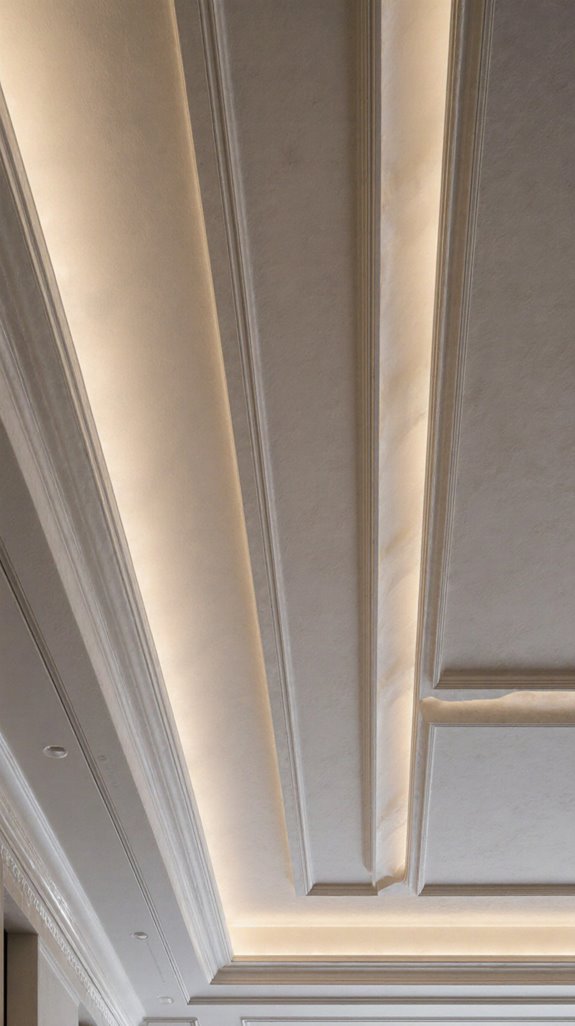
Unlike the perimeter layout that frames a room’s edges, the cove lighting layout suspends a central panel smaller than the room itself, leaving a gap on all sides where light escapes upward.
That gap needs to be at least 4 to 6 inches wide so light spreads evenly without creating a harsh hot spot. The panel itself runs 4 to 8 inches thick, housing LED strips, drivers, and aluminum profiles.
Light directed upward makes the panel appear to float, adding perceived height. Darker paint on the main ceiling above deepens the illusion, making compact rooms feel noticeably wider. For the most seamless result, matte ceiling surfaces diffuse the reflected light more softly than glossy finishes, preserving the subtle, even glow the floating effect depends on.
MORE IDEAS: 28 Latest False Ceiling Designs That Make Every Room Look Custom-Built (Living Room, Bedroom, Kitchen & More).
Tray Ceiling Layout: Depth Without Bulk
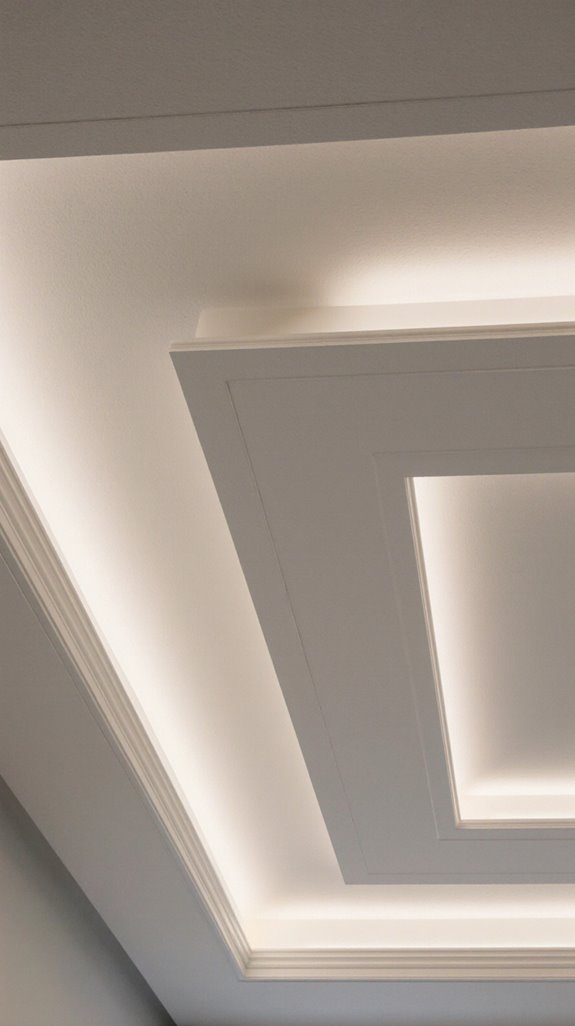
A tray ceiling does one simple thing: it pushes the center panel higher than the surrounding border, giving the room depth without dropping the whole ceiling on your head.
Keep the drop under 4 inches in low rooms; nobody wants to feel like they’re living inside a shoebox lid.
For an 8-foot ceiling, aim for a perimeter border of 12-18 inches wide.
Use drywall for the recess and hide LED strip lights (3000K warm white) behind the lip. The glow travels upward, making the ceiling read taller than it actually is. Pair this with dimmable LED settings to shift the mood from bright and functional during the day to soft and ambient in the evening.
SEE THIS: 11 False Ceiling Designs With Hidden Lighting for a Luxury Look!
Coffered Grid Layout: Classic Panels From Above
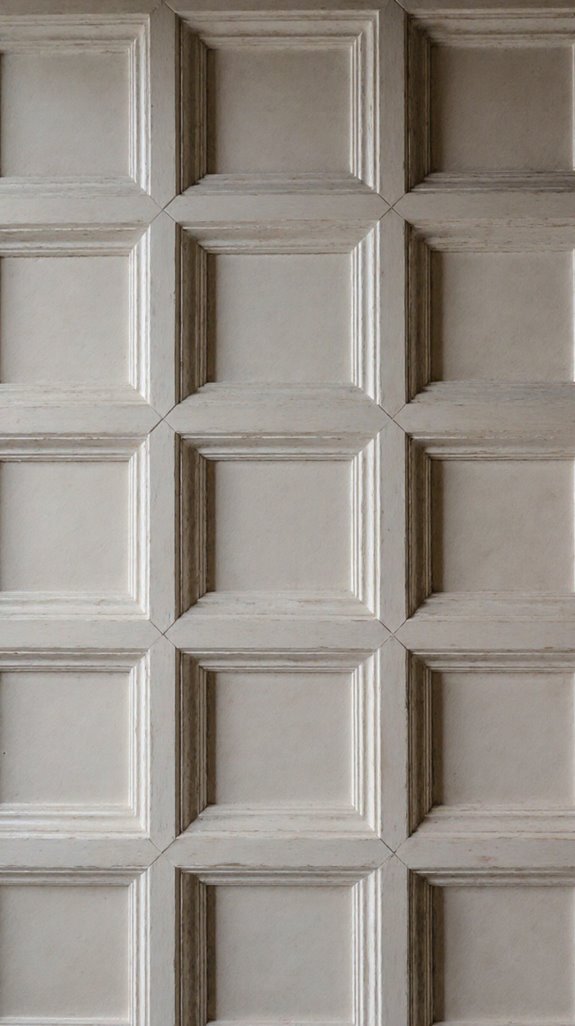
Coffered ceilings look expensive, and the flat grid version is basically a cheat code. You’re applying 1×4 or 1×6 finger-jointed pine or MDF strips directly onto the ceiling plane, no structural work required.
The trim sits under an inch thick, so your 8-foot ceiling stays an 8-foot ceiling.
Start by measuring the room and centering a hashtag-style grid on graph paper first. Divide the room dimensions evenly to avoid awkward panel sizes.
Snap chalk lines, then secure each strip using construction adhesive plus finishing nails. Use a stud finder. Center any recessed lights inside each finished panel. Square or rectangular rooms work best for this layout, making living rooms, dining rooms, and main bedrooms the most ideal candidates for a coffered grid design.
SEE THIS: 13 LED Strip False Ceiling Designs That Create Ambient Lighting Layers!
Plus-Minus Layered Layout: Zone Without Walls
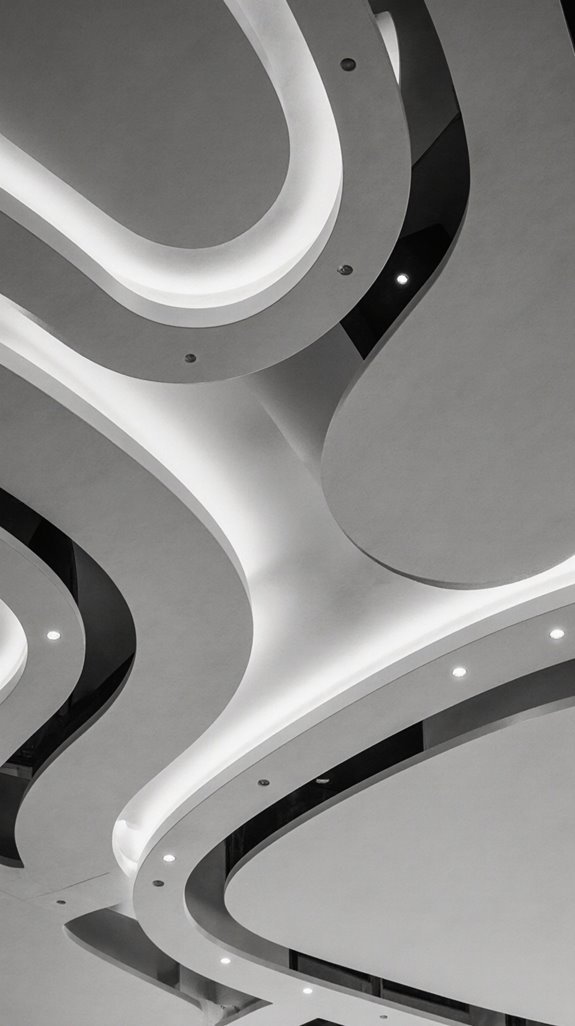
Coffered grids work great when your room has defined walls doing the zoning work for you, but open-plan spaces need a different approach.
Plus-minus ceilings use protruding (plus) and recessed (minus) layers to carve zones without building a single wall. Lower a section 6,12 inches over your dining area, and your brain reads it as a separate room.
Add cove lighting in the recessed edges and the zones practically define themselves.
SEE THIS: 10 False Ceiling Designs for Puja Room (Calm + Spiritual Vibes)!
Circular False Ceiling Layout for Bedrooms
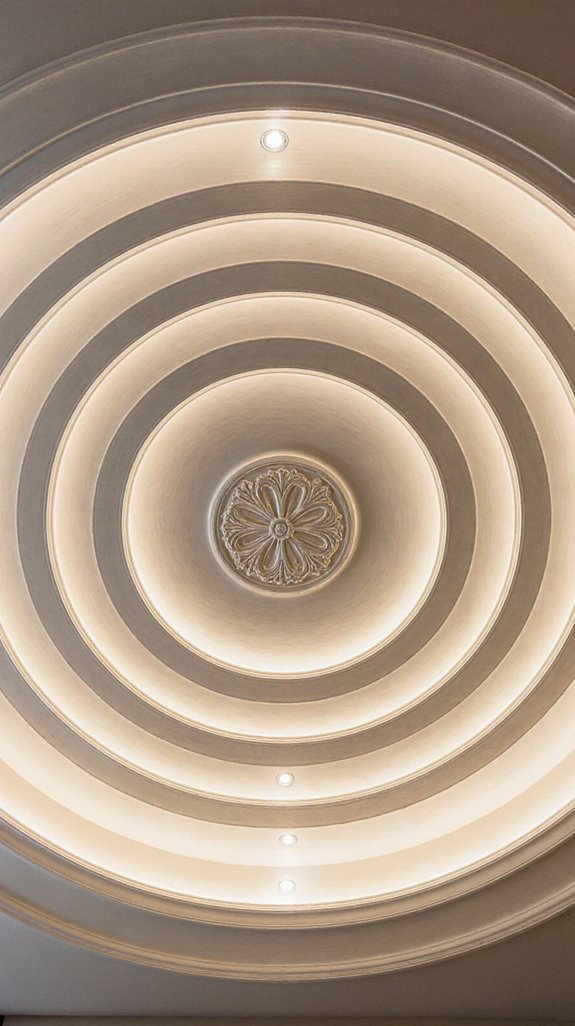
Bedrooms are where circular false ceilings actually make sense, unlike living rooms where they can feel like a performance.
Center a full gypsum circle above your king-size bed, keeping the diameter between 4,6 feet. Your ceiling needs at least 9,10 feet of height before you drop anything.
Route LED cove strips inside the trays inner vertical drop for indirect light that doesn’t blind you at midnight.
Space recessed downlights along the outer perimeter ring. Hide your fan junction box inside a central access panel. Nobody wants to demolish the ceiling just to fix wiring.
SEE THIS: 10 False Ceiling Designs for Puja Room (Calm + Spiritual Vibes)!
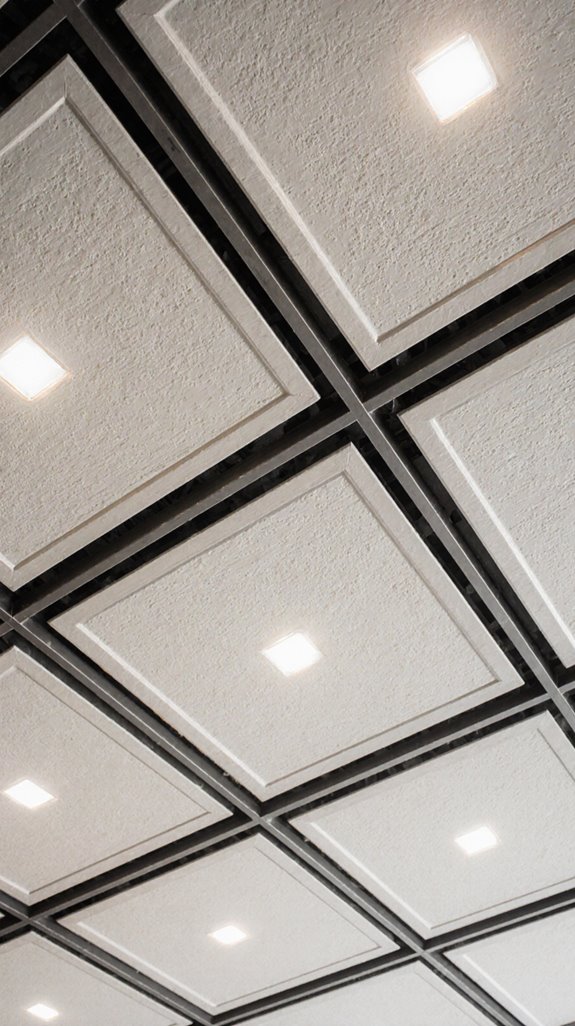
Full-Coverage False Ceiling Grid Layout for Kitchens
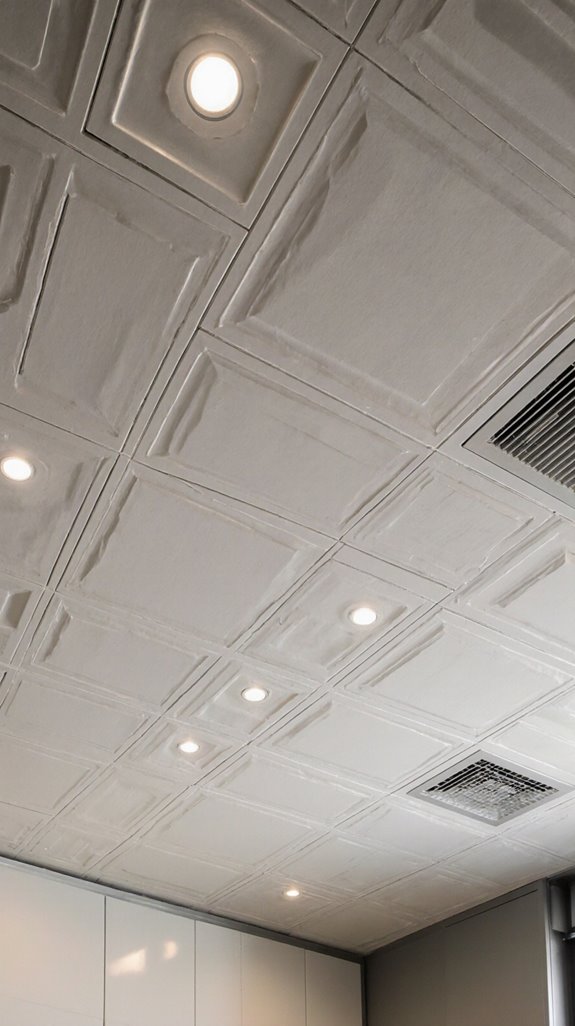
Kitchens need a ceiling system that doesn’t fight you every time the exhaust duct needs cleaning or a light driver burns out. A full-coverage grid uses 600×600 mm or 600×1200 mm modules, so every panel lifts out independently.
PVC tiles handle cooking steam without warping. Gypsum boards hold a 120-minute fire rating. Recessed 600×600 mm LED panels drop straight into standard modules, no cutting required.
Your chimney duct sits above one removable tile, smoke detectors get factory-cut apertures, and access panels handle concealed wiring. Diagonal grid orientation at 45° visually widens narrow galley kitchens without changing a single dimension.
Acoustic False Ceiling Layout for Home Theatres
Everything in a home theatre ceiling fights against you if you ignore acoustics. Hard surfaces reflect sound and smear dialogue into mush. Your target RT60, how fast sound dies out, is 0.3 to 0.4 seconds.
Miss that window and voices lose clarity.
Treat 25 to 35 percent of your ceiling, not all of it. Center two to four 2-inch mineral wool panels directly above the listening seat.
Use perforated gypsum board backed with acoustic fleece for NRC ratings between 0.70 and 0.85. Leave some hard surface exposed or the room sounds like a padded cell.
Gypsum, POP, or PVC: Matching Materials to Your Layout
Picking the wrong material for your false ceiling layout isn’t just an aesthetic mistake, it’s a structural and financial one.
Gypsum boards, typically 4×8 ft sheets on a GI grid, work best for clean rectangular layouts with recessed lighting. They cost $1-$2 per sq ft and drop your ceiling 4, 6 inches.
POP handles curves, domes, and medallions that gypsum simply can’t form, but budget 7, 10 days minimum. It also needs only a 2, 3 inch drop.
Never use standard gypsum or POP in bathrooms. That’s where PVC earns its place without complaints.
How to Map Your Lighting Layout Before Work Starts
Most lighting mistakes aren’t made during installation, they’re made three weeks earlier, when nobody drew a plan.
Before any channel gets cut, sketch your room to scale on graph paper. Mark columns, doors, windows, and your actual furniture layout, not a guessed one.
Divide your ceiling height by two to find recessed light spacing. At 9 feet, that’s roughly 4.5-foot centers.
Draw beam spread circles on your floor plan and check for dark gaps. Plan three layers: ambient downlights, cove strips, and accent spots. Lock in every fixture’s wattage before work starts. Fewer surprises on-site.
Top View Layout Mistakes That Cost You Later
When a false ceiling goes wrong, it usually traces back to a single missed step: nobody drew a proper top-view layout before the first channel was screwed in.
Skip the grid plan and your recessed lights end up randomly spaced, leaving dark pockets in corners. Mount a light inside a ceiling fan’s blade sweep and you’ll get a strobe effect that triggers headaches.
Forget access panels and replacing one LED driver means cutting fresh gypsum board, which raises repair costs by roughly 40%.
Plan the layout on paper first. Everything else gets cheaper and easier.